Supplies:
- Crayola Model Magic Classpack - Assorted Colours
- Crayola Glitter Glue
- Toothpicks
- Googly Eyes (optional)
- Strip of Paper - 8 cm x 14 cm (3" x 5") - 1 per student
- Rulers
- Pencils
- Acrylic Varnish (optional)
Steps:
1
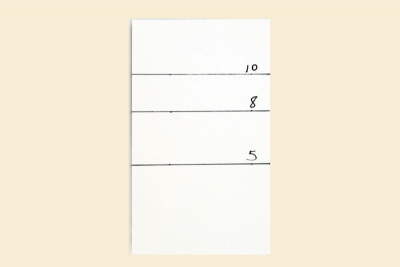
- Make a measuring strip on a piece of paper about 14 cm (5.5") x 10 cm (4").
- Measure and draw a horizontal line across the strip of paper to mark the 5 cm (2"), 8 cm (3.15") and 10 cm (4") measurements.
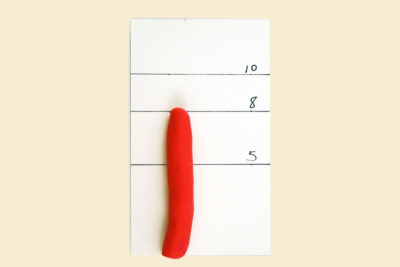
2

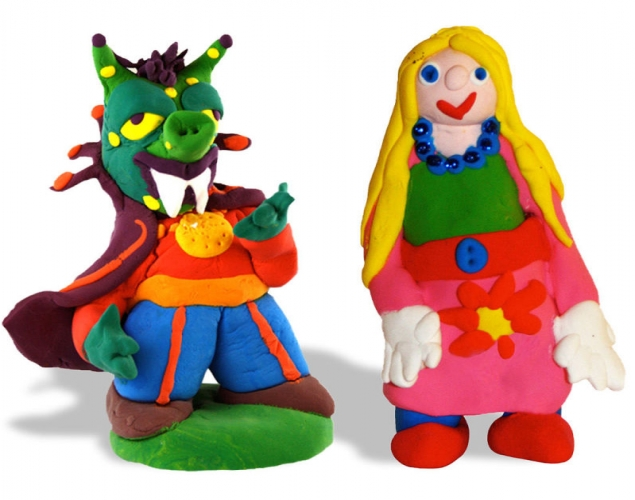
- Choose the colour of Model Magic you want to use for the legs/pants.
- Roll a small amount of it into a coil 10 cm (4") long and about 2 cm (.75") thick. Do not make it too thin.
3
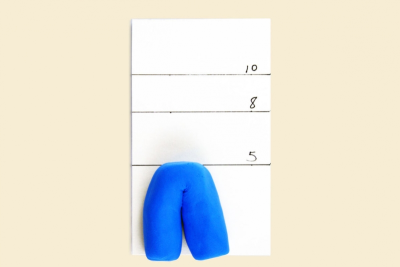
- Fold the coil in half and pinch it gently at the top to form the waist and hips.
4
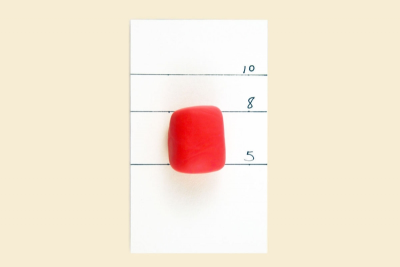
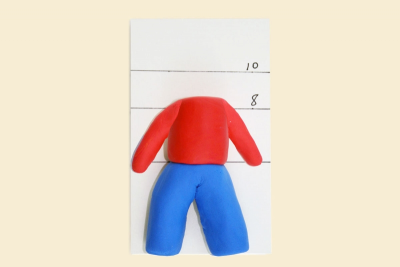
- Choose the colour of Model Magic you want for the shirt.
- Roll a coil about 3 cm (1.18") and 2.5 cm (1") thick.
5
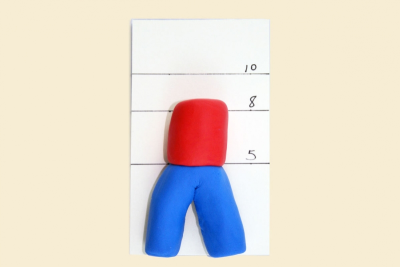
- Gently join the body to the legs making sure they stick to each other.
6
- Roll a coil about 8 cm (3.15") long and 1.5 cm (.5") thick.
- Use scissors to cut it in half.
7
- Attach the pieces to the shoulders to form the arms.
8
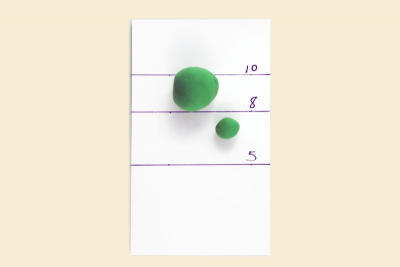
- Roll a ball for the head, and a smaller ball for the neck.
9
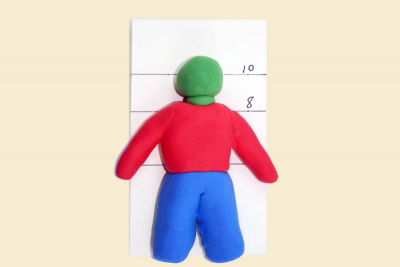
- Attach the neck to the shoulders.
- Attach the head to the neck.
10
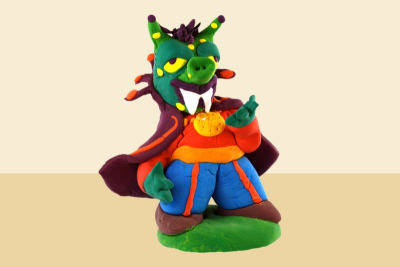
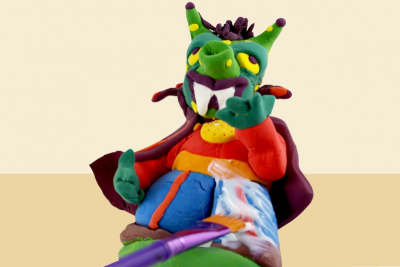
- Add hands, feet and details using contrasting colours of Model Magic.
- To make a skirt or cape, flatten a piece of Model Magic and wrap it around the figure.
- You may want to make a base for the character.
- Prop the figure in the pose you want it to hold.
- Allow it to dry for 3 days.
11
- Once it is dry, you may want to paint it with a coat of Crayola Washable Glue.
- Paint it directly from the bottle.
- This will seal it and give it a matte finish.
Subjects:
Grades:
Grade 3,
Grade 4,
Grade 5,
Grade 6