Supplies:
Clay Carving Tools (only if available)TripodDigital CameraBackdropLightingMasking TapeStop-Motion Software
Steps:
1
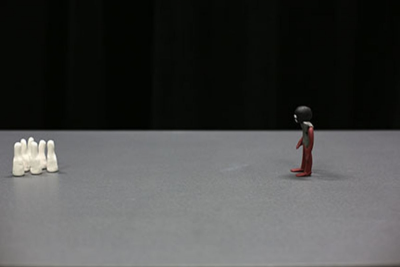
- Set up your backdrop, tripod, camera and lighting and secure them with masking tape.
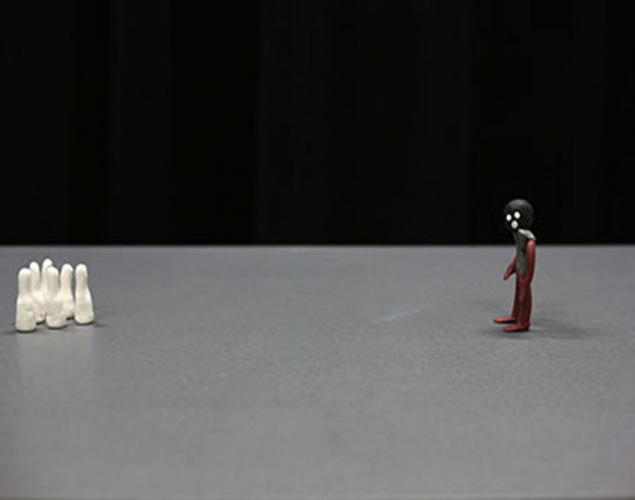
- Place the clay figures within the background and in front of the lens.
- Take 15 pictures of your scene without anything moving to establish where the action is taking place.
- Next, move the figures a tiny bit and shoot two frames with the digital camera.
2
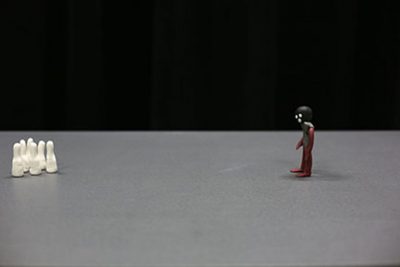
- Move the figure slightly. Remember that the smaller the movement, the smoother the motion will appear.
- Shoot two frames with the digital camera.
3
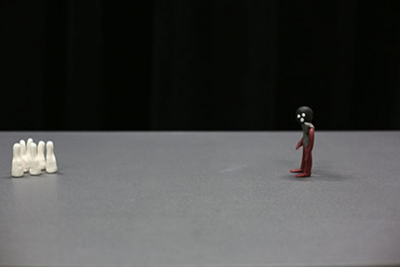
- Repeat Step 2 moving the figure slightly each time, taking pictures, then moving the figure again as you act out the story from your storyboard.
- You should repeat this step 720 times in order to have a final animation that is 30 seconds in length.
- Import the still images into your editing software, for example, iMovie, iStopMotion, Windows Movie Maker.
- Follow the steps in your software to edit your film and add music.
- Export the film and save it.
Subjects:
Grades:
Kindergarten,
Grade 1,
Grade 2,
Grade 3,
Grade 4,
Grade 5,
Grade 6,
Grade 7,
Grade 8,
Grade 9,
Grade 10,
Grade 11,
Grade 12