Supplies:
- Crayola Regular Crayons - Not washable
- Crayola Watercolour Paints
- Crayola Paint Brushes
- Crayola Fine Line Markers
- Crayola Scissors
- Crayola White Glue
- Crayola Glitter Glue
- Bristol Board - 38 cm x 50.8 cm (15" x 20")
- White Tissue Paper - 2 Sheets per Student
- Spray Bottles
- Paper Towels
- Stapler
- Embellishments
- Plastic Tablecloth - about 50 cm x 76 cm (20" x 30")
Steps:
1
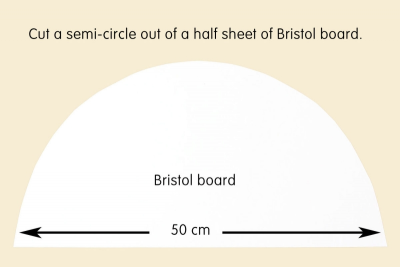
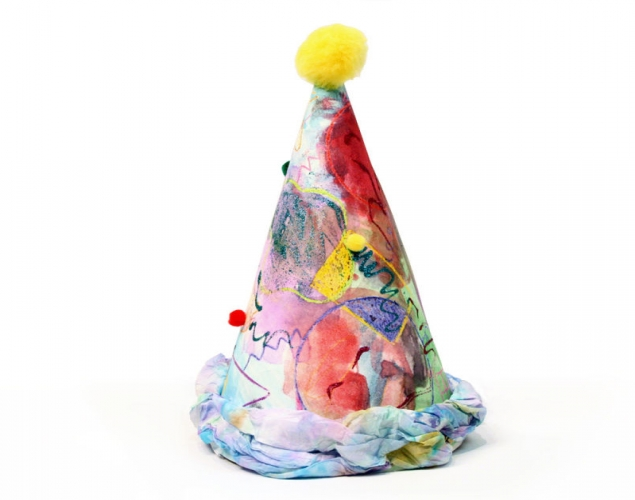
- Draw a semi-circle on a half piece of Bristol board so the base is about 50 cm (20").
- Cut it out.
2
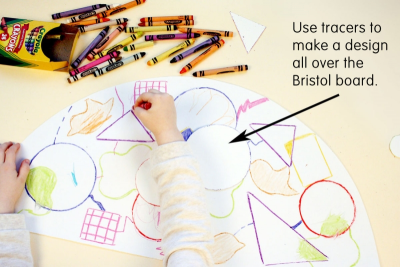
- Use shape tracers and crayons to make a design all over the Bristol board.
- Use geometric and organic shapes.
- Create patterns.
3
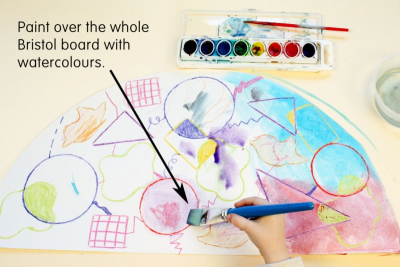
- Use watercolours to paint over the whole Bristol board.
- Use several colours and let them mix together.
4
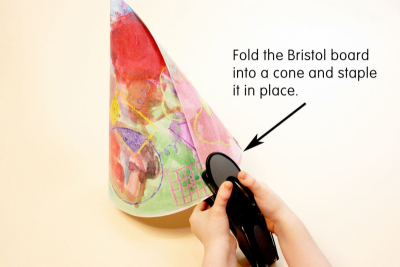
- Fold the Bristol board into a cone.
- Measure it so it fits your head.
- Staple it together.
5
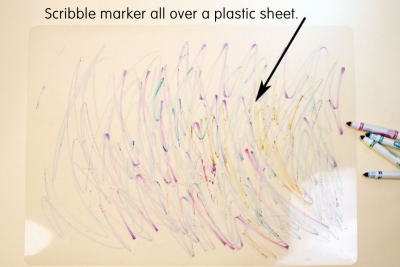
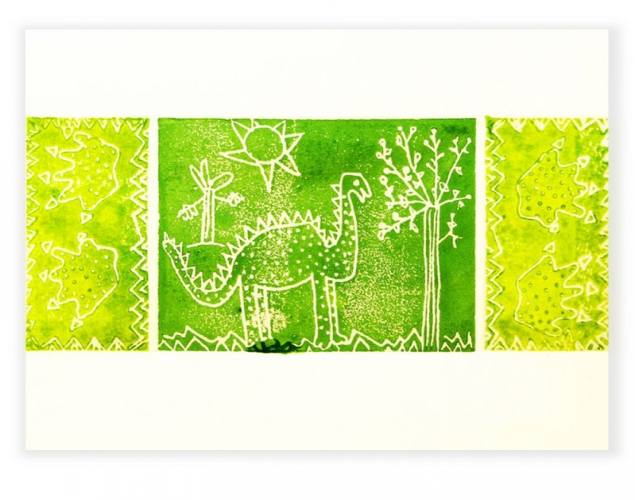
- Use markers to scribble lots of coloured lines all over a plastic sheet.
6
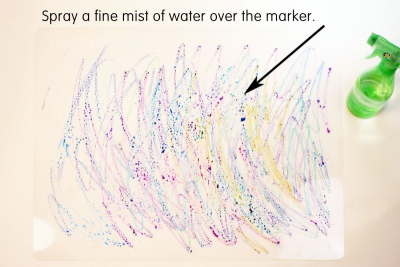
- Spray a fine mist of water all over the marker.
7
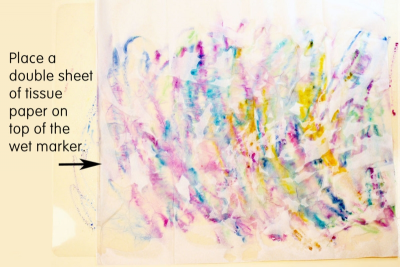
- Place a double sheet of tissue paper on top of the wet marker.
- Gently pat the surface of the paper.
8
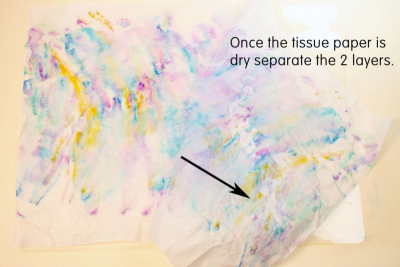
- Once the tissue paper is dry carefully separate the 2 layers.
9
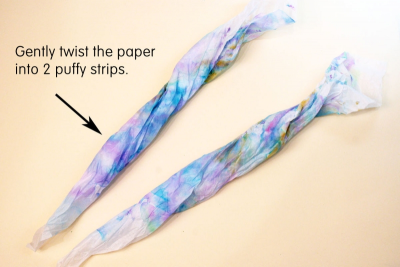
- Gently twist the paper into 2 puffy strips.
10
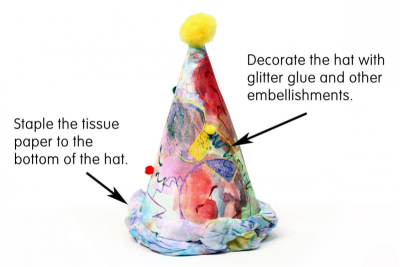
- Decorate the hat with glitter glue and other embellishment.
- Staple the tissue paper to the bottom of the hat.
Subjects:
Grades:
Kindergarten,
Grade 1,
Grade 2,
Grade 3