Supplies:
- Crayola No-Run School Glue
- Crayola Scissors
- Crayola Watercolour Paints
- Crayola Paint Brushes
- Crayola Regular Crayons - NOT Washable
- Paper Fasteners - 1 per student
- Pipe Cleaners
- Large Paper Clips - 4 per student
- Rulers
- Googly Eyes and Other Embellishments
- Large Plastic Beads to Fit Paper Fasteners - 1 per student
- Light Weight Bristol Board - 29 cm x 29 cm (11.75" x 11.75") - 1 per student
- Light Weight Bristol Board - 30.5 cm x 30.5 cm (12" x 12") - 1 per student
- Water Containers
- Paper Towels
- Plastic Lid about 11.5 cm (4.5") diameter - 1 per student
Steps:
1
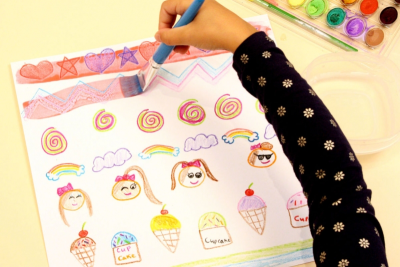
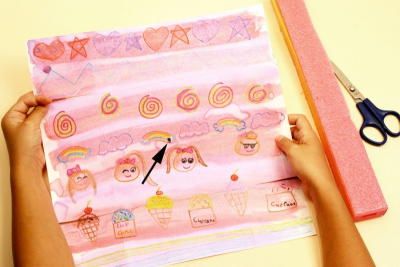
- Use crayons to draw patterns over the 30 cm x 30 cm (12" x 12") Bristol board.
- Press hard with the crayon.
- Paint over the whole paper with watercolours to create a crayon resist design.
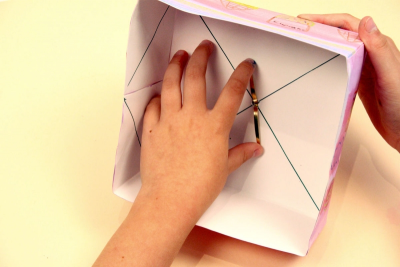
2
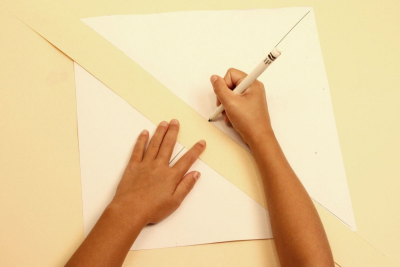
- Draw diagonal lines from corner to corner on the back of the Bristol board to make an X.
3

- Fold all 4 sides of the Bristol board into the centre of the X.
- Make sure the outer edge of the Bristol board lines up with the centre of the X.
- Make sure you fold all 4 sides into the X.
4
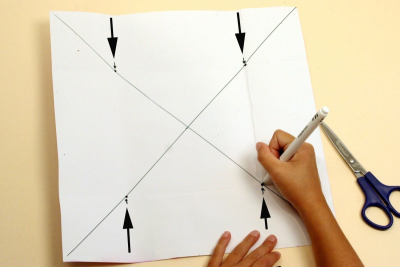
- Unfold the Bristol board.
- Mark a dot and small arrow at the intersection of the folds in the 4 corners.
- Make sure the arrows are facing each other.
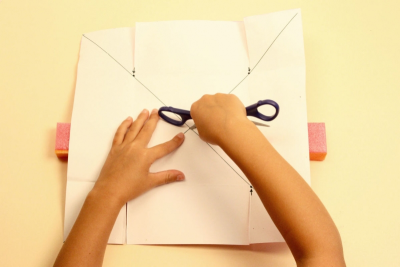
5
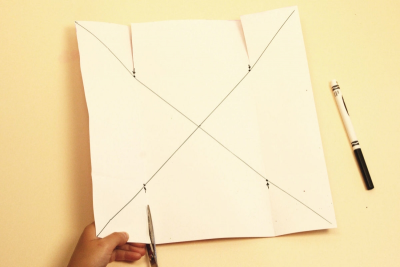
- Cut along each crease in the direction of the arrow and stop at each dot.
- There should be 4 cuts.
6
- Place the Bristol board on top of a piece of thick sponge.
- Use scissors, or a pen to poke a hole through the centre of the X.
- Press through the Bristol board and into the sponge.
7
- The hole should be right in the centre of the Bristol board.
- This is where the paper fastener will poke through.
8
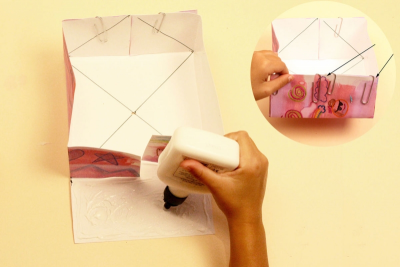
- Place the Bristol board with the painted side facing down.
- Fold the sides up and tuck the 2 small flaps in.
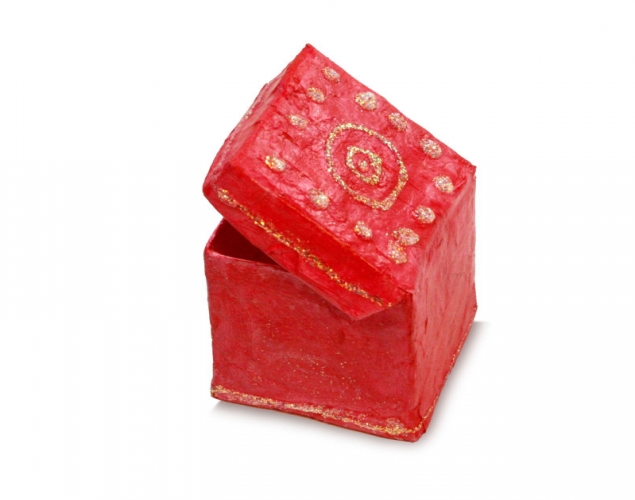
- Put lots of Washable glue all over the large flap and fold it up to make the box.
- Place a large paper clip on both ends of each flap to hold the paper in place until the glue dries. You should use 4 paper clips on each side of the box.
9
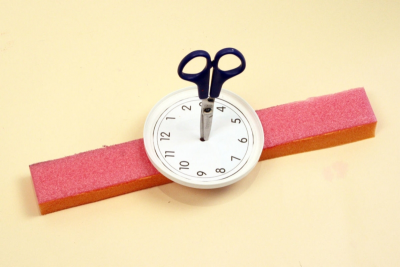
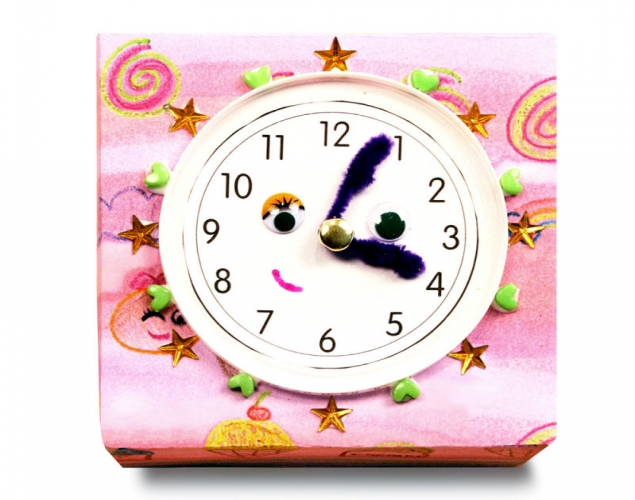
- Cut out the clock face and glue it to the plastic lid.
- Place the lid on top of a piece of thick sponge.
- Poke a hole through the centre of the lid with the tip of a pair of scissors, or a pen.
- Press firmly into the sponge to make the hole.
10
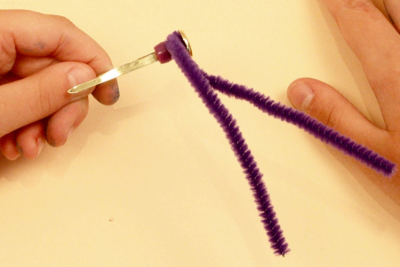
- Wrap a pipe cleaner around the top of a paper fastener.
- Thread a large bead onto the paper fastener and push it up to the pipe cleaner to hold it in place.
11
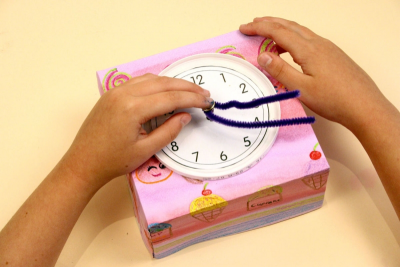
- Put washable glue on the back of the plastic lid.
- Place the lid on top of the box and poke the paper fastener through the hole.
12
- Flatten the legs of the paper fastener on the inside of the box.
- Make sure they are firmly in place.
13
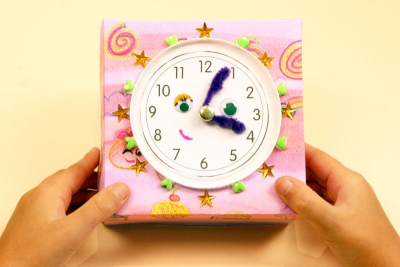
- Follow the same steps as you did for the top of the box to make the bottom of the box using the 29 cm x 29 cm (11.75" x 11.75") piece of Bristol board.
- Put the two parts of the box together to make it sturdy.
- Twist the ends of the pipe cleaner to shorten the clock hands.
- Use glitter glue and other embellishments to add details to your clock.
- Use your clock to practice telling the time.
Subjects:
Language Arts,
Mathematics,
Social Studies,
Visual Arts
Grades:
Grade 1,
Grade 2,
Grade 3