Supplies:
- Crayola Dry-Erase Washable Crayons, 8 Count
- Crayola Sketchbooks - 1 per student
- Crayola Paint Brushes
- Crayola Marker & Watercolour Paper - 22.9 cm x 30.5 cm (9" x 12")
- Plastic Placemats - 1 per student
- Water Containers
- Pencils
- Green Masking Tape
- Paper Towels
Steps:
1

- Experiment with ways to use the Crayola Dry-Erase crayons.
- dip the crayon into the water and then draw with it
- paint water onto the tip of a crayon and then paint the colour onto the paper
- paint some water on the paper and draw into it
2
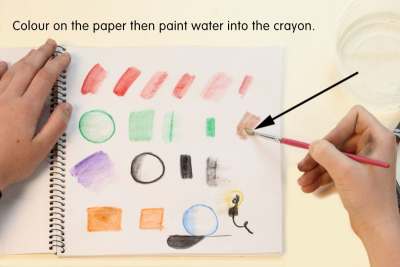
- Colour crayon directly on the paper and then brush water into it.
- try using a small amount of water
- use more water and see what happens
3
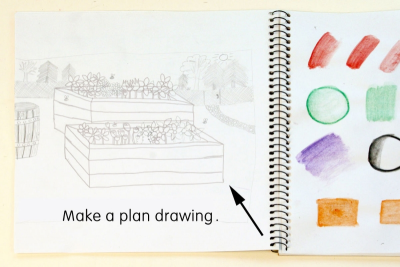
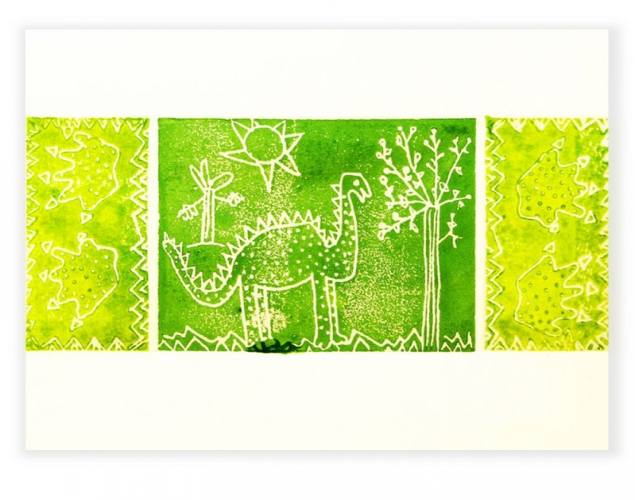
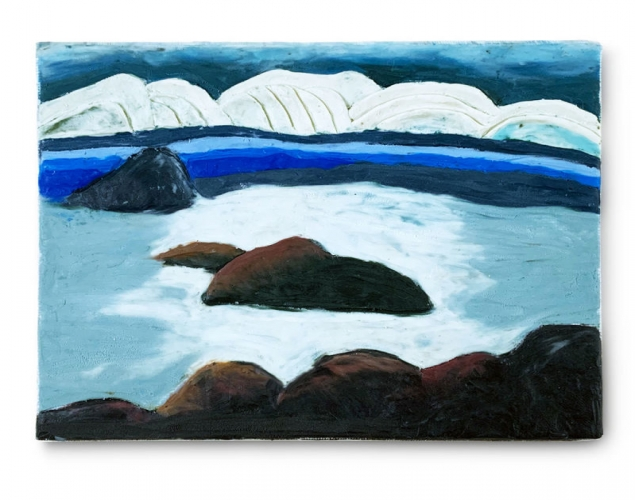
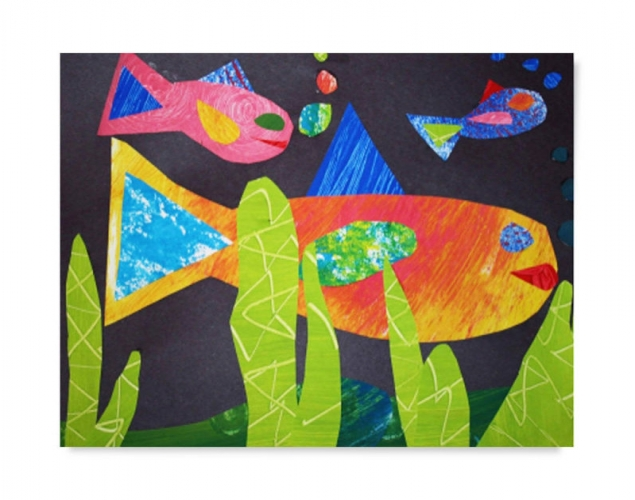
- Make a plan drawing.
- include important details
- make sure the composition is balanced
- place shapes and lines so they move your eye through the picture plane
4
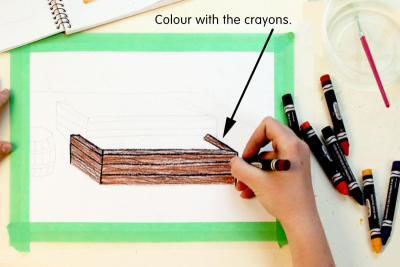
- Tape a piece of watercolour paper to a plastic placemat.
- Be sure to use one long strip of tape for each side.
- Lightly draw your composition on the paper with a pencil.
- Begin by colouring directly on the paper with the Dry-Erase crayons.
5
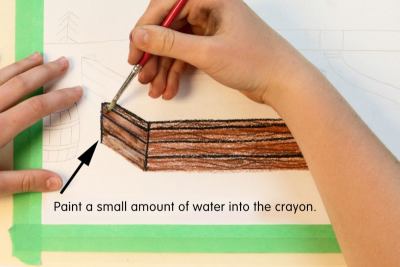
- Paint water into the crayon to create different values.
6
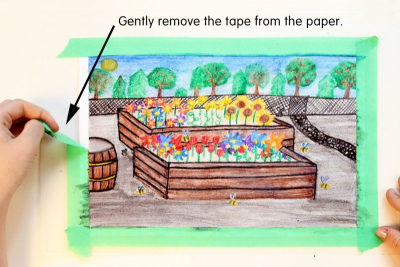
- When you are satisfied with your work, gently remove the tape from the paper.
7
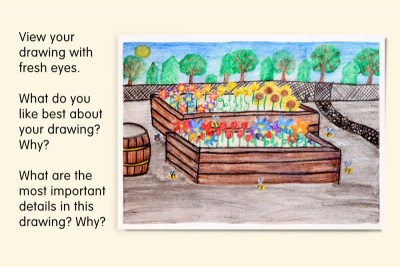
- View your picture with fresh eyes.
- What details provide visual information about the project?
- How did you use water to create different values and textures?
- How did you create the illusion of depth?
- How does the picture make you feel? Why?
- What do you like best about your picture? Why?
Subjects:
Grades:
Grade 1,
Grade 2,
Grade 3,
Grade 4,
Grade 5,
Grade 6,
Grade 7,
Grade 8