PATTERN SCULPTURE – Inspired By The OCAD BuildingStudents use a variety of papers and drawing tools to create a pattern-filled, free-standing sculpture that is inspired by OCAD University's Sharp Centre for Design.
Students use a variety of papers and drawing tools to create a pattern-filled, free-standing sculpture that is inspired by OCAD University's Sharp Centre for Design.
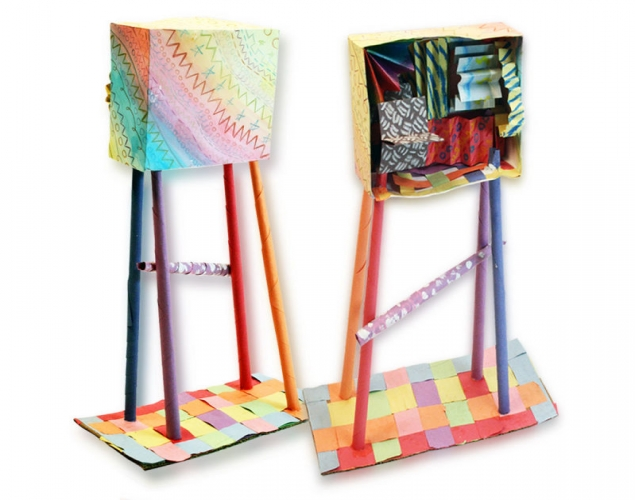
Supplies:
- Crayola Oil Pastels
- Crayola Coloured Pencils
- Crayola Watercolour Paints
- Crayola Paint Brushes
- Crayola Regular Crayons
- Crayola Scissors
- Crayola White Glue
- Crayola Glue Sticks
- Crayola Construction Paper - 22.9 cm x 30.5 cm (9" x 12")
- Cardstock Paper - 21.^ cm x 27.9 cm (8.5" x 11")
- Rulers
- Water Containers
- Paper Towels
- Scrap Pieces of Corrugated Cardboard
Steps:
1
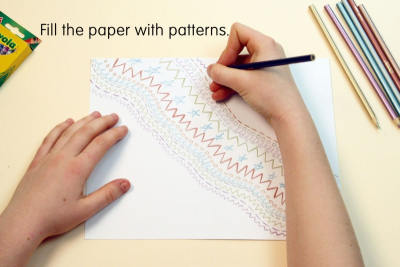
- Use a 21.6 cm x 27.9 cm (8.5" x 11") piece of cardstock paper.
- Use crayons or coloured pencils to fill the paper with lots of different patterns.
2
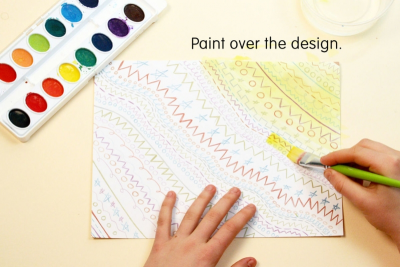
- Use watercolours to paint over the whole design.
3
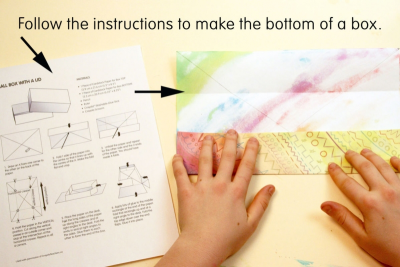
- Use the Small Box With A Lid worksheet. (Downloads - SmallBox.pdf)
- Follow the instructions to make the bottom of a box.
4
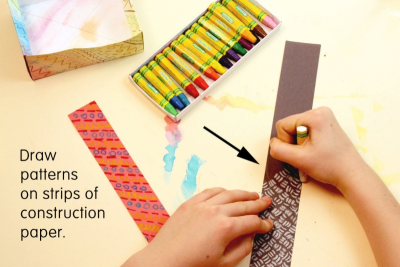
- Use paint and/or oil pastels to draw patterns on strips of construction paper.
- make the strips of paper different widths
- vary the colours and designs
- make at least 6 different strips
5
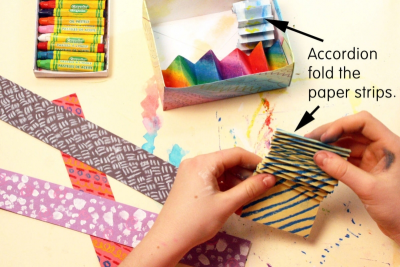
- Accordion fold the paper strips.
- Make some folds deeper than others.
- Fill the box with the folded paper strips.
- play with the space to make interesting shadows
- change the direction of the strips
- place some strips over other strips
- be aware of how your eyes move from one pattern to another inside the box
6
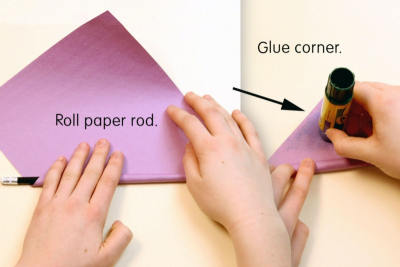
- Roll at least 4 paper rods to support your box.
- place a piece of construction paper flat on your desk and at a 45° angle to the edge of your desk
- place a pencil on one corner of the paper so that it is parallel to the edge of your desk
- slowly begin to roll the paper around the pencil keeping it fairly tight
- when you are almost at the end put a small amount of glue on the tip of the paper, then finish rolling the paper
- press the glued tip against the rolled paper to hold it in place
- remove the pencil
7
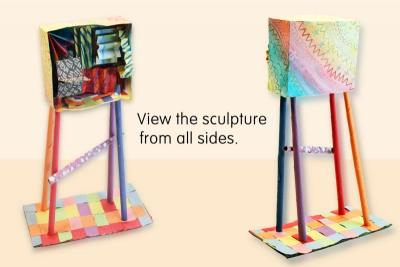
- Use the rods to support your pattern box in an interesting way.
- Make sure the sculpture is balanced and sturdy.
- View the sculpture from all sides.
- Give the sculpture a title.
Subjects:
Grades:
Grade 3,
Grade 4,
Grade 5,
Grade 6,
Grade 7,
Grade 8,
Grade 9

