Supplies:
- Crayola Modeling Clay 1lb, Classic Colours
- Various Clay Tools
- Plastic Placemat
- Canning Snap Lids
- Magnets
Steps:
1
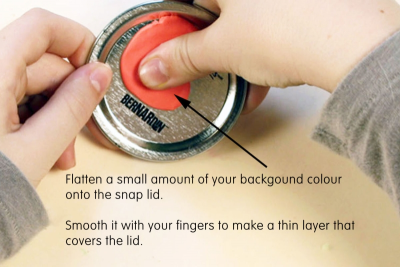
- Choose a background colour.
- Flatten a small amount of it onto the snap lid.
- Smooth it out with your fingers to make a thin layer that covers the lid.
2
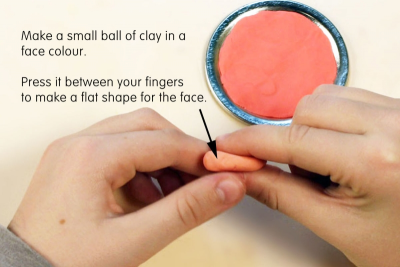
- Make a small ball of modeling clay in a face colour.
- Press it between your fingers to make a flat shape for the face.
3
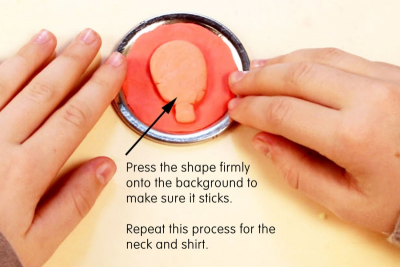
- Press the shape firmly onto the background to make sure it sticks.
- Repeat this process for the neck and shirt.
4
- Decide how you want to make the eyes, for example,
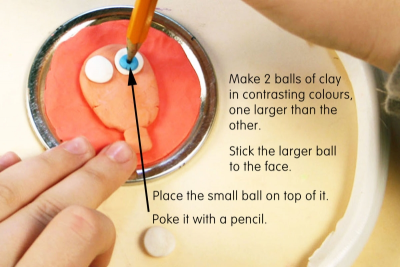
- Make two balls of clay in contrasting colours, one larger than the other.
- Stick the large ball to the face. Place the small ball on top of it.
- Poke the small ball with a pencil to join the two pieces and make the pupil of the eye.
5
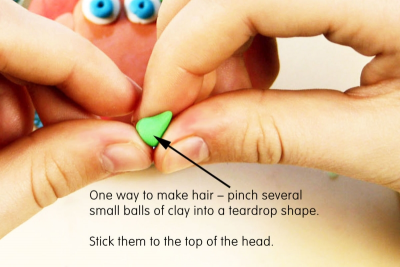
- Decide how you want to make the hair, for example,
- Make several small balls of clay.
- Pinch them into the teardrop shape.
- Stick them to the top of the head
6
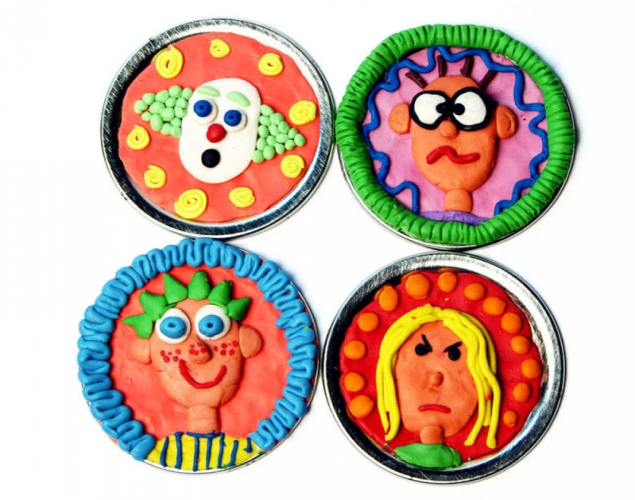
- Decide what expression you want to make.
- Remember the cues that help express that emotion.
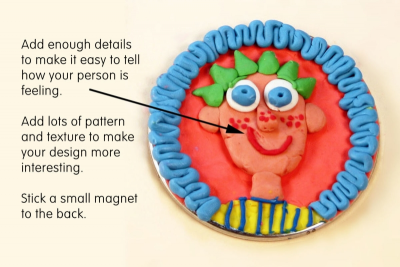
- Add enough details to make it easy to tell how your person is feeling.
- Add lots of pattern and texture to make the design more interesting.
- When you are satisfied with your design stick a small magnet to the back.
Subjects:
Grades:
Grade 1,
Grade 2,
Grade 3,
Grade 4,
Grade 5,
Grade 6,
Grade 7,
Grade 8