Supplies:
- Crayola Watercolour Paints
- Crayola Paint Brushes
- Crayola marker & Watercolour Paper - 22.9 cm x 30.5 cm (9" x 12") - 3 pieces per student
- Crayola Regular Crayons
- Paper Towels
- Plastic Placemats
- Water Containers
- Masking Tape
- Table Salt
- Bubble Wrap
- Plastic Wrap
Steps:
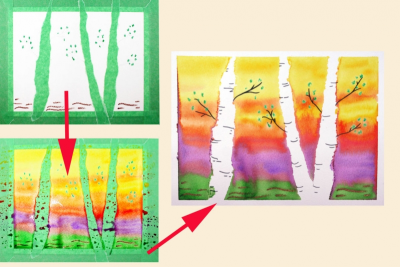
1
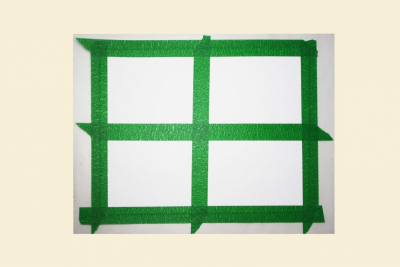
- Tape a single piece of watercolour paper onto a plastic placemat or piece of stiff cardboard.
- Use masking tape to divide the paper into 4 sections.
- When the tape is removed it will leave a white border around the paintings.
- Be sure to use one long strip of tape for each side unless you want a broken border.
2
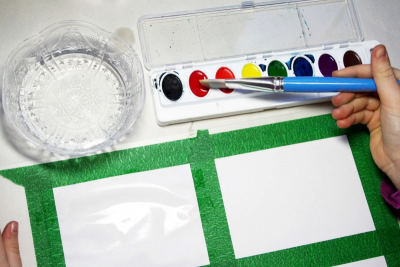
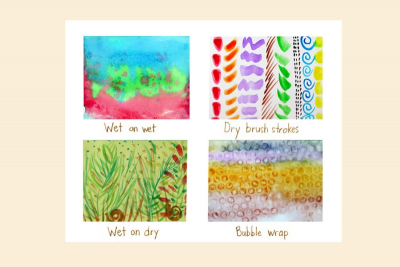
WET ON WET
- Wet the entire paper with clear water.
- Moisten the watercolour paints by dropping a brush load of water on each colour.
3
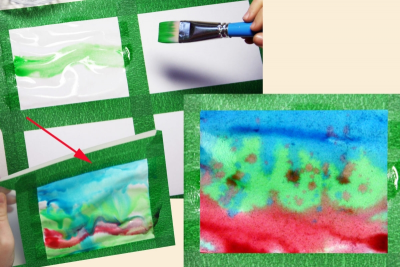
- Pick up a drop of colour and paint it onto the wet surface of the paper.
- Drip and blend different colours.
- Tip the paper in different directions to allow the colours to bleed and blend into each other.
- Tap a paint filled brush over the paper to splatter some drops.
4
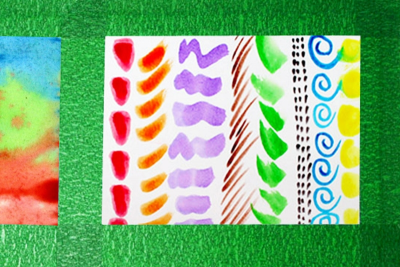
DRY BRUSH STROKES
- Do not wet the paper before starting.
- Squeeze most of the water out of your brush so it is fairly dry.
- Pick up a brush load of colour.
- Create a variety of strokes by changing the angle and pressure of the brush.
5
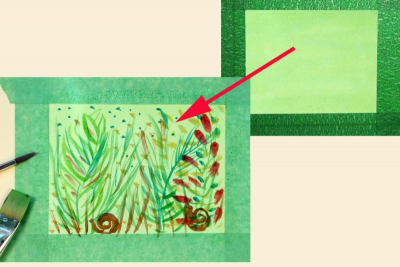
WET ON DRY
- Do not wet the paper before starting.
- Paint a thin, transparent layer of watery paint over the whole surface. This is called a wash.
- Allow the paint to dry.
- Paint over the dry paint with a variety of dry brush strokes.
6
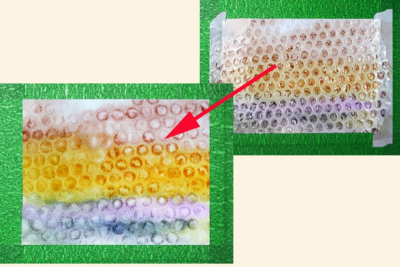
CREATING TEXTURES – BUBBLE WRAP
- Wet the entire paper with clear water.
- Pick up a drop of colour and paint into the wet surface of the paper.
- Experiment with colours.
- Cover the whole space with colour.
- Make sure the paint is still wet.
- Place bubble wrap over the wet paint.
- Allow the paint to dry.
- Remove the bubble wrap.
7
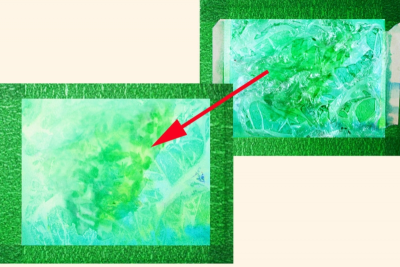
CREATING TEXTURES – PLASTIC WRAP
- Wet the entire paper with clear water.
- Pick up a drop of colour and paint into the wet surface of the paper.
- Experiment with colours.
- Cover the whole space with colour.
- Make sure the paint is still wet.
- Place plastic wrap over the wet paint.
- Allow the paint to dry.
- Remove the plastic wrap.
8
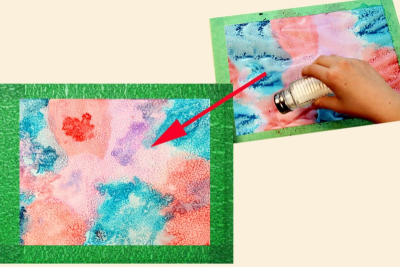
CREATING TEXTURES – SALT
- Wet the entire paper with clear water.
- Pick up a drop of colour and paint into the wet surface of the paper.
- Experiment with colours.
- Cover the whole space with colour.
- Make sure the paint is still wet.
- Sprinkle salt over the wet paint.
- Allow the paint to dry.
- Brush away the salt.
9
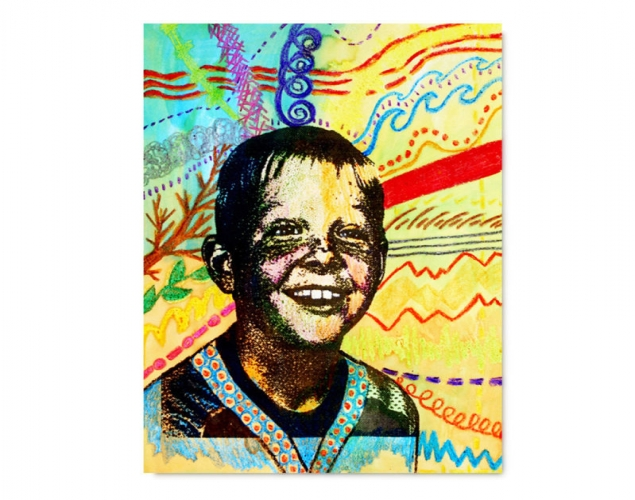
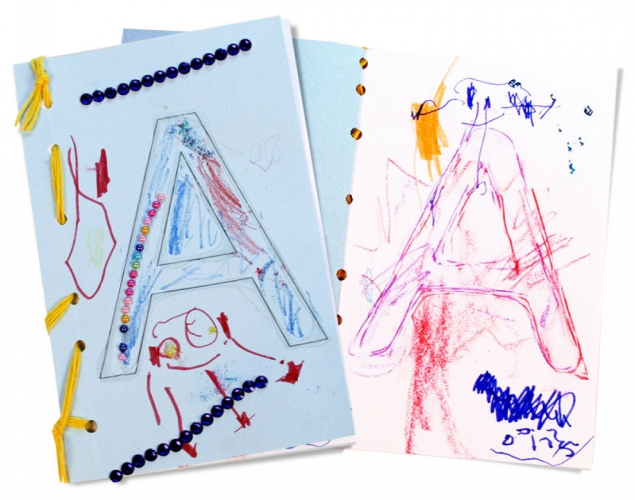
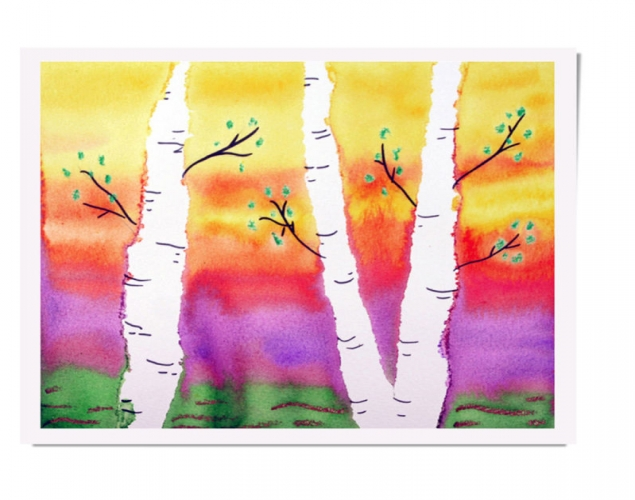
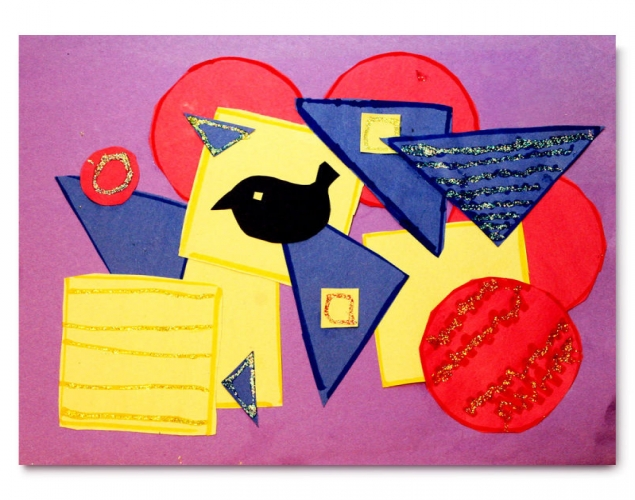
CRAYON RESIST AND TAPE
- Place tape on the paper.
- Use crayons to draw patterns or details on the paper.
- Paint over the crayon and tape letting different colours blend together.
- Remove the tape when the paper is dry.
10
- Once you have finished 4 techniques and the paint is dry, gently remove the tape.
- Label each technique.
Subjects:
Grades:
Grade 1,
Grade 2,
Grade 3,
Grade 4,
Grade 5,
Grade 6,
Grade 7,
Grade 8