Supplies:
- Crayola Air-Dry Clay - White
- Crayola Acrylic Paint
- Crayola Paint Brushes
- Water Containers
- Paper Towels
- Pin Tools or Toothpicks
- Plastic Container Lids - about 15 cm (8") diameter - 1 per student
Steps:
1
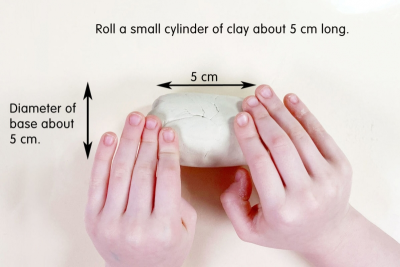
- Roll a small cylinder of clay about 5 cm (2") long and the diameter of the base about 5 cm (2").
2

- Use a pin tool to score one end of the cylinder.
3
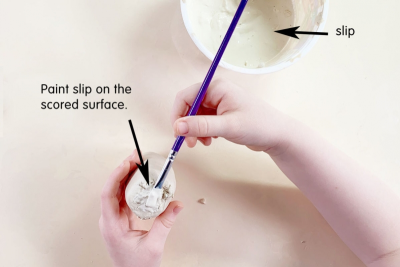
- Paint slip on the scored edges. (Slip - watery clay the consistency of a thick milkshake.)
4
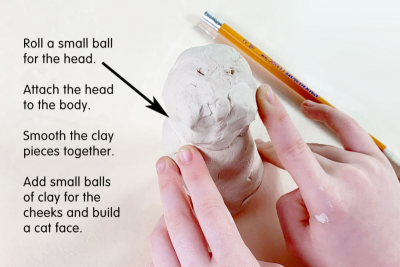
- Roll a small ball for the head.
- Score and slip one end of the ball.
- Attach the head to the body at the scored and slipped edges.
- Smooth the clay pieces together.
- Add small balls of clay for the cheeks and chin.
- Push in where the eyes should be to build the cat face.
5
- Pinch small pieces of clay to make ears.
- Make sure you score and slip the clay edges before joining pieces.
- Roll thin coils for the legs and tail.
- Add lots of details.
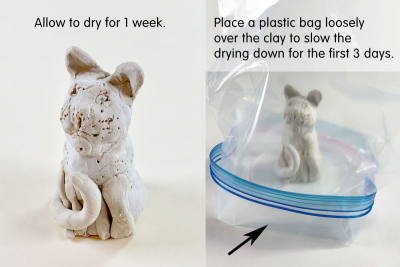
- Allow the clay to dry for 1 week.
- Place a plastic bag loosely over the cat to allow it to dry slowly.
This will help prevent the thinner pieces of clay from drying too quickly and breaking away from the rest of the cat. - Remove the plastic bag after 3 days and allow the cat to dry for 4 more days.
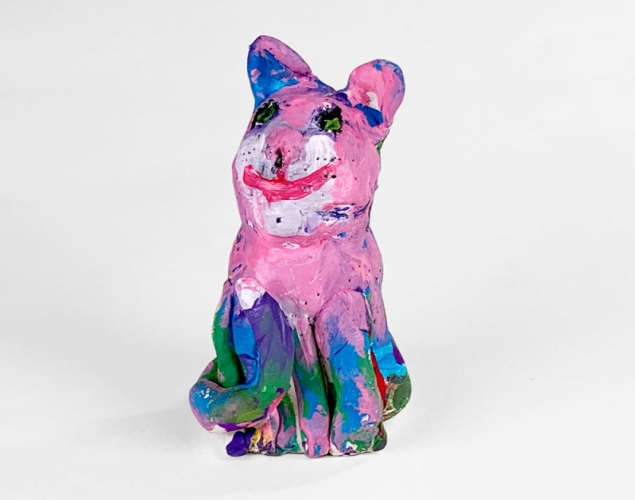
6
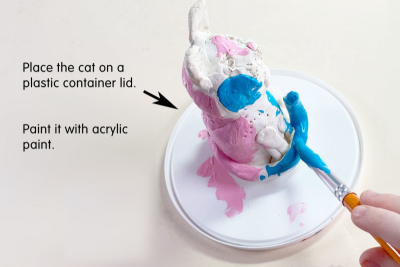
- Place the cat on a plastic container lid so you can turn it around without touching it.
- Paint it with acrylic paint.
- Mix 2 colours together to make new colours, e.g., white + red to get pink.
Subjects:
Grades:
Kindergarten,
Grade 1,
Grade 2,
Grade 3