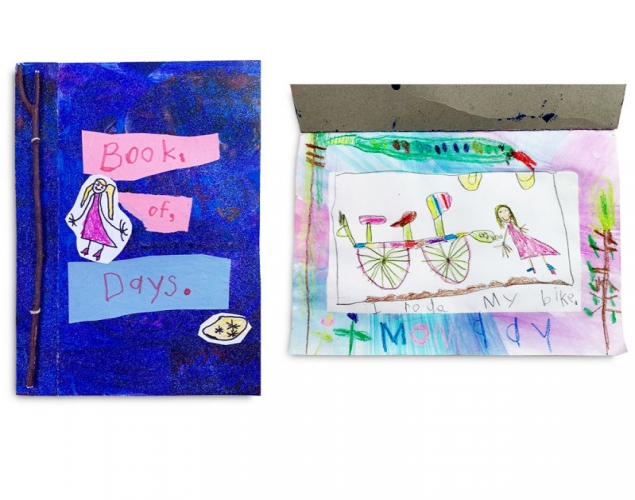
BOOK OF DAYS – Days of the Week, Colour, ShapeStudents create a Book of Days in this 3-part lesson. First they use a cereal box to make the covers for a simple book and decorate them using paint and construction paper. Then they create 7 decorated papers for inside the book using crayon resist and printmaking techniques, and finally they assemble the book and use the papers to record events over the course of a week.
Students create a Book of Days in this 3-part lesson. First they use a cereal box to make the covers for a simple book and decorate them using paint and construction paper. Then they create 7 decorated papers for inside the book using crayon resist and printmaking techniques, and finally they assemble the book and use the papers to record events over the course of a week.
Supplies:
- Crayola Markers
- Crayola Crayons - Regular NOT Washable
- Crayola Marker & Watercolour Paper - 22.9 cm x 30.5 cm (9" x 12")
- Crayola Glitter Paint
- Crayola Paint Brushes
- Crayola Washable School Glue
- Crayola Construction Paper - variety of colours
- Water Containers
- Paper Towels
- Crayola Scissors
- Masking Tape
- Plastic File Folders - Cut Into Rectangles - 1 piece per student
- Large Cereal Boxes - 1 per student
- Small Tree Branch about .5 cm (.5") diameter x 27.9 cm (11") long
- Elastic Bands - Medium Length - 1 per student
- Small Pieces of Sponge - about 3 cm x 3 cm (1.25" x 1.25") - 1 per student
Steps:
1
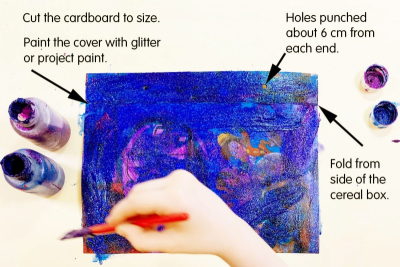
- Cut 2 pieces of cardboard from a large cereal box to a size that matches the size of your writing paper, for example, 22.9 cm x 30.9 cm.
- cut the box so the fold at the side of the box is part of the front cover.
- let the fold part be about 6.5 cm wide - Punch holes in each end of the fold part about 6 cm from each end and about 2 cm from the outside edge.
- Paint the cover with glitter or project paint.
- Set it aside to dry.
2
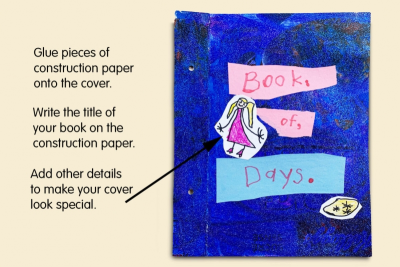
- Glue pieces of construction paper onto the cover.
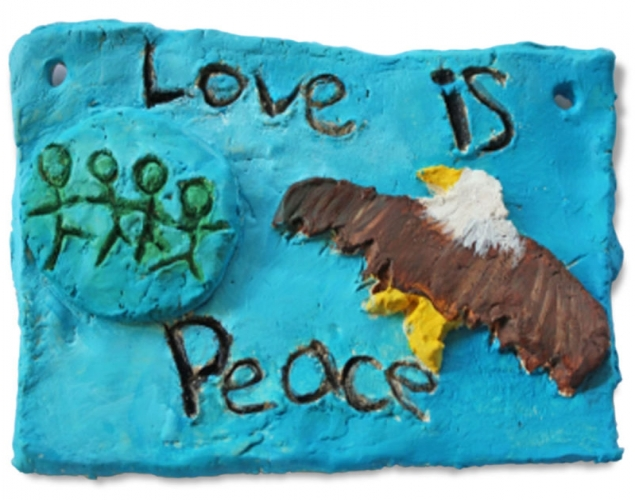
- Write the title of your book on the construction paper.
- Add other details to make your cover look special.
- Set the cover aside while you make some decorated papers for inside the book.
3
Prepare the Paper
- Gather 7 pieces of paper the same size as the cover of your book.
- Place the cover on top of each piece of paper.
- Mark where the holes are on all the papers.
- Punch holes that match the cover holes in each piece of paper.
Attach the Plastic
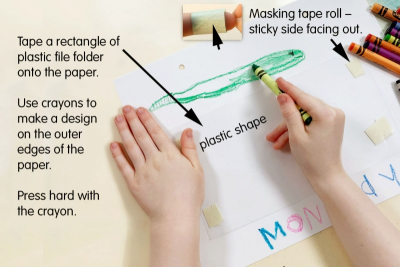
- Roll a piece of masking tape with the sticky side facing out to make a loop.
- Use 4 loops to fasten a piece of plastic file folder about 11 cm x 21 cm to one piece of paper.
- Make sure the tape is under the plastic shape.
Decorate Your Paper
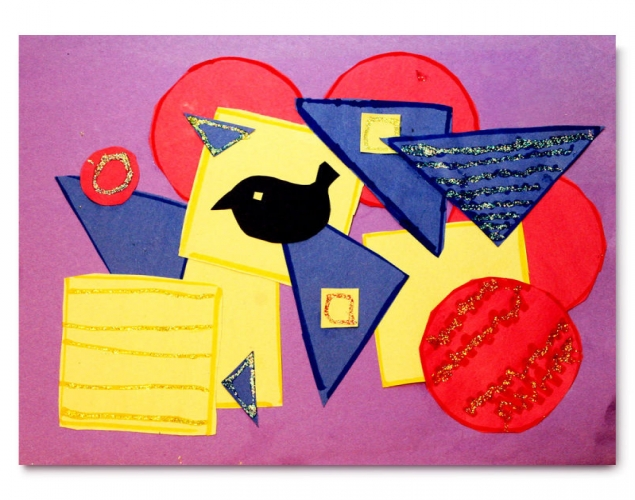
- Use crayons to colour a scene or design, including a day of the week, on the outside edges of the paper.
- Press hard with the crayon.
- Leave some paper white.
- Over the next few days repeat the process to decorate a paper for each day of the week.
4
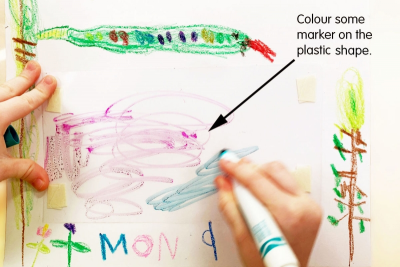
- Colour some marker ink on the plastic shape.
- Make sure the ink stays on the plastic shape and does not go on the paper.
5
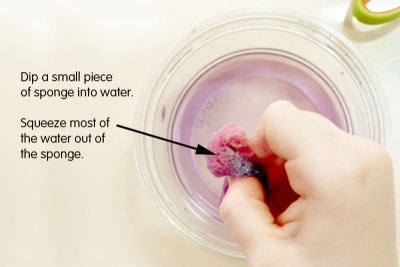
- Dip a small piece of sponge into water.
- Squeeze most of the water out of the sponge.
6

- Drag the wet sponge over the marker ink and onto the crayon design.
- Continue in this way until the outer frame is complete.
- You have made a stencil print.
- Gently remove the plastic shape from the paper.
7
Organize the Papers
- Gather your 7 decorated papers.
- Stack the papers together in order from Monday to Sunday.
- Place the papers between the front and back covers.
- Make sure the holes line up.
- Paper clip everything together.
Make the Book
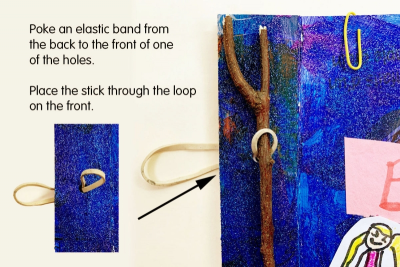
- Poke an elastic band from the back to the front of one of the holes.
- Make sure it goes through all of the papers and both covers.
- Place the stick through the loop of the elastic band at the front.
- Repeat for the other hole to fasten the book together.
8
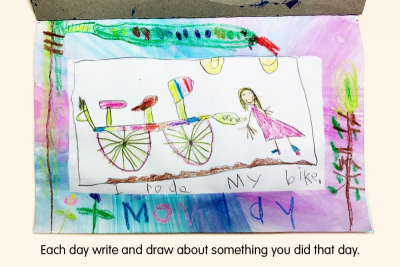
- Each day write about something that you did that day.
- At the end of the week go back and read each page to remember what you did all week long.
- Think about how you felt doing each of those things.
Subjects:
Grades:
Kindergarten,
Grade 1,
Grade 2,
Grade 3