Supplies:
- Crayola Watercolour Paints - 8 Count
- Crayola Scissors
- Crayola Crayons - Regular NOT Washable - 24 Count
- Crayola Paintbrushes - 5 Count
- Paper Plates - White - 1 per student
- Ribbon
- Transparent Contact Paper
- Hole Punch
- Leaves, Flowers, Sticks
- Water Containers
Steps:
1

- Go for a nature walk and gather flowers, leaves and sticks.
2
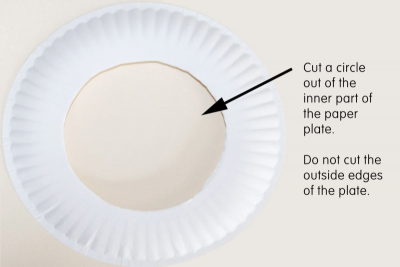
- Cut a circle out of the inner part of the paper plate.
- Do not cut the outside edges of the plate.
3
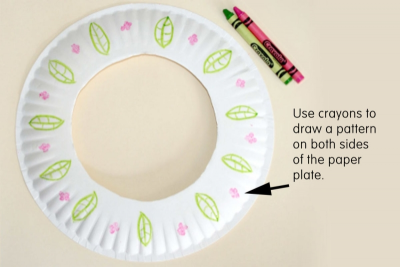
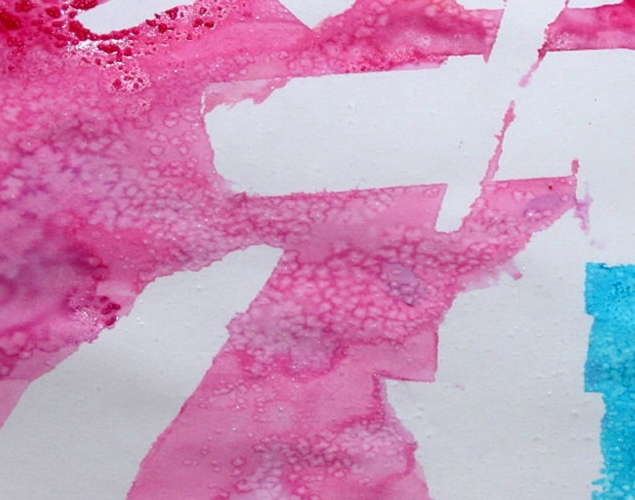
- Use crayons to draw a pattern on both slides of the paper plate.
4
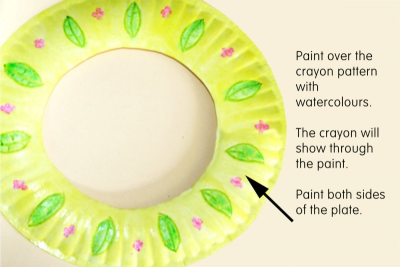
- Paint over the crayon pattern with watercolours.
- The cratoy will show through the paint.
- This is called crayon resist technique.
- Paint both sides of the plate.
5
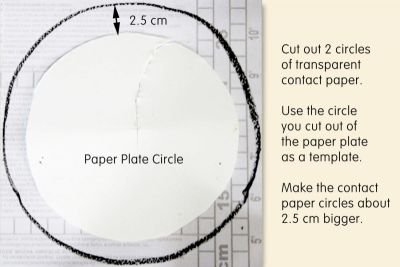
- Cut out 2 circles of transparent contact paper.
- Use the circle you cut out of the paper plate as a template.
- Make the transparent contact paper circles about 2.5 cm (1 inch) bigger than the paper plate circle.
6

- Stick one of the transparent circles over the hole in the paper plate.
- Make sure that the contact paper only sticks to the plate.
- Turn the plate over.
7
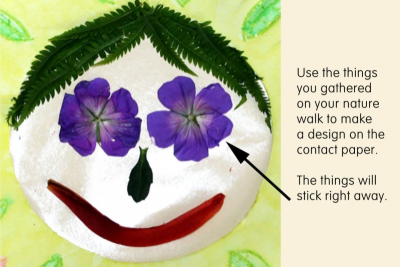
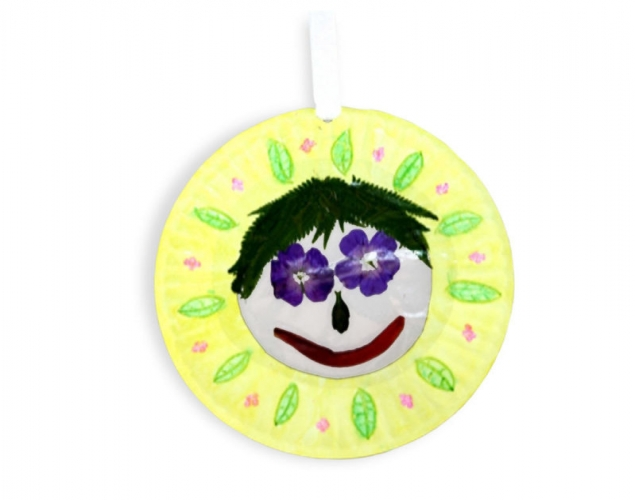
- Use the things you gathered on your nature walk to create a picture or design on the transparent contact paper.
- The pieces will stick right away.
8
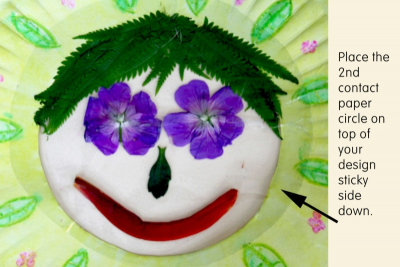
- Place the 2nd contact paper circle on top of the picture you created, sticky side facing down.
- Gently rub the surface to stick the two pieces of contact paper together.
9
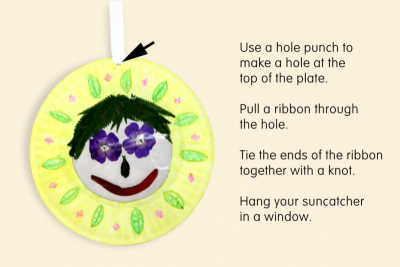
- Use a hole punch to make a hole at the top of the plate.
- Pull a ribbon through the hole.
- Tie the ends of the ribbon together with a knot.
- Hang your suncatcher in the window!
Subjects:
Language Arts,
Mathematics,
Science,
Visual Arts
Grades:
Pre-Kindergarten,
Kindergarten,
Grade 1,
Grade 2