Supplies:
- Crayola Modelling Clay
- Plastic Placemats
- Various Texture Making Tools
- Wax Paper
Steps:
1
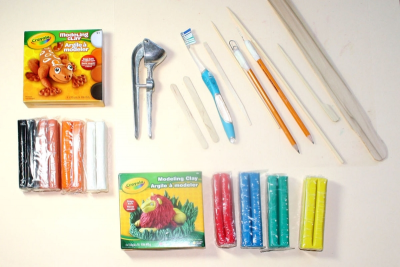
- Gather a variety of tools for creating texture and joining the modeling clay.
- You may want to make a pin tool by taping an open paper clip to the end of a pencil, and a gouging tool by taping a paper clip to the end of a pencil.
- Other useful tools are a garlic press, comb, skewer and toothbrush.
2
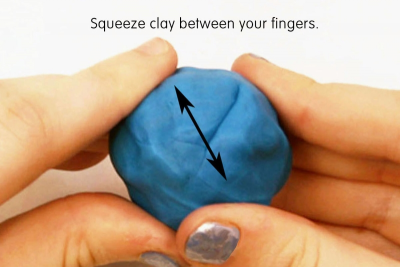
BALL
- Take a small piece of modeling clay.
- Squeeze it into a rough ball with your fingers.
3
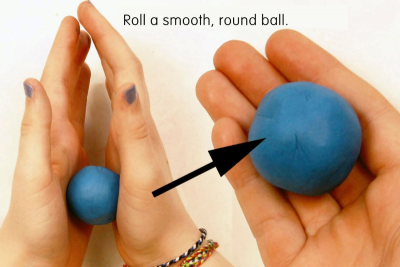
- Roll it around and around between the palms of your hands.
- Make sure to go in circular motions.
- Make it into a smooth, round ball.
4
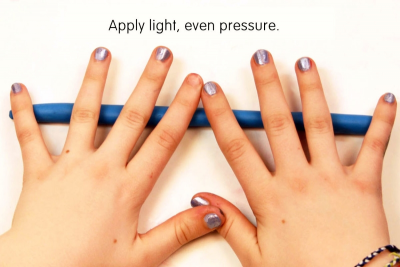
COIL
- Squeeze a small ball of clay into a sausage shape.
- Spread your fingers and apply light, even pressure as you roll the shape across the surface of the placemat.
- Make the shape long and thin.
- Make sure it does not get flat.
- See how long, thin, and smooth you can make your coils.
- Practice making long, thin coils and short, stubby ones.
5
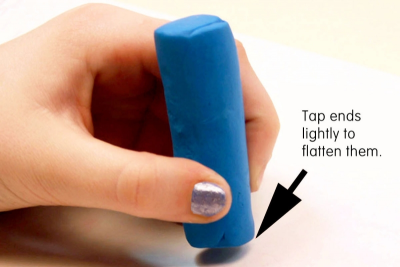
CYLINDER
- Roll out a short, thick coil.
- Gently tap the ends onto the placemat to make them flat and smooth.
6
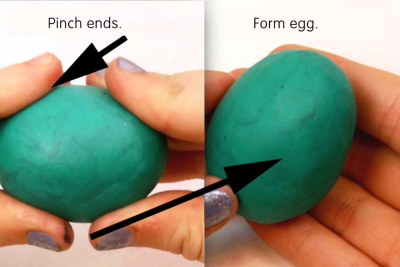
EGG
- Start with a ball.
- Roll it up and down between the palms of your hands to make it into a long oval shape.
- Gently pinch the ends of the oval with your fingers.
- Form it into an egg shape.
7
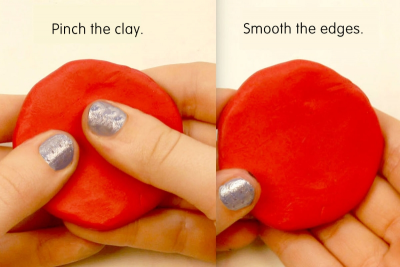
DISK
- Start with a small ball.
- Pinch it between your thumb and fingers to flatten it out.
- Smooth out the edges.
- Practice making different sizes and thicknesses of round disks.
8
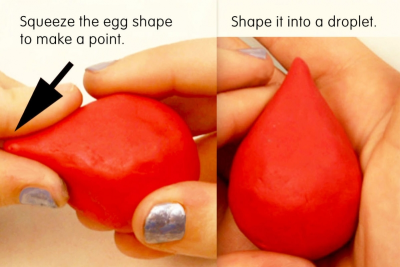
DROPLET
- Make an egg shape and continue to squeeze the top end until it becomes a point.
- Keep the rest of the shape smooth and round so the whole thing looks like a droplet of water.
9
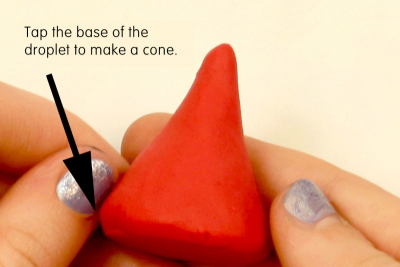
CONE
- Make a droplet.
- Gently tap the base on the desktop until it is smooth and flat.
10
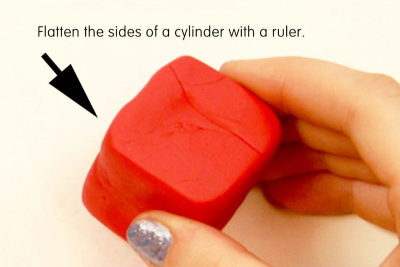
BOX
- Make a cylinder.
- Place a ruler or flat object on top of it and gently press down to flatten it.
- Turn it so the flat side is on the table top and repeat.
- Keep doing all sides until you have created a box.
- Practice making different sizes and shapes of boxes
11
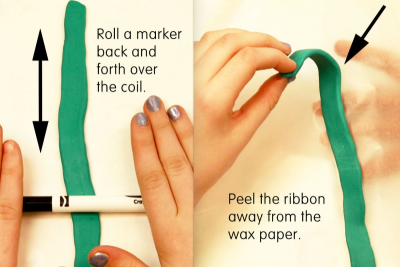
RIBBON
- Roll a long, thin coil.
- Place the coil on a piece of wax paper and then on top of the placemat.
- Gently roll a pencil or marker back and forth along the coil to flatten it into a ribbon.
- Lift the end of the wax paper and peel the ribbon away from it.
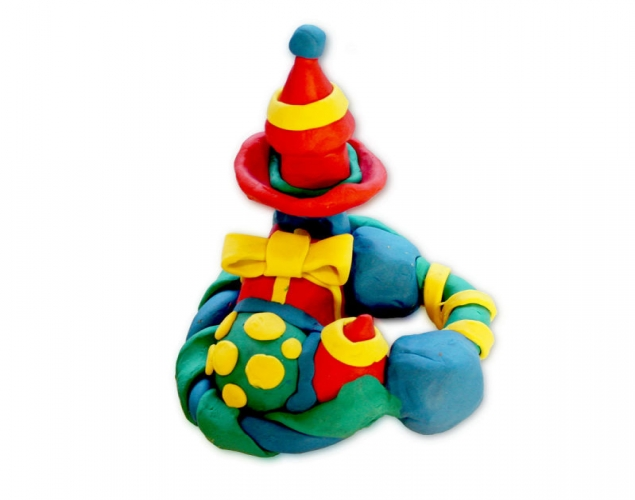
12
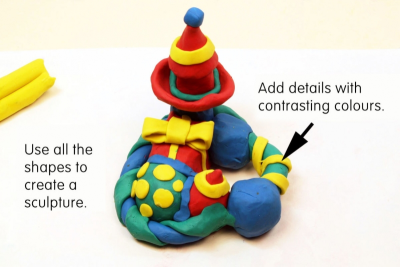
SCULPTURE
- Combine all the shapes you have created to make a sculpture.
- Press the modeling clay pieces firmly to each other.
- Use a stick or your fingers to blend the joint to make it stronger.
- Once it is complete use a new, contrasting colour of clay to add extra details.
Subjects:
Grades:
Kindergarten,
Grade 1,
Grade 2,
Grade 3,
Grade 4,
Grade 5,
Grade 6,
Grade 7,
Grade 8