PHOTO TRANSFER GREETING CARD – Pattern, Colour, ContrastStudents use watercolour pencil techniques, patterns and a photo transfer to create a small greeting card.
Students use watercolour pencil techniques, patterns and a photo transfer to create a small greeting card.
Supplies:
- Crayola Marker & Watercolour Paper - 15.2 cm x 22.9 cm (6" x 9")
- Crayola Paint Brushes - Small Round
- Crayola Glue Sticks
- Crayola Scissors
- Crayola Watercolour Pencils
- Green Painters Tape
- Clear Packing Tape
- Water Containers
- Water Basin
- Paper Towels
- Cotton Dish Towel
Steps:
1
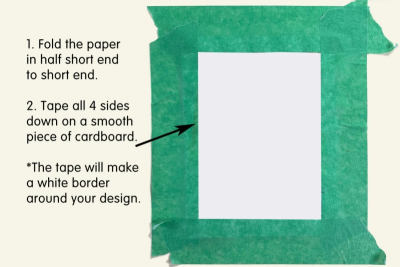
- Fold the paper in half short end to short end.
- Tape all 4 sides down on a smooth piece of cardboard such as Bristol board or a piece of cereal box.
- Be careful how you place the tape. It will make a white border around your finished design.
2
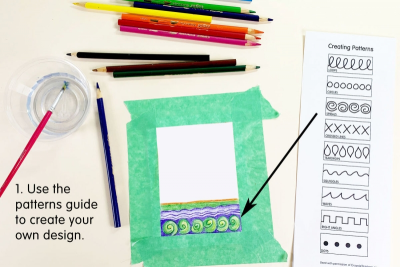
- Make sure you know where the top of your card is.
- Place the paper with the top facing up.
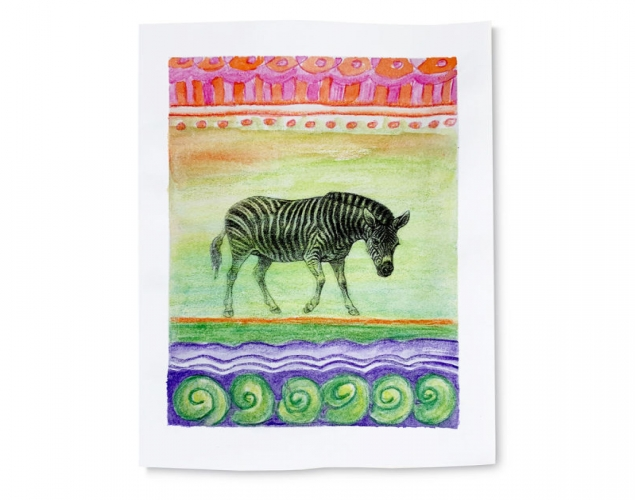
- Use the patterns guide to create your own design. (Downloads - CreatingPatterns.pdf)
3
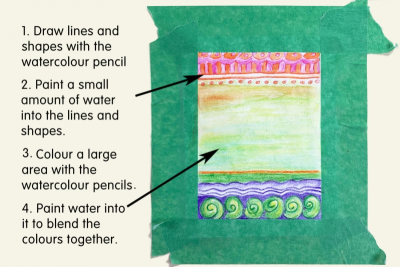
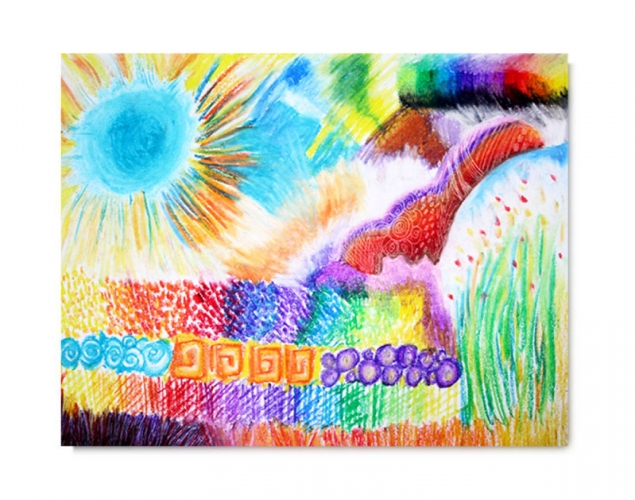
- Draw lines and shapes with the watercolour pencil.
- Paint a small amount of water into the lines and shapes.
- Colour a large area with several colours of watercolour pencils.
- Paint water into it to blend the colours together.
- Set the paper aside to dry.
4

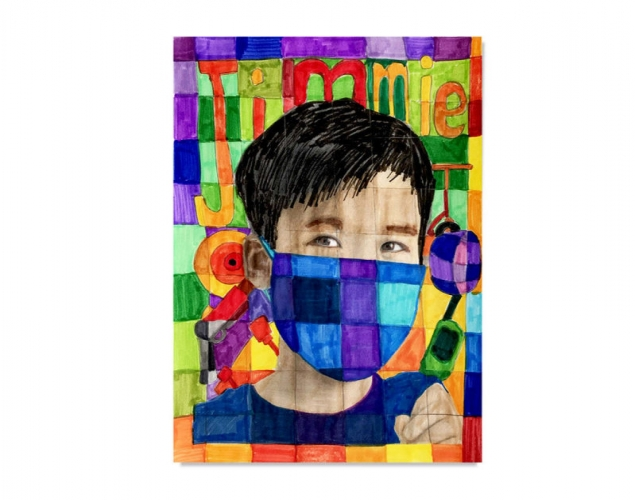
- Select the photo you want to use.
- Follow the instructions to make a photo transfer. (Downloads - PhotoTransfer.pdf)
5
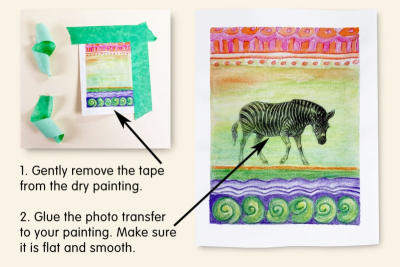
- Gently remove the tape from the dry painting.
- Use a glue stick to glue your photo transfer to your painting.
- Make sure it is smooth and flat.
Subjects:
Language Arts,
Mathematics,
Visual Arts
Grades:
Grade 4,
Grade 5,
Grade 6,
Grade 7,
Grade 8