Supplies:
- Crayola Marker & Watercolour Paper - 22.9 cm x 30.5 cm (9" x 12")
- Crayola Tempera Paint
- Crayola Scissors
- Crayola Washable Glue Sticks
- Crayola Construction Paper - Variety Colours - 22.9 cm x 30.5 cm (9" x 12")
- Pencils
- Onion Skin Tracing Paper
- Tag Manilla Paper - 22.9 cm x 30.5 cm (9" x 12") - 2 pieces per student
- Brayers or Soft Paint Rollers
- Wooden Spoons
- Plastic Trays or Plastic Placemats
- Recycled Newspapers
- Recycled Magazines
- Paper Towels
Steps:
1
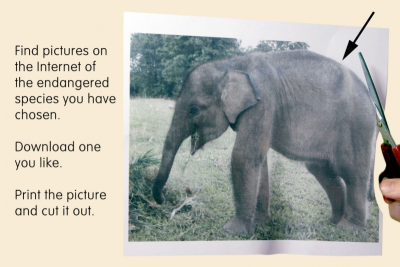
- Find pictures on the Internet of the endangered speciaes you have chosen.
- Download one you like.
- Resize it to fit on your 22.9 cm x 30.9 cm tag manilla paper.
- Print the picture and cut it out.
2
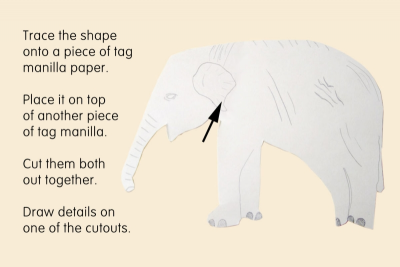
- Trace the outline of the animal onto a piece of tag manilla or other cardboard.
- Instead of tracing the outline you can also simply draw it. - Pay attention to the size of your shape.
- You need to balance the positive and negative space on your paper.
- The animal shape will fill the positive space.
- Whatever is left over will be the negative space. - Place the paper on top of another sheet of tag manilla.
- Cut them both out together.
- Draw details on one of the cutouts.
3
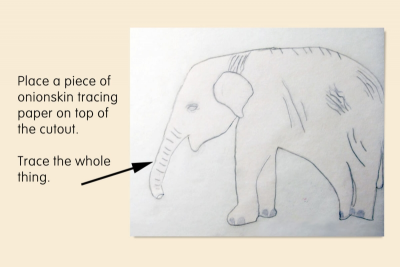
- Place a piece of onionskin tracing paper on top of the cutout.
- Trace the whole thing.
4
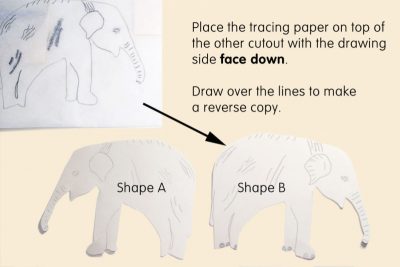
- Place the tracing on top of the other cutout with the drawing side face down.
- It should be the reverse of the original drawing.
- Draw over the lines.
- You can draw a line directly on top of the traced lines or scribble over the lines to transfer the lead pencil to the tag manilla. - Remove the tracing paper. You should have two drawings that are a mirror image of each other.
- The original shape is shape A.
- The reverse is shape B.
5
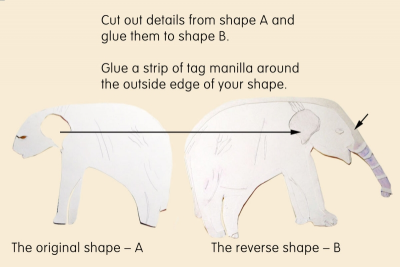
- Cut out details from shape A and glue them to shape B.
- Glue a strip of tag manilla to the outside edge of your shape.
- Keep adding details until you are satisfied.
- Make sure everything is glued down well so pieces do not lift off once you start printing.
- This will be your printing plate.
6
- Use a soft roller to spread the paint onto a plastic surface.
- Make sure you get an even coat of paint on the roller.
- Place the printing plate on a page of an open magazine.
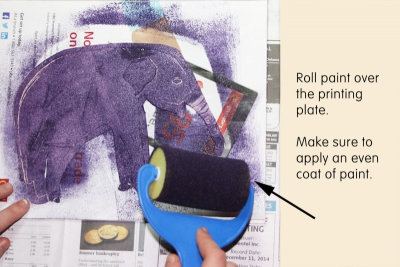
- Roll the paint over the surface of the printing plate.
- Make sure to apply an even coat of paint.
7
- Carefully lift the inked plate off the magazine page.
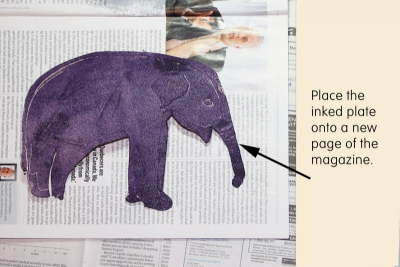
- Turn the page over to a new, clean page.
- Carefully place the inked plate onto the new page.
8
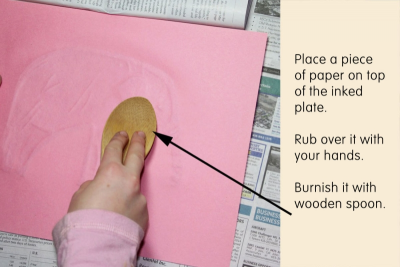
- Place a piece of paper on top of the inked plate.
- Rub over the surface with your hand.
- Use a wooden spoon to burnish the print.
- Make sure you apply even pressure to the entire plate.
- You need to transfer the paint from the plate to the paper.
9
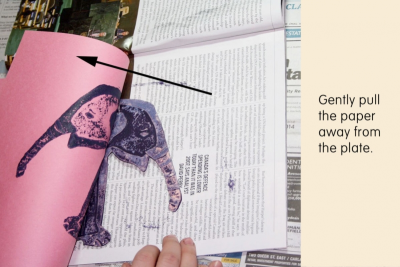
- Gently pull the paper away from the plate.
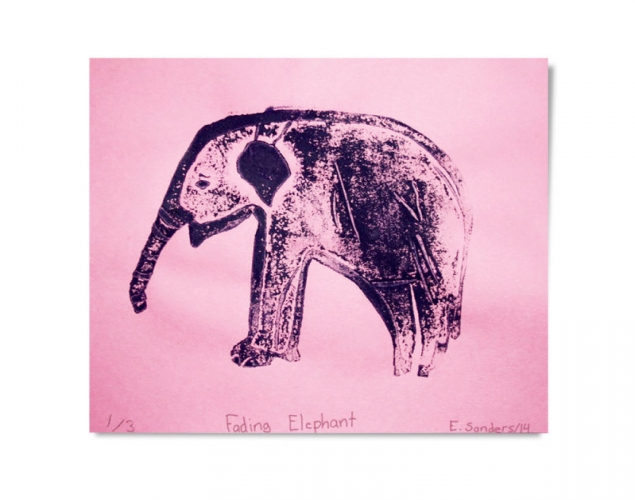
- Repeat the process to make 3 prints that look the same to complete your edition of prints.
- An edition of prints means that every print in the set of prints made looks the same.
10
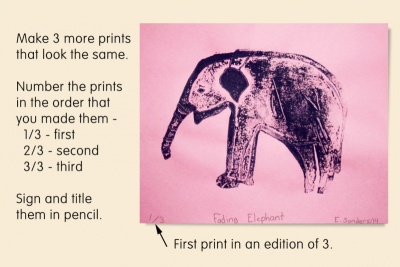
- Make 3 more prints that look the same.
- Use a pencil to number the prints in the order that you made them.
- First print - 1/3
- Second Print - 2/3
- Third print - 3/3 - Sign them and give them a title.
Subjects:
Language Arts,
Science,
Social Studies,
Visual Arts
Grades:
Grade 4,
Grade 5,
Grade 6,
Grade 7,
Grade 8,
Grade 9,
Grade 10