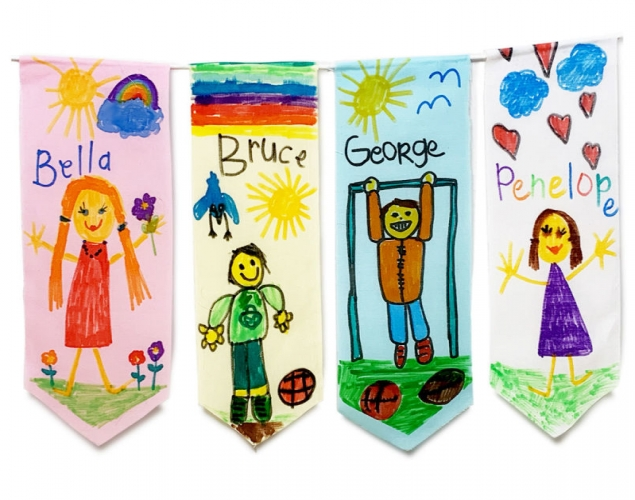
OUR CLASS BANNER – Shape, Colour, Fabric ArtStudents create an individual fabric banner using fabric markers to express their personalities and record their names. Then they add their banner to a class banner to show that in their class there is a place for everyone and together they are like a family where everyone is safe and it is important to be kind to each other.
Students create an individual fabric banner using fabric markers to express their personalities and record their names. Then they add their banner to a class banner to show that in their class there is a place for everyone and together they are like a family where everyone is safe and it is important to be kind to each other.
Supplies:
- Crayola Fabric Markers
- Crayola Washable Glue
- Cotton Polyester Fabric - about 10 cm x 28 cm (4" x 11") - 1 piece per student
- Bristol Board - 15 cm x 30.5 cm (6" x 12") - 1 piece per student
- Masking Tape
- String - enough to fit all the banners (about 3 metres/ 5 yards)
Steps:
1
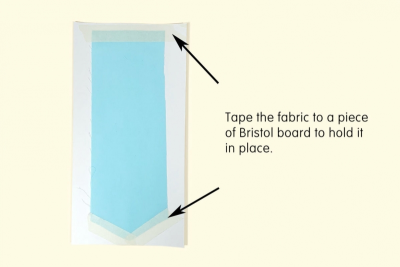
- Tape the fabric to a piece of Bristol board to hold it in place.
2
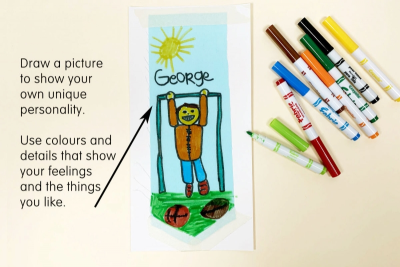
- Draw a picture to show your own unique personality.
- Apply the colour in light layers.
- Use colours and details that show your feelings and the things you like.
- Include your name as part of the design.
3
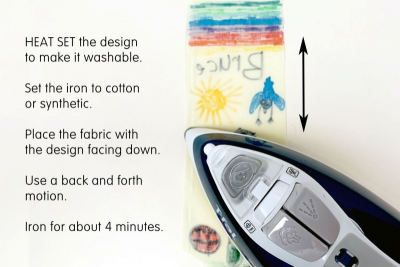
HEAT SET (OPTIONAL)
- When the drawing is finished an adult will heat set it to make it washable.
- use an iron
- set the temperature to cotton or synthetic
- iron the REVERSE side of the design
- use a back and forth motion
- iron for about 4 minutes
4
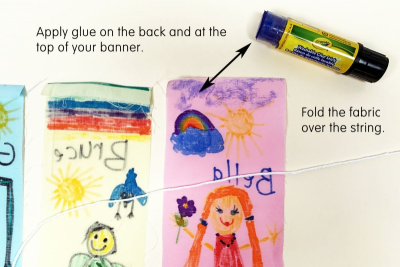
- Glue your banner to the 'class community' of banners.
- Apply glue on the back and at the top of the fabric.
- Fold the glued fabric over the string.
- Leave a small space between each banner.
5
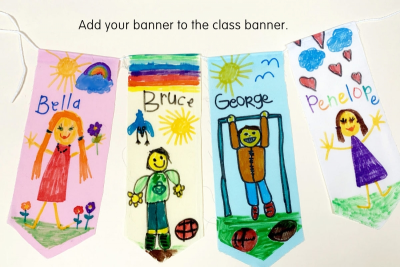
- View the class banner from a distance.
- Notice how each individual banner makes the class banner more interesting and beautiful - everyone belongs and adds something unique.
- The class banner shows that the class is like a big family where everyone belongs and it is safe to be yourself.
Subjects:
Grades:
Grade 1,
Grade 2,
Grade 3