Supplies:
- Crayola Scissors
- Crayola Stamper Markers - 10 Count
- Crayola Glue Sticks
- Crayola Construction Paper - 22.9 cm x 30.5 cm (9" x 12")
- Crayola Marker & Watercolour Paper - 22.9 cm x 30.5 cm (9" x 12")
- Crayola Coloured Pencils
Steps:
1
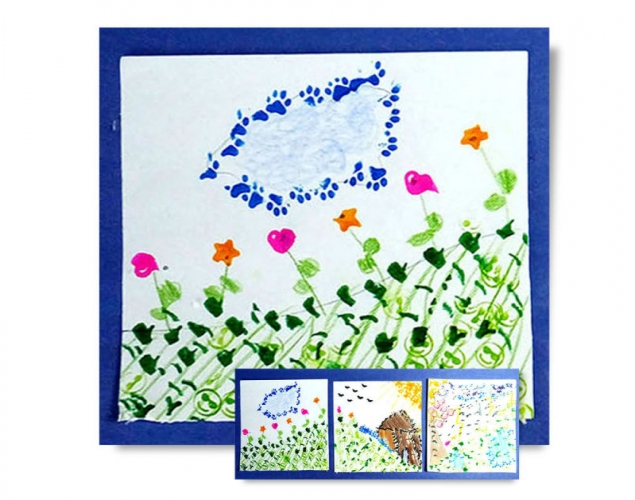
- Work with your partners to plan your landscapes.
- Make sure the horizon lines will line up from one picture to the next.
- Decide what details you will add to your part of the scene.
- Each person in your group choose one different object as the main focus for your picture, for example, a cloud; a tree; a house.
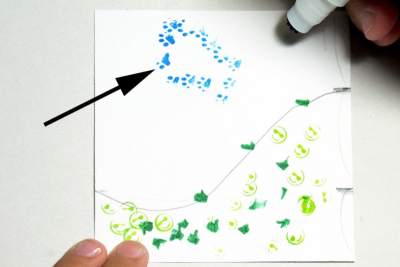
- Use Crayola stamper markers to add colour and detail to your landscape.
- Use different Crayola stamper markers to create different objects, such as the blue paw prints for clouds.
2
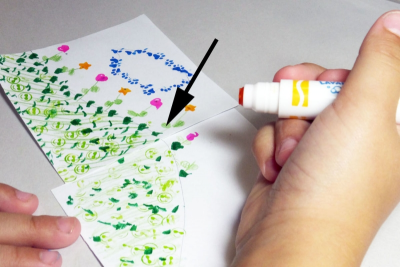
- Check with your partners to see how your horizon lines and colours are lining up.
3
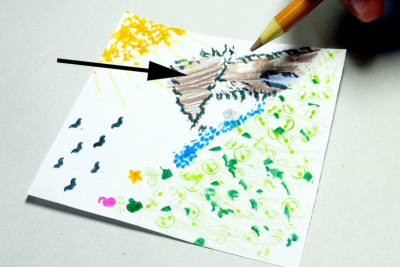
- Use coloured pencils to make your objects stand out.
4
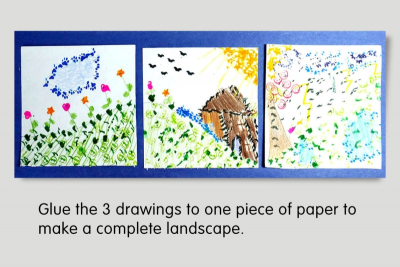
- Once you have each finished your piece of the triptych, place the drawings in the correct order to make a complete landscape with a flowing horizon line.
- When you are sure your group is finished, glue your triptych onto a piece of contrasting construction paper about 11.4 cm x 30.5 cm (4.5" x 12").
- Remember to glue the three sections in the correct order.
- Stand back and view your triptych with fresh eyes.
- Work together to create a short story using the triptych to inspire a beginning, middle and end of your tale.
Subjects:
Language Arts,
Visual Arts
Grades:
Grade 2,
Grade 3,
Grade 4