Supplies:
- Crayola Construction Paper
- Crayola Washable Glue
- Crayola Washable Glue Sticks
- Crayola Glitter Paint
- Crayola Paint Brushes
- Crayola Scissors
- Masking Tape
- Rulers
- Water Containers
- Paper Towels
Steps:
1
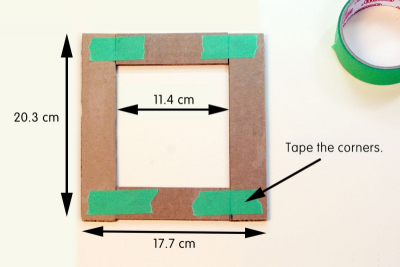
- Cut 4 strips of corrugated cardboard.
- 2 strips 3 cm x 20.3 cm
- 2 strips 3 cm x 11.4 cm - Place the strips to form a rectangular frame with the long strips on the sides and the short strips at the top and bottom.
- Line up the edges of the cardboard strips so the outer edges are even.
- Make sure the whole frame is flat on the desk.
- Place small pieces of masking tape on each corner to hold the frame together.
- The outside dimensions should be 17.7 cm x 20.3 cm.
2
- Place the frame tape side down.
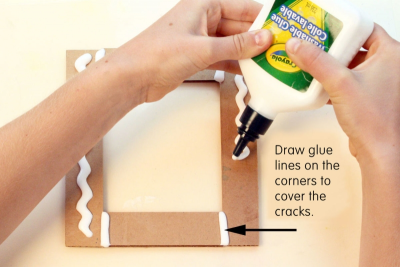
- Use washable glue to draw patterns on the cardboard.
- Make sure to draw glue lines along the cracks where the strips of cardboard join.
- Set the frame aside to dry overnight.
3
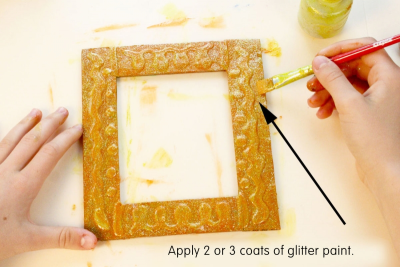
- Paint several coats of glitter paint on the dry frame.
- Allow the paint to dry between coats.
- Try painting different colours of glitter paint on top of each other to build up a rich, sparkly colour.
- Set the frame aside to dry.
4
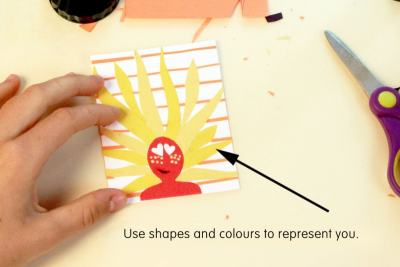
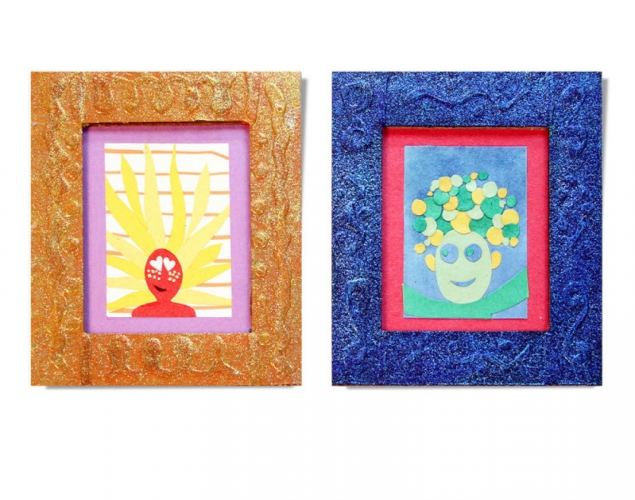
- Use construction paper to make a miniature self-portrait.
- Cut a piece of paper for the background 8 cm x 10 cm.
- Use colours and shapes to represent you.
- Use a glue stick to glue the pieces down.
- Make sure all the pieces of paper are glued flat.
5
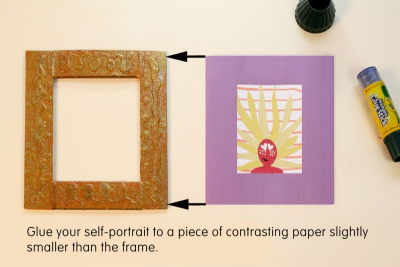
- Choose a colour of construction paper that contrasts with your self-portrait.
- Cut the paper so it is slightly smaller than your self-portrait.
- Use a glue stick to fasten your self-portrait to the centre of the paper.
6
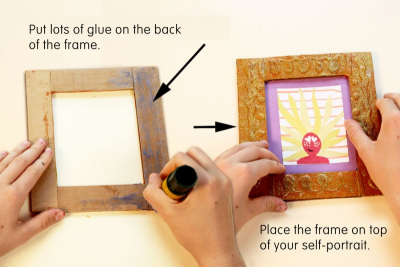
- Remove the masking tape from the back of the frame.
- Use a glue stick to put lots of glue on the back of the frame.
- Place the frame on top of the self-portrait with the glue side facing down.
- Press the paper and the cardboard together firmly.
7
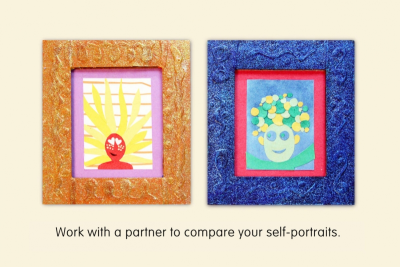
- Work with a partner.
- Place your self-portraits beside each other.
- Compare the two artworks.
- How are they the same?
- How are the different?
- What do the colours and shapes tell you about the person?
Subjects:
Language Arts,
Mathematics,
Visual Arts
Grades:
Grade 3,
Grade 4,
Grade 5,
Grade 6,
Grade 7,
Grade 8