Supplies:
- Crayola Broad Line Markers - 10 Count
- Crayola Fine Line Markers - 12 Count
- Crayola Marker & Watercolour Paper - 22.9 cm x 30.5 cm (9" x 12")
- Crayola Regular Crayons - 24 Count
- Overhead Transparency - 14 cm x 21.6 cm (5 ½" x 8 ½") - 1 per student
- Masking Tape
- Water Containers
- Small Pieces of Sponge - about 3 cm x 3 cm (1 ½" x1 ½ ") - 1 per student
- Paper Towels
- Rulers
- Pencils
Steps:
1
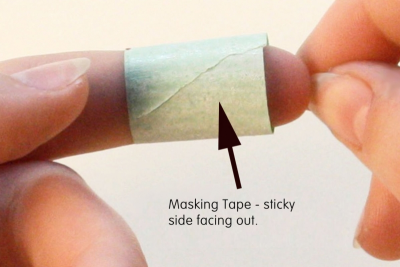
- Roll a piece of masking tape with the sticky side facing out to make a loop.
2
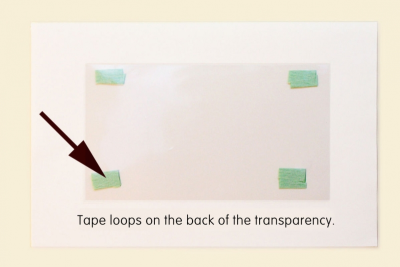
- Use the loops to fasten the plastic transparency to the paper.
- Make sure the tape is on the back of the transparency.
3

- Use crayons to colour a scene or design on the outside edges of the paper.
- Press hard with the crayon.
- Leave some paper white.
4
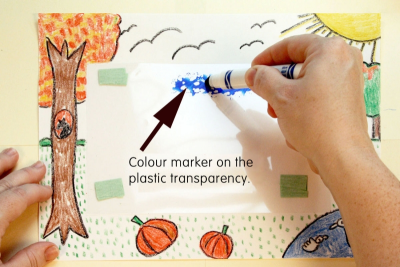
- Colour a patch of marker ink on the edge of the plastic transparency.
- Make sure the ink stays on the transparency.
5
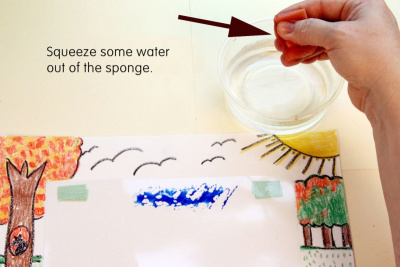
- Dip a small piece of sponge into the water.
- Squeeze some of the water out of the sponge.
6
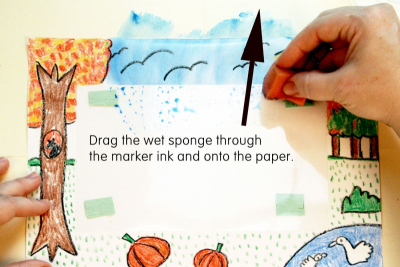
- Drag the wet sponge through the marker ink and onto the crayon design.
- Continue in this way until the outer frame is complete.
- You have made a stencil print.
7
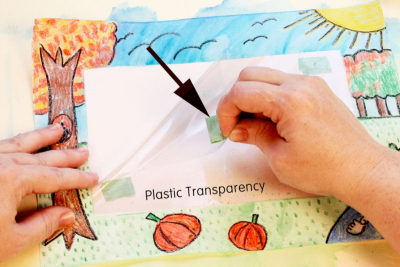
- Gently remove the plastic transparency from the paper.
8
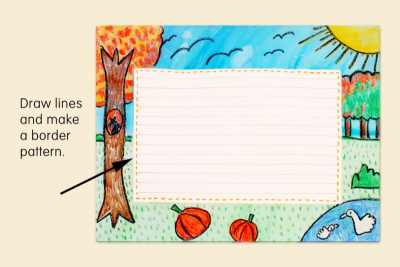
- Use a ruler to measure and mark 1 cm spaces down both ends of the blank shape.
- Use a fine line marker to connect the marks with lines for your writing.
- Use a marker to make a border pattern inside the blank shape.
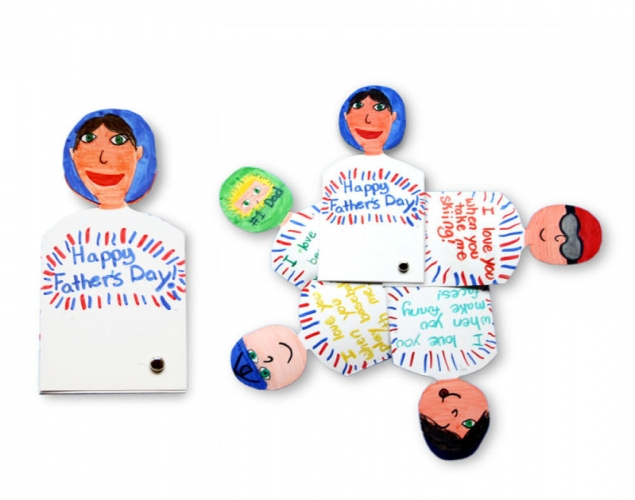
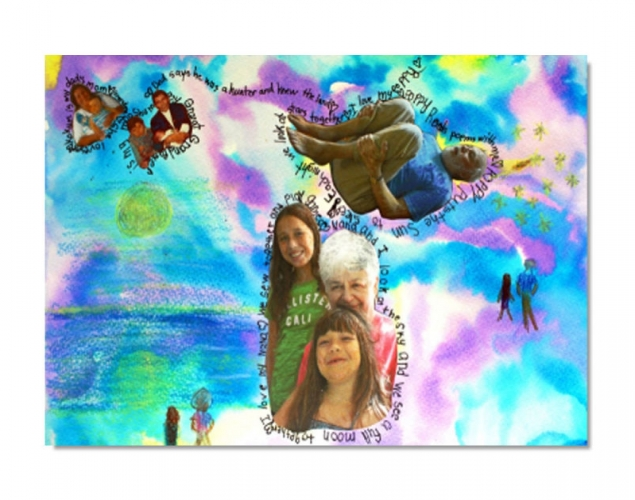
- Fill your decorated page with some wonderful writing.
Subjects:
Language Arts,
Science,
Visual Arts
Grades:
Grade 1,
Grade 2,
Grade 3,
Grade 4,
Grade 5,
Grade 6,
Grade 7,
Grade 8