Supplies:
- Slip
- Toothbrush
- Skewer
- Small Rolling Pin (optional)
- Small Yogurt Containers
- Plastic Placemat
- Paper Towel
- Crayola® Air Dry Clay 1.13 kg white
Steps:
1
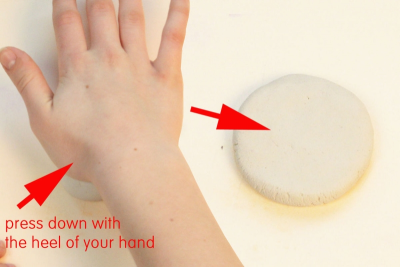
- Take a small piece of clay about the size of a plum.
- Roll it into a ball.
- Place the ball on the plastic placemat.
- Press down with the heel of your hand to flatten it into a circle.
- It should be about as thick as your small finger.
- This will be the base of your pot.
2
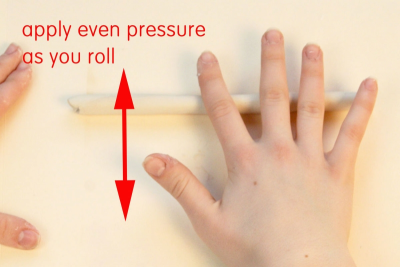
- Take a small amount of clay and squeeze it into a long sausage shape.
- Spread your fingers and apply even pressure as you roll the clay into a long cylinder.
- Keep the thickness of the coil even and round.
3
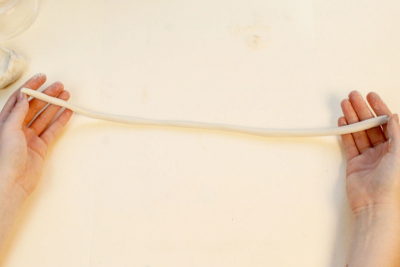
- Roll several long, smooth coils and place them aside.
4
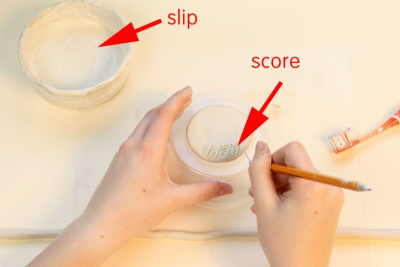
- Place the clay base on an upside down plastic container.
- Use a pin tool to make some scratch marks on the outer edge of the base.
- make a pin tool by taping an open paperclip to the end of a pencil - This is called SCORING the clay.
5
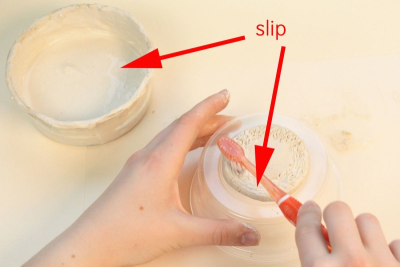
- Use a toothbrush to apply slip to the score marks.
- make SLIP by mixing some clay with water until it is like a creamy milkshake
6
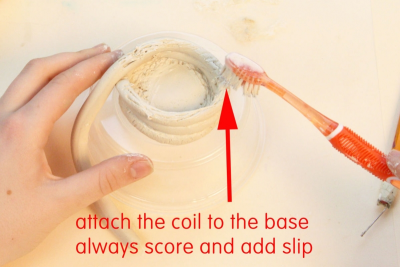
- Place the coil on top of the scored clay.
- Gently wind the coil around the outer edge of the base.
- Make sure you blend each end of the clay coil into the clay.
7
- Continue adding coils, attaching one to another using the score and slip technique.
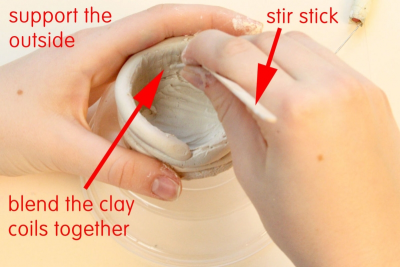
- Blend the coils together on the inside of your pot.
- Use the end of a stir stick to blend the clay coils.
- Support the outside of the pot with one hand when you are smoothing the inside.
8
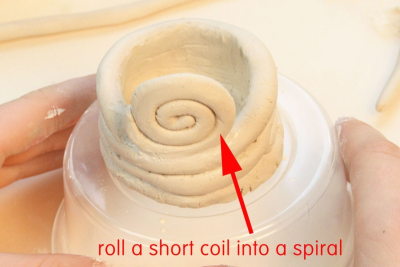
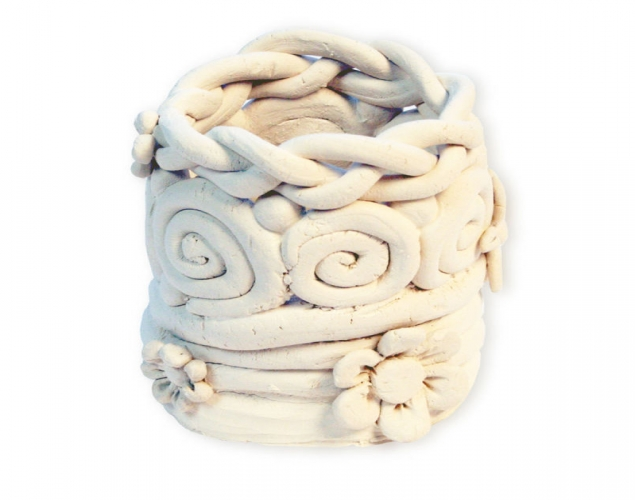
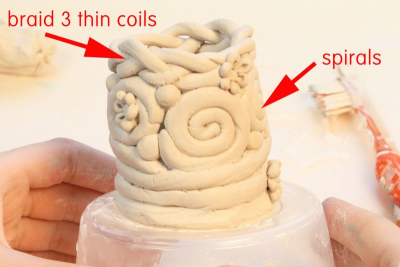
- Use coils to make decorative elements on your pot.
- roll a short coil into a spiral
- attach it using score and slip technique
9
- When you are satisfied with your design set the pot aside and allow it to dry for about one week.
- It will be white when it is dry and ready to be painted.
Subjects:
Grades:
Grade 3,
Grade 4,
Grade 5,
Grade 6,
Grade 7,
Grade 8