Supplies:
- Crayola Markers
- Crayola Marker & Watercolour Paper - 22.9 cm x 30.5 cm (9" x 12") - 1 piece per student
- Clear Acetate - about 7.6 cm x 7.6 cm (3" x 3") - 1 per student
- Small Sponges - about 2.5 cm x 2.5 cm (1" x 1") - 1 per student
- Water Containers
- Paper Towels
- Painters Masking Tape
- Plastic Placemats - 1 per student
Steps:
1

- Fold the paper in half short end to short end.
- Make a good crisp fold.
- Carefully tape the folded paper to a plastic placemat or piece of firm cardboard.
- The tape will leave a white border around your design once it is removed.
2
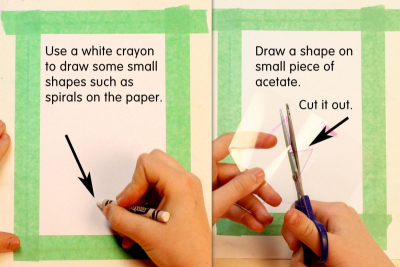
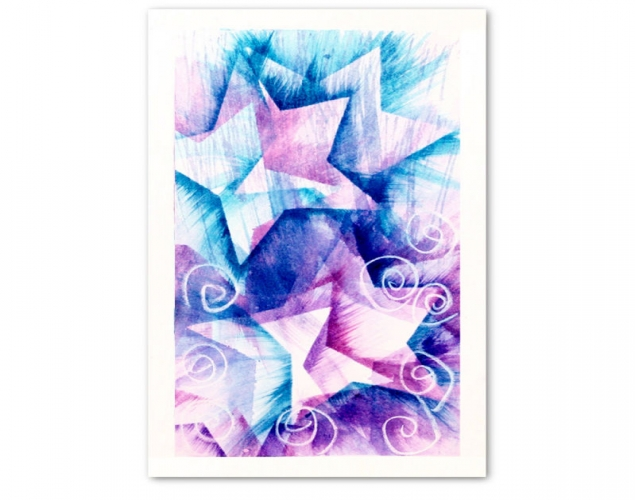
- Use a white crayon to draw some small shapes such as spirals on part of the paper.
- Draw a shape on a small piece of acetate.
- Cut it out.
3
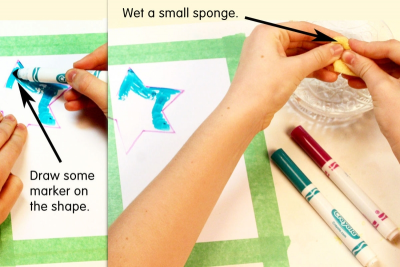
- Place the plastic shape on your paper and hold it firmly in place.
- Draw some marker on the shape.
- Dip a small sponge into the water to get it wet.
- Squeeze out most of the water.
4
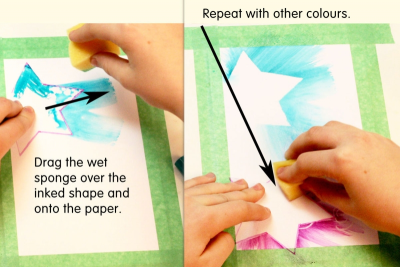
- Drag the damp sponge over the inked shape and onto the paper.
- The water will make the marker ink flow onto your paper.
- Remove the plastic shape to see your stencil print.
- Repeat with other colours.
- Overlap the shapes until you fill the paper.
5
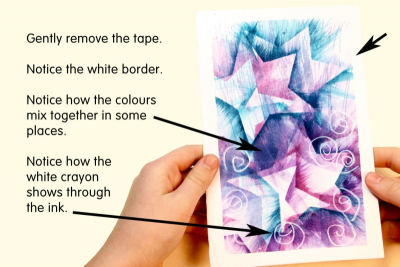
- Gently remove the tape.
- Notice the white border.
- Notice how the colours mix together in some places.
- Notice how the white crayon shows through the ink.
Subjects:
Grades:
Kindergarten,
Grade 1,
Grade 2,
Grade 3,
Grade 4,
Grade 5,
Grade 6