Supplies:
- Crayola Air-Dry Clay - White - about .5 kg per student
- Crayola Watercolour Paints - 8 Count
- Crayola Paintbrushes - 5 Count
- Candy Apple Sticks - 1 per student
- Pencils
- Rulers
- Popsicle Sticks
- Plastic Bags - 1 per student
- Paper Towels
- Water Containers
Steps:
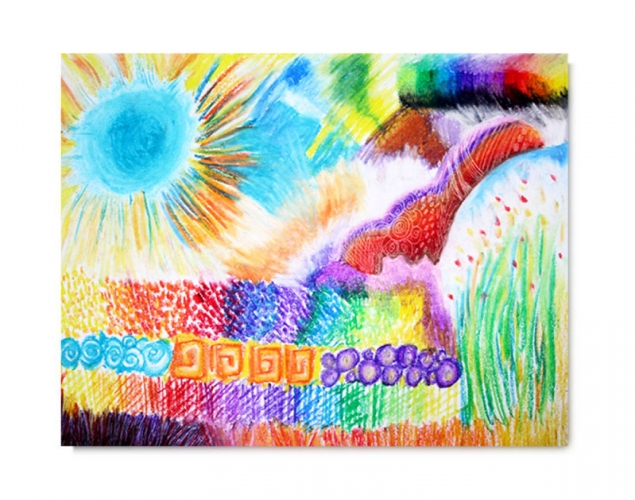
1
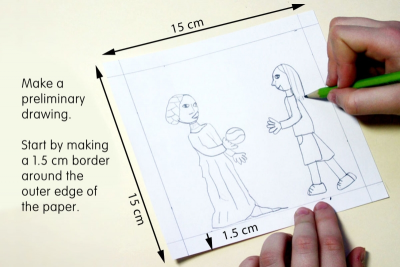
- Make a preliminary drawing on a paper the same size as the clay tablet you are going to create.
- A good size is 15 cm x 15 cm (6" x 6").
- Begin by drawing a 1.5 cm (.5 ") border around the outer edge of the paper.
- Make the drawing fit inside the border of the paper.
2
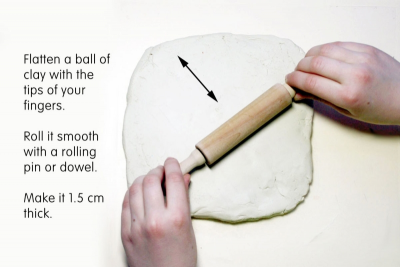
- Place a small lump of air dry clay on a plastic placemat.
- Begin to make a slab by flattening the clay with the tips of your fingers.
- Roll the slab smooth with a rolling pin or dowel.
- Keep the thickness of the clay even and about 1.5 cm (.5") thick.
3
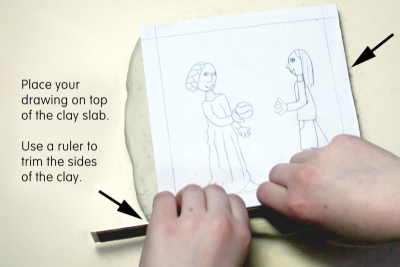
- Place the drawing on top of the slab of clay.
- Use a ruler to trim the sides of the clay.
4
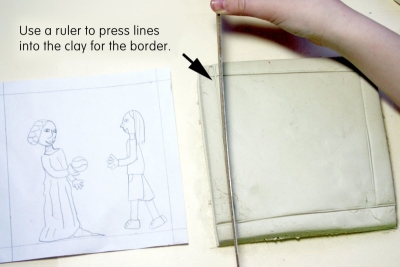
- Use a ruler to press into the clay to form lines for the border.
5

- Use a dull pencil or candy apple stick to trace your drawing onto the clay.
6
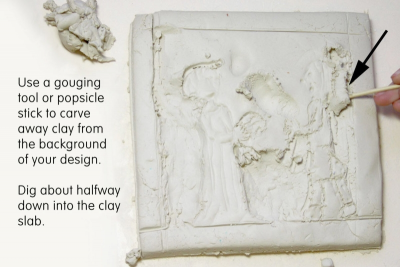
- Use a gouging tool, or popsicle stick to carve away clay from the background of your design.
- Dig about halfway down into the clay.
7

- Add clay to the surface to build up the forms.
- Add details and textures by adding clay or carving into the clay so the main forms stand out against a low background.
8
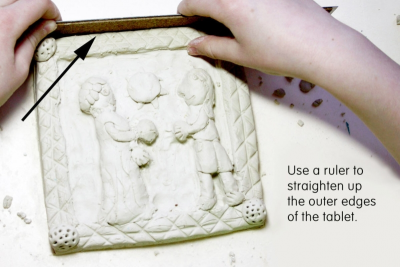
- Use a ruler to straighten up the outer edges of the tablet.
9
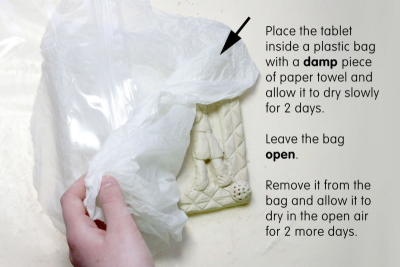
- Place the tablet inside a plastic bag with a piece of slightly damp paper towel to allow it to dry slowly.
- Leave the bag open.
- Remove the tablet from the bag after 2 days.
- Allow the clay tablet to dry in the open air for 2 more days.
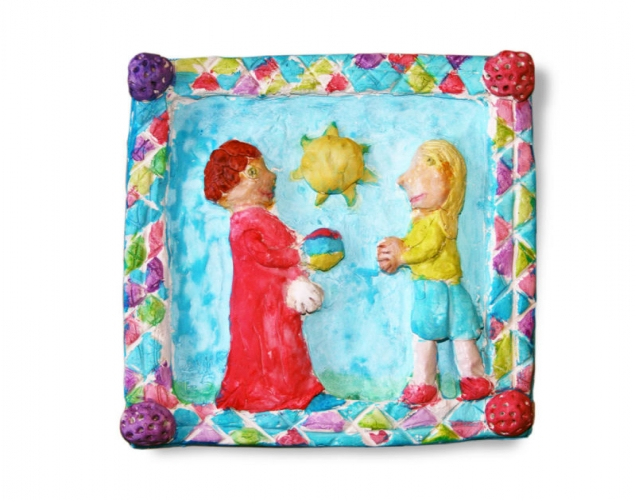
10
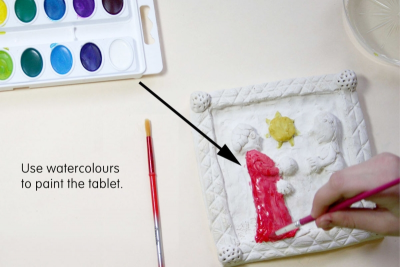
- Use watercolours to paint the tablet.
11
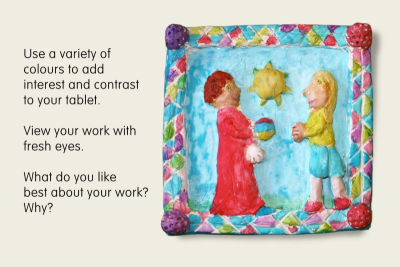
- Use a variety of colours to add interest and contrast to your tablet.
- View your work with fresh eyes.
- What do you like best about your tablet? Why?
Subjects:
Language Arts,
Mathematics,
Social Studies,
Visual Arts
Grades:
Grade 4,
Grade 5,
Grade 6,
Grade 7,
Grade 8