Supplies:
- Crayola Paint Brushes - 5 Count
- Crayola Acrylic Paint - 6 Count
- Crayola Neon Washable Project Paint - 10 Count
- Crayola Air Dry Clay - White - about .5 kg (1 lb) per student
- Water Containers
- Plastic Placemats - 1 per student
- Plastic Bags - 1 per student
- Paper Towels
- Pencils
- Paper Clips
- Masking Tape
Steps:
1
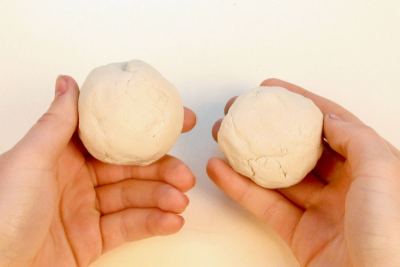
- Make 2 small balls of clay about the size of a clementine orange.
2
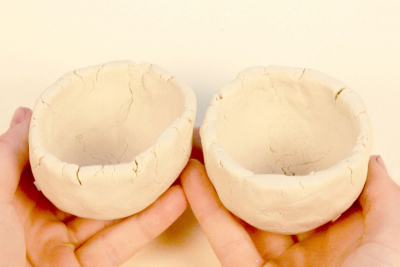
- Make 2 pinch pots using steps 1 – 4 in the lesson plan available on this website at
How to Make a Clay Pinch Pot
3
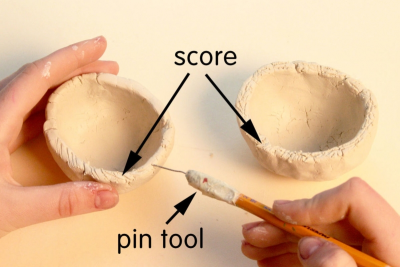
- Score the rims of the pots using a pin tool.
- Make a pin tool by taping an open paperclip to the end of a pencil.
4
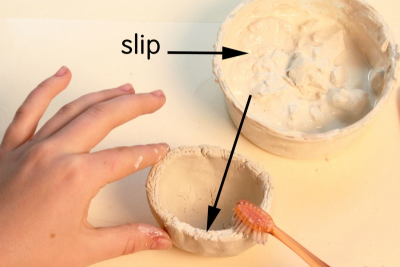
- Brush slip onto the rims of both pots.
- Make slip by mixing some clay with water until it is the thickness of a creamy milkshake.
5
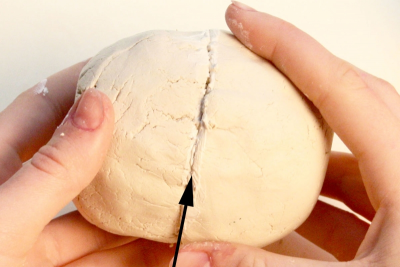
- Hold one pinch pot in each hand.
- Join the rims together with a slight twisting motion.
6
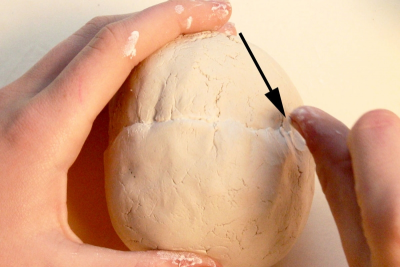
- Use your thumbnail to scrape the clay from one pot to the other over the joint.
7
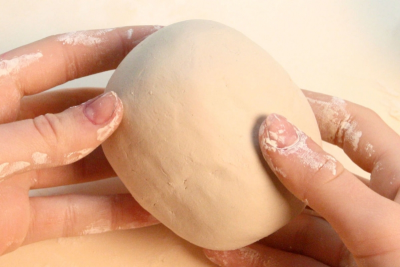
- Smooth the surface with your fingers.
- If the clay seems a bit dry, try adding a tiny amount of slip on the tips of your fingers and work it into the surface.
8
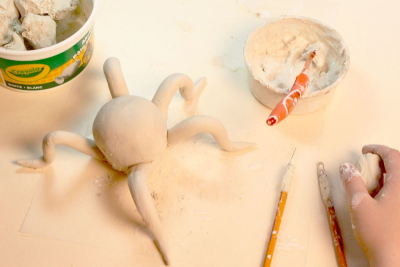
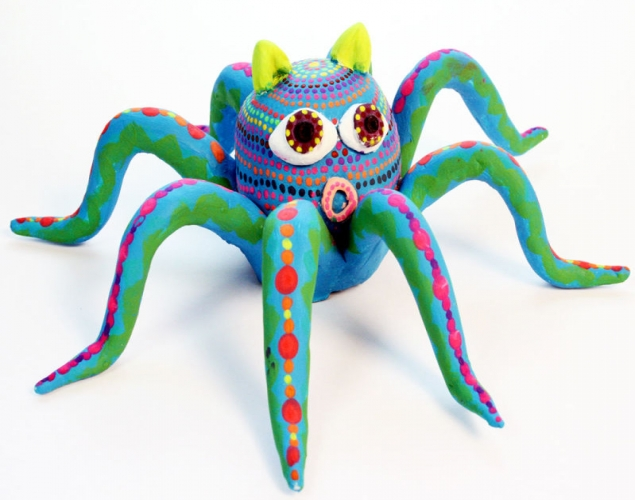
- Use score and slip technique to join pieces of clay to the spheroid.
- Carefully add details to make your animal fantastical.
- Allow the animal to dry for about 1 week.
- Place a plastic bag loosely over the animal to slow the drying down for the first 2 days.
- This will help prevent the thinner pieces of clay from drying too quickly and breaking away from the rest of the animal.
9
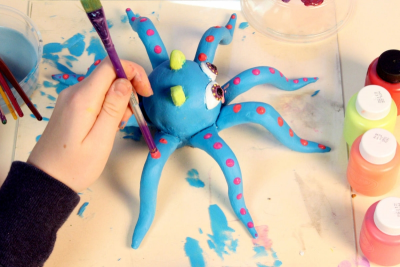
- Once the animal is completely dry, use acrylic and neon paints to paint it.
- Remember to cover the animal with lots of bright patterns.
- Use both ends of the brush to make different marks.
- The neon paint may need several coats depending on the colour.
10
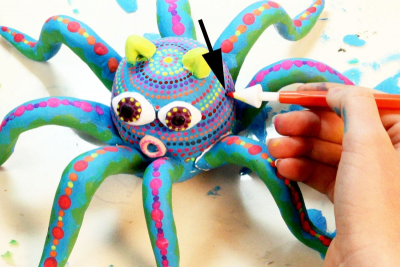
- Try using the point of a pencil or cake decorating tool to make small dots.
Subjects:
Grades:
Grade 4,
Grade 5,
Grade 6,
Grade 7,
Grade 8,
Grade 9