Supplies:
- Crayola Fine Line Markers - 12 Count
- Crayola Marker & Watercolour Paper - 22.9 cm x 30.5 cm
- Crayola Scissors
- Cardstock Paper - 11 cm x 14 cm (4" x 6") - 1 per student
- Pencils
- Pipe Cleaners
- Small Hole Punch
Steps:
1
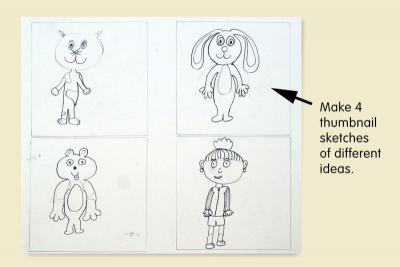
- Start by making 4 thumbnail sketches of possible characters.
2
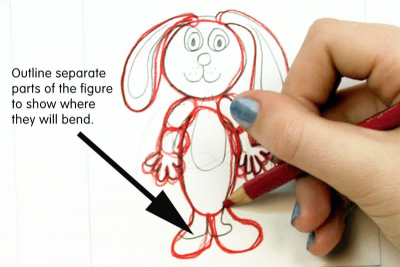
- Choose the character you want to make.
- Use a coloured pencil, or marker to outline separate parts of the figure.
- Think about how you want the parts to move, for example,
- the arm can have 2 parts and bend at the elbow as well as the shoulder
- the arm can have 1 part and only bend at the shoulder - You will be joining the parts to each other with small pieces of pipe cleaner.
3
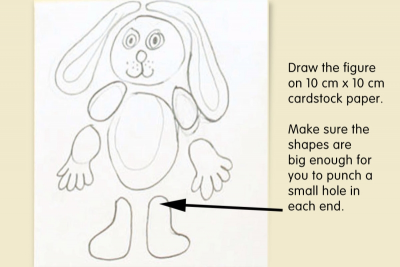
- Draw the figure on a piece of 10 cm x 10 cm (4" x 4") cardstock paper.
- Make sure the shapes are big enough for you to punch a small hole in each end for the fasteners.
4
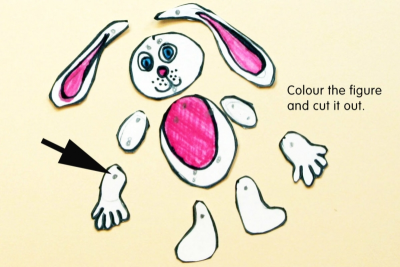
- Use markers to colour the figure and then cut it out.
- Arrange the shapes in the order they will go when joined together.
- Use a pencil to mark where you will make the holes for the fasteners.
- Make sure the holes are placed far enough inside the shape so they will not tear.
5
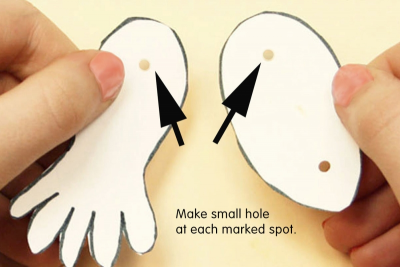
- Make small holes at each marked spot.
- use an extra small hole punch OR
- place the paper on a piece of heavy sponge and press the point of a compass through the spot
6
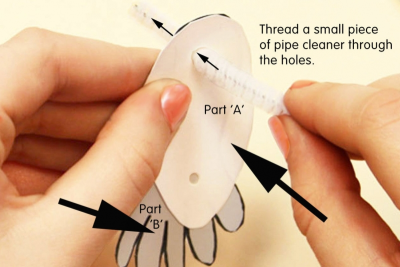
- Place two parts that you want to join face to face and line up the holes.
- Thread a small piece of pipe cleaner through the holes.
7
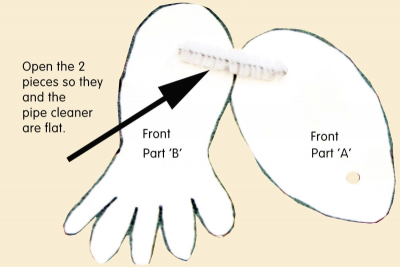
- Open the paper shapes.
- Place them on the table so that the pipe cleaner and the shapes are flat.
8
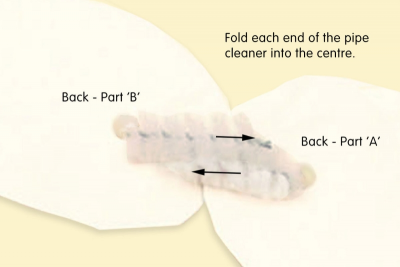
- Place the joined shapes face down on the table.
- Fold each end of the pipe cleaner into the centre so they close like a staple.
- Test the joint to see if it will bend easily.
9
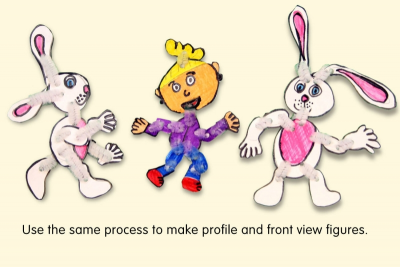
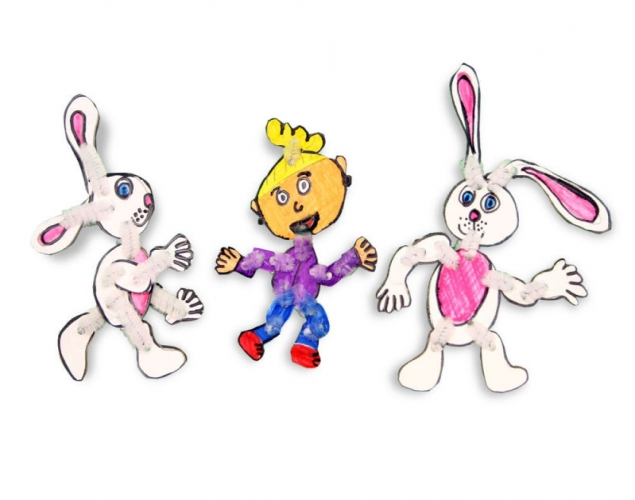
- Use the same process to make profile or front view figures.
- Pose the figures in different ways by bending the jointed parts at different angles.
Subjects:
Language Arts,
Visual Arts,
Media Literacy
Grades:
Grade 5,
Grade 6,
Grade 7,
Grade 8,
Grade 9