Supplies:
- Crayola Modeling Clay
- Various Texture Making Tools
- Garlic Press
- Plastic Placemats
Steps:
1

- Gather a variety of tools for creating texture and joining the modeling clay.
- You can make a pin tool by taping an open paper clip to the end of a pencil.
- Make a gouging tool by taping a paper clip to the end of a pencil.
- Other useful tools are a garlic press, comb, skewer and toothbrush.
2
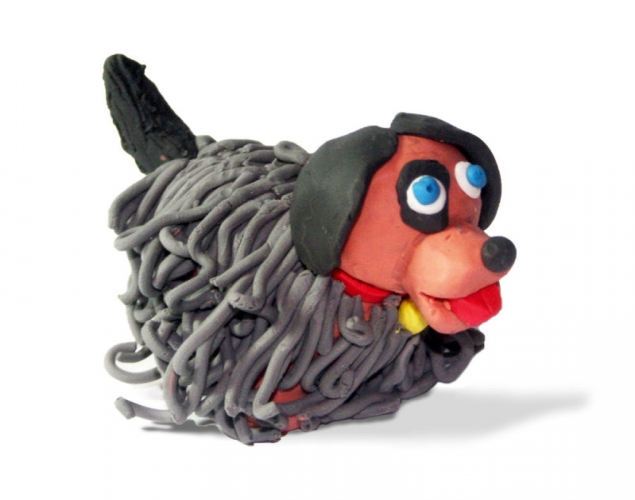
DOG
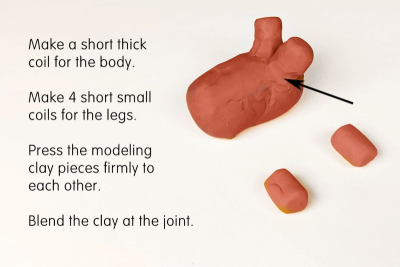
- Roll out a short thick coil for the body.
- Make 4 short small coils for the legs.
- Press the modeling clay pieces firmly to each other.
- Use a stick or your fingers to blend the clay at the joint to make it stronger.
3
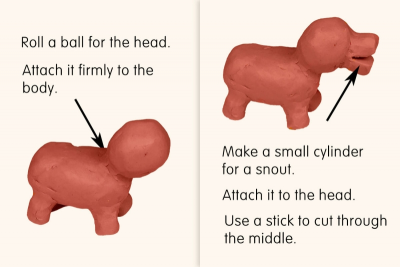
- Roll a ball for the head.
- Attach it firmly to the body.
- Make a short cylinder for a snout.
- Attach it to the ball.
- Use a stick to cut through the middle of the snout.
4
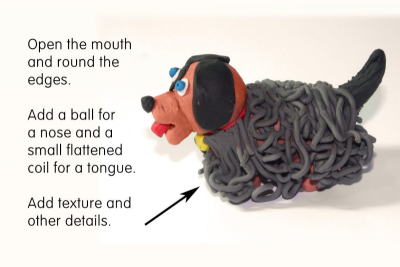
- Open the mouth and round the edges.
- Add a ball for a nose and a small flattened coil for a tongue.
- Add texture and other details to make your animal unique.
- Make sure your animal looks good from all directions.
Subjects:
Grades:
Grade 1,
Grade 2,
Grade 3,
Grade 4,
Grade 5,
Grade 6,
Grade 7,
Grade 8,
Grade 9,
Grade 10