Supplies:
- Crayola Air-Dry Clay - White
- Crayola Acrylic Paints
- Crayola Paint Brushes
- Water Containers
- Paper Towels
- Flat Wooden Slats - .5 cm thick - 2 per group
- Rolling Pins - 1 per group
- Plastic Container Lids - about 15 cm (8") diameter - 1 per student
- Piece of Burlap or Other Textured Fabric - about 15 cm x 25 cm (6" x 8") - 1 per group
Steps:
1
Set Up
- Tape a piece of burlap on the desk.
- Tape a wooden slat on each side of the burlap.
- Place a rolling pin beside the set up.
Roll a Slab
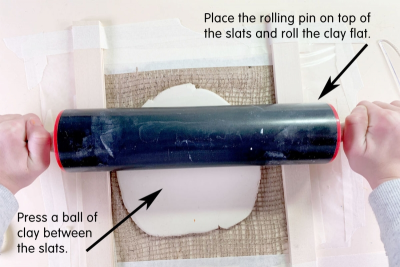
- Press a small ball of clay between the wooden slats.
- Place the rolling pin on top of the wooden slats and roll the clay flat.
- Make sure the slab has uniform thickness.
- Roll the clay slab big enough for a 1/4 circle - about 17 cm (8") diameter.
2
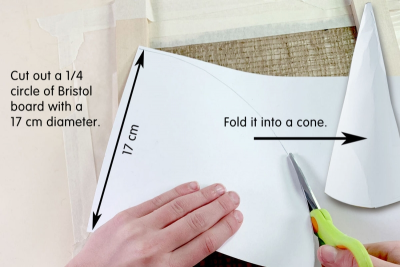
- Cut out a ¼ circle of Bristol board with a 17 cm diameter.
- Trace the shape on a piece of copy paper to use as a template.
- Fold the Bristol board shape into a cone and tape it in place.
3
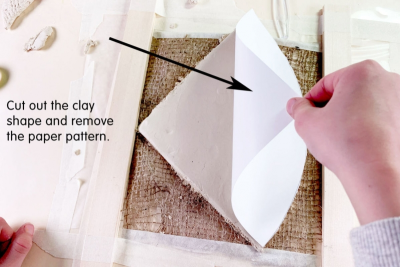
- Place the paper template on top of the clay.
- Use a plastic knife or pin tool to cut out the shape.
- Remove the paper pattern.
- Remove the clay slab.
4
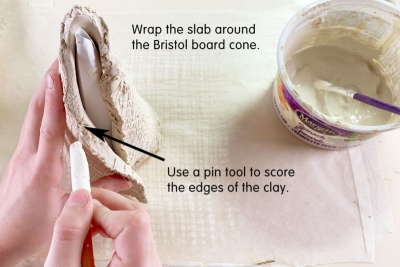
- Wrap the slab around the Bristol board cone.
- Use a pin tool to score the edges of the clay.
5
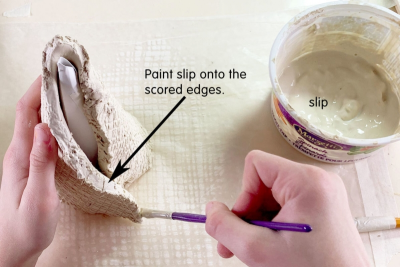
- Paint slip on the scored edges. (Slip - watery clay the consistency of a thick milkshake.)
- Join the clay at the scored and slipped edges.
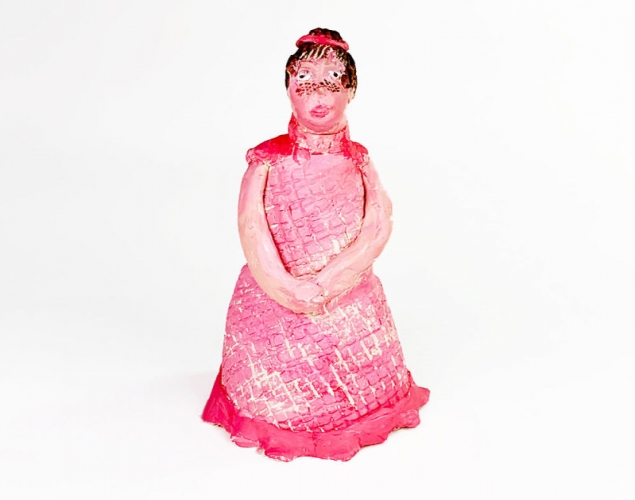
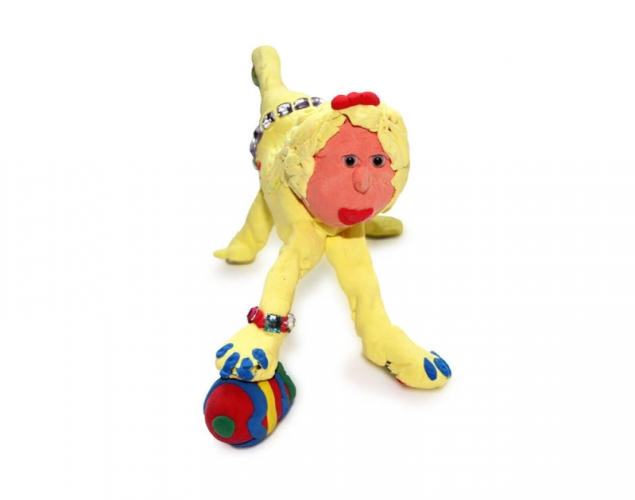
6
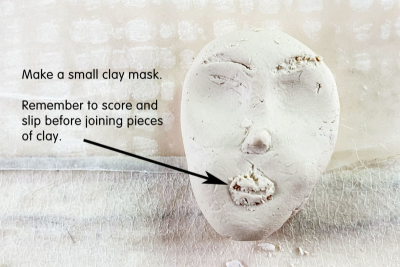
- Make a small clay mask for the face.
- Remember to score and slip before joining pieces of clay.
7
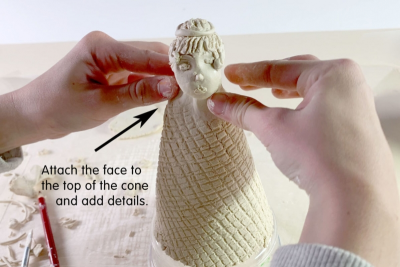
- Attach the face to the top of the cone.
- Add lots of details.
8
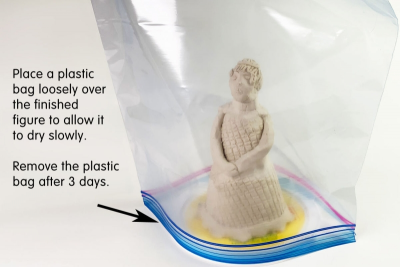
- Allow the figure to dry for about 1 week.
- Place a plastic bag loosely over the figure to allow it to dry slowly.
This will help prevent the thinner pieces of clay from drying too quickly and breaking away from the rest of the figure. - Remove the plastic bag after 3 days and allow the figure to dry for 4 more days.
9
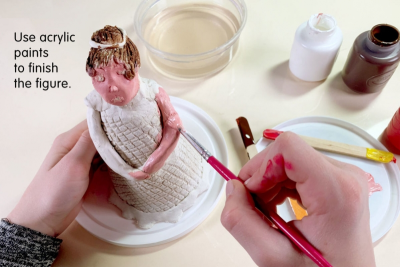
- Once the figure is completely dry, paint it with acrylic paint.
- Place the figure on a plastic lid cover so you can turn it around without touching it.
Subjects:
Grades:
Grade 4,
Grade 5,
Grade 6,
Grade 7,
Grade 8