Supplies:
- Crayola Crayons - red, yellow, orange
- Crayola Construction Paper - 22.9 cm x 30.5 cm (9" x 12") - brown and black
- Crayola Glue Sticks
- Iron
- Parchment Paper
- Old Newspapers
- Write On Overhead Transparencies - 1 per student
Steps:
1
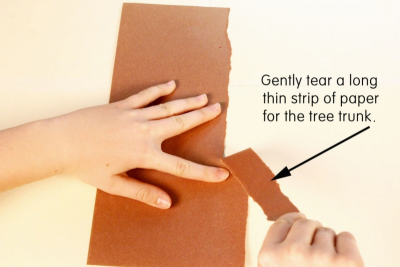
- Hold the construction paper flat on the desk with one hand.
- Gently tear a strip of paper about 3 cm wide with your other hand.
- This will be the trunk of your tree
- Tear smaller strips for the branches of your tree.
2
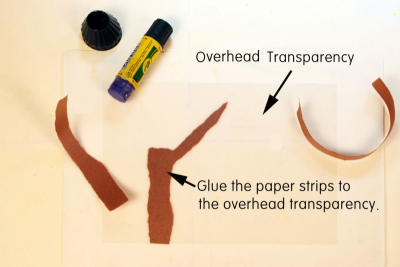
- Use a glue stick to glue the strips of paper to the overhead transparency.
- Make sure you use lots of glue.
- Press the paper onto the transparency and gently rub over it with your fingers to flatten it.
3
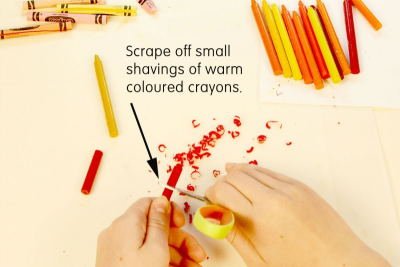
- Use warm coloured crayons - red, yellow and orange.
- Remove the paper from the crayons.
- Use the blade of a scissors to scrape off small shavings of crayon onto a plastic placemat.
- Make about 1/3 cup of mixed shavings.
4
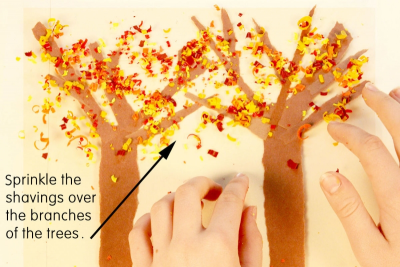
- Sprinkle the crayon shavings over the branches of the tree.
5
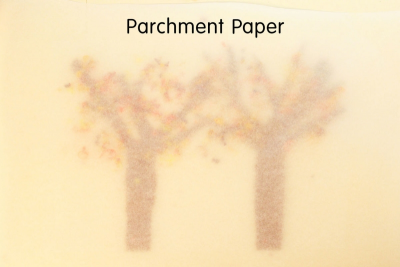
- Place a piece of parchment paper on top of the transparency.
6
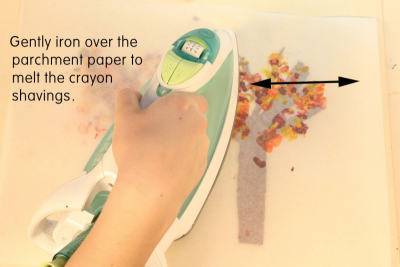
- Set the iron to low.
- Gently iron over the parchment paper until you see the crayon shavings melt.
- Remove the iron.
- Let the paper cool for 30 seconds.
- Carefully pull the parchment paper off the transparency.
7
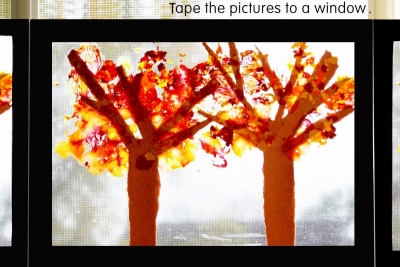
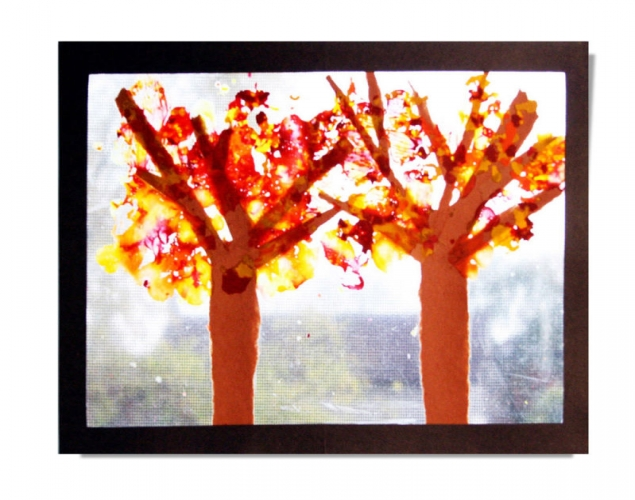
- Cut black construction paper strips and glue them to both sides of the transparencies to make a frame.
- Tape all the pictures to a window to let the light shine through.
Subjects:
Language Arts,
Science,
Visual Arts
Grades:
Grade 1,
Grade 2,
Grade 3