Supplies:
- Crayola Watercolours
- Crayola Markers
- Crayola Washable Paint
- Bright Coloured Cardstock
- Paper Plates
- Water
- White Cardstock
- Pencil
- Crayola Paint Brush
- Crayola Scissors
- Crayola No-Run School Glue
- Crayola Glitter Glue
- Disposable Cup
- Plastic Wrap
- Hole Punch
CIY Staff Tips:
Steps:
1
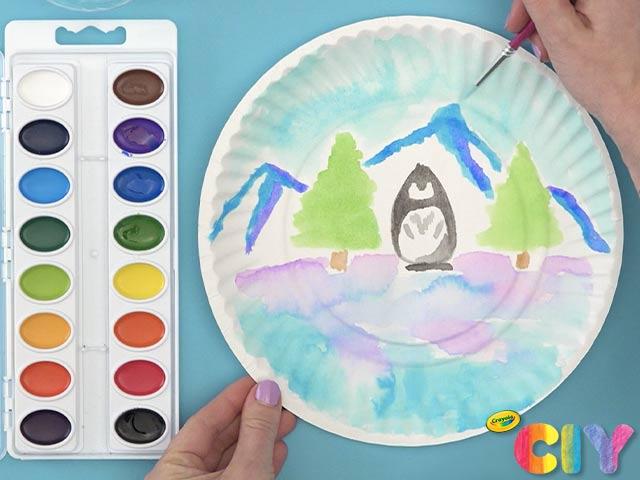
Paint wintry scene on a paper plate with watercolours. Dry 1–2 hours.
2
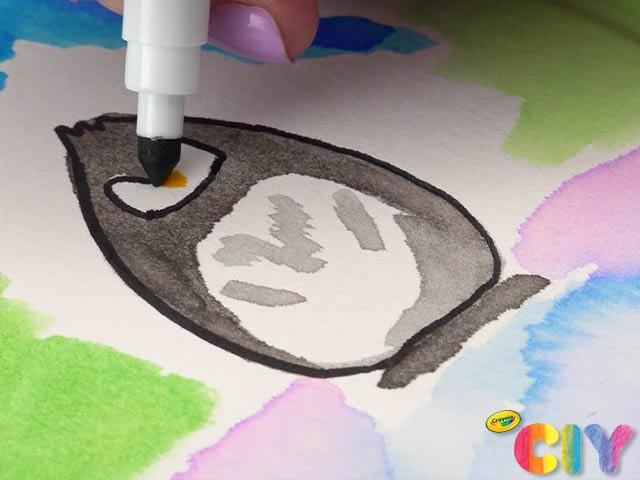
Add details to painting with markers. Set aside.
3
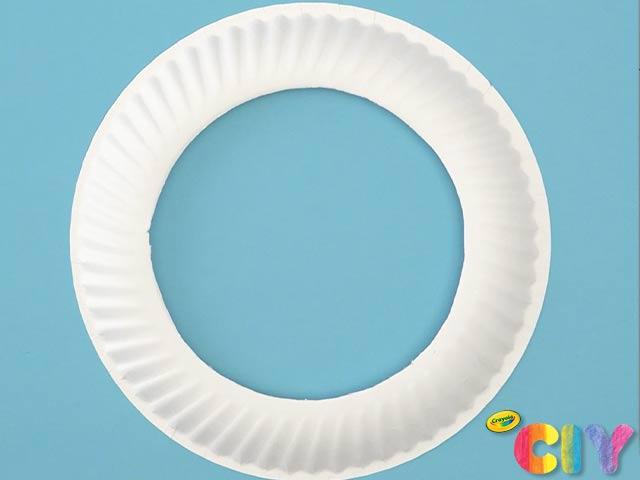
Flip a paper plate upside-down and cut out middle section.
4
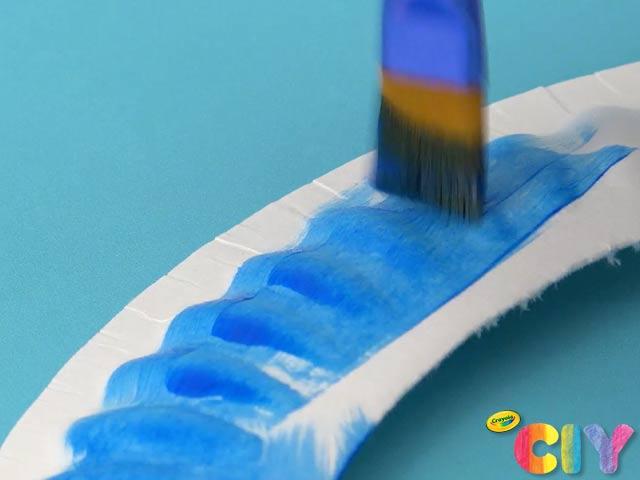
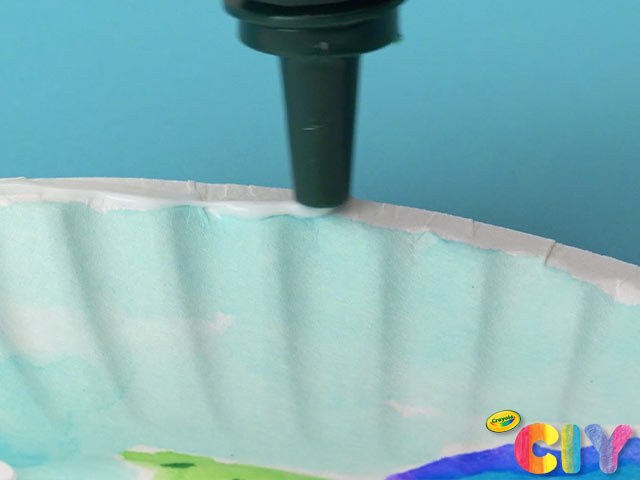
Cover paper plate ring with washable paint. Dry 1–2 hours.
5
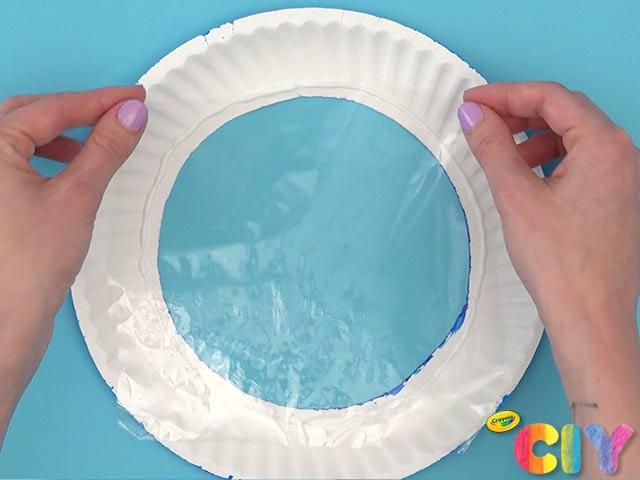
Flip plate right-side up and glue plastic wrap to edge of plate, covering the opening. Set aside and dry 1–2 hours.
6
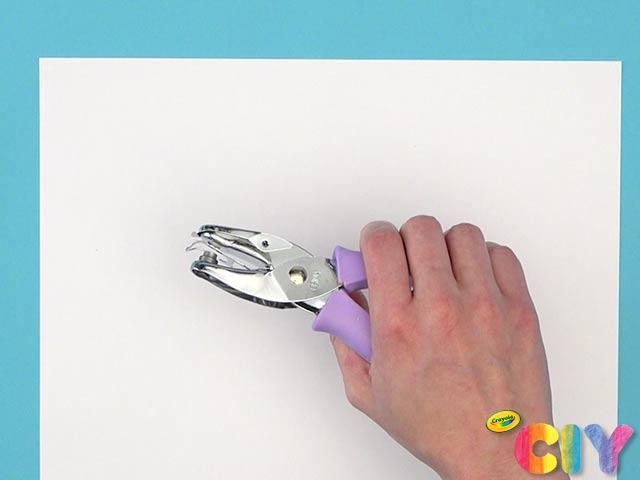
Punch holes on white cardstock.
7
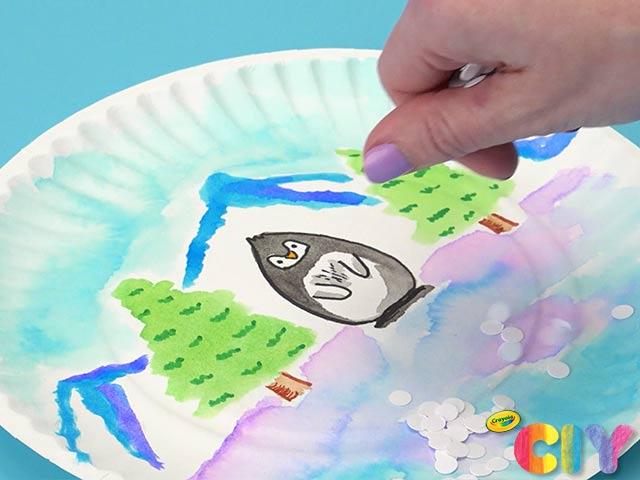
To create snow, sprinkle hole-punched cardstock pieces on top of plate with winter scene.
8
Glue edges of plates together with both painted sides facing up. Dry 1–2 hours.
9
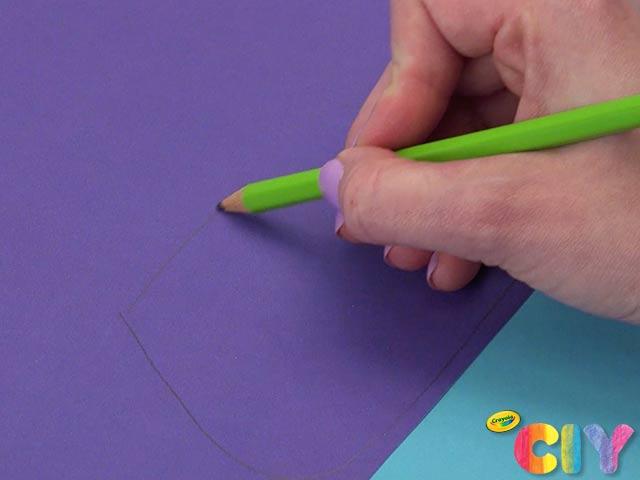
Sketch snow globe base on bright coloured cardstock. Cut out.
10
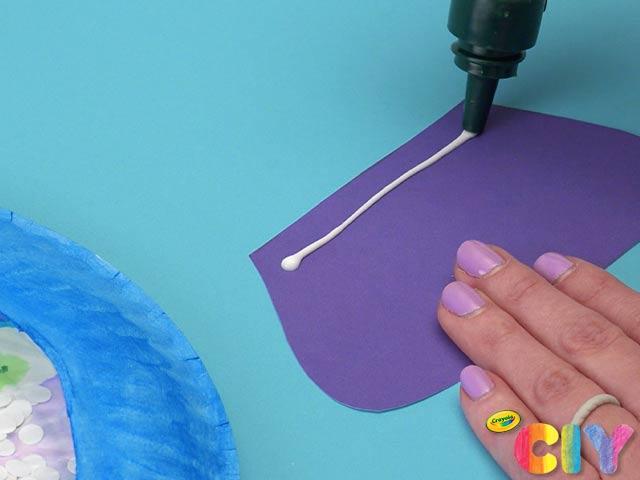
Glue snow globe base to back of paper plates.
11
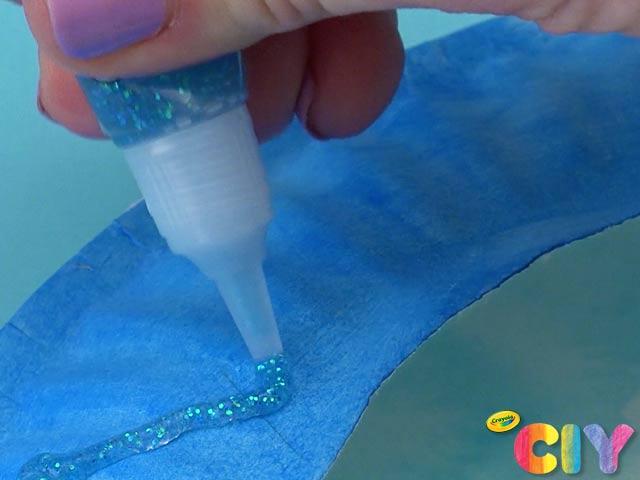
Add sparkly accents to paper plate and snow globe base with glitter glue. Dry 3–4 hours.
12
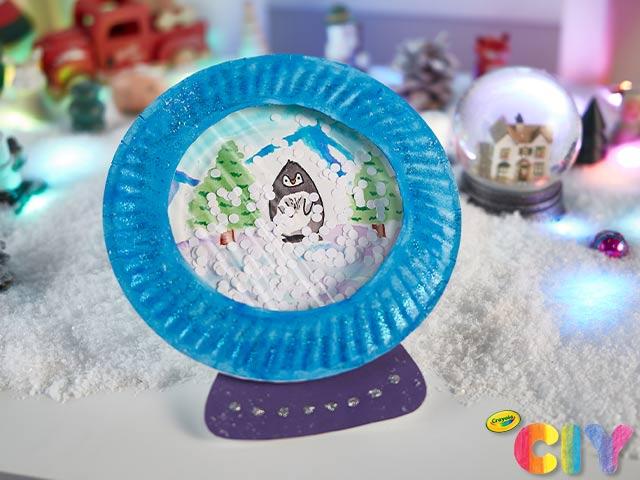
Pick up your snow globe and watch snowflakes fall in your wintry scene!
Occasion:
Winter,
Rainy Day Crafts
Age:
6+,
8+,
Tween+