Supplies:
- Crayola Scissors
- Crayola No. 2 Pencil
- Crayola Acrylic Paint
- Crayola Paint Brush
- Crayola Take Note Permanent Markers
- Crayola No-Run Washable School Glue
- Upcycled Carton
- Ruler
- Sponge
- Tissue Paper
- Battery-Operated String Lights
- Hole Punch
- Ribbon
CIY Staff Tips:
- Experiment with cutting your sponge into different spooky shapes!
- Can be an indoor or outdoor decoration—just bring inside if inclement weather strikes!
Steps:
1
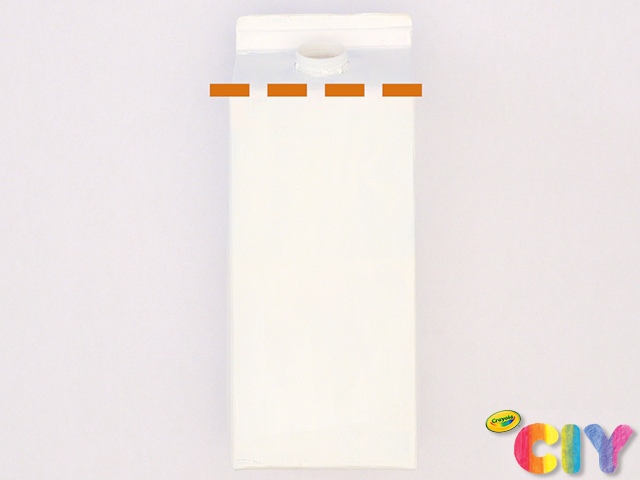
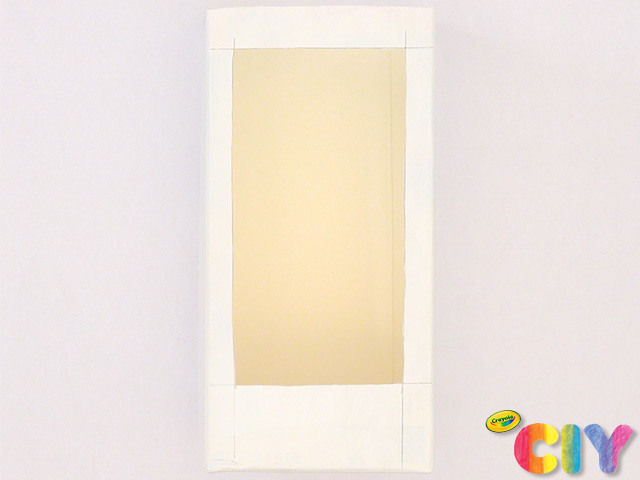
Have an adult cut off top of upcycled carton.
2
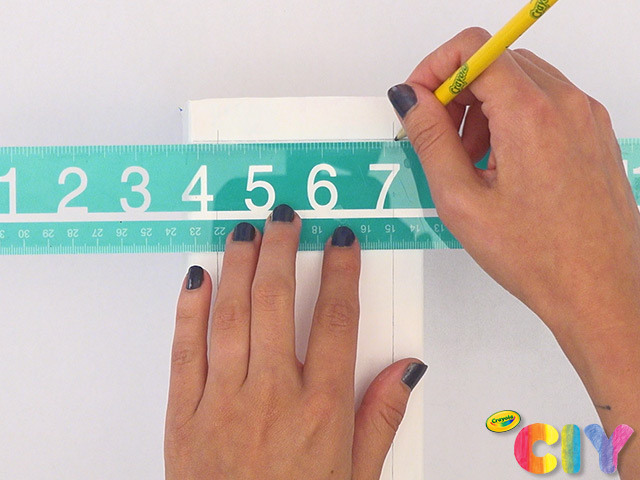
On side of carton, draw outline for rectangular opening with pencil, approximately 1” from top and sides.
3
Have an adult cut out the opening.
4
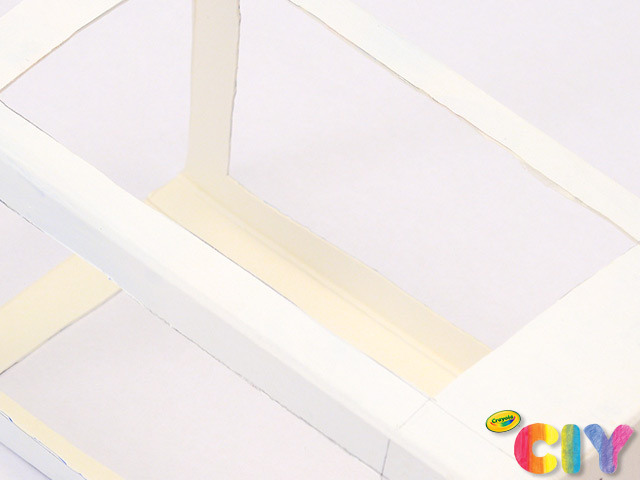
Rotate carton once and repeat steps 2–3. Repeat until all sides have an opening.
5
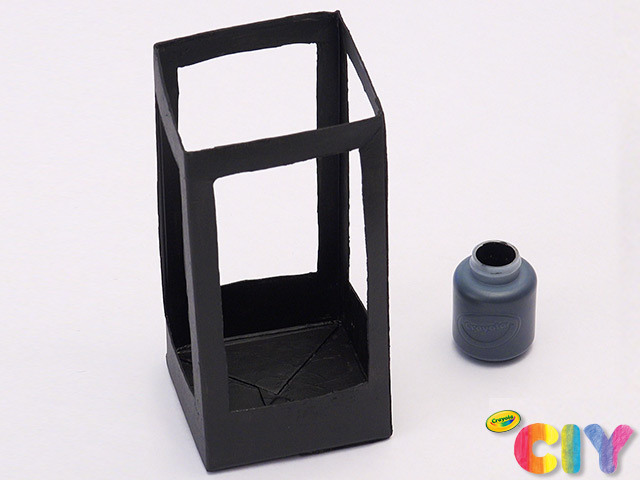
Cover carton with dark paint. Dry 1–2 hours. Add second coat. Dry 1–2 hours.
6
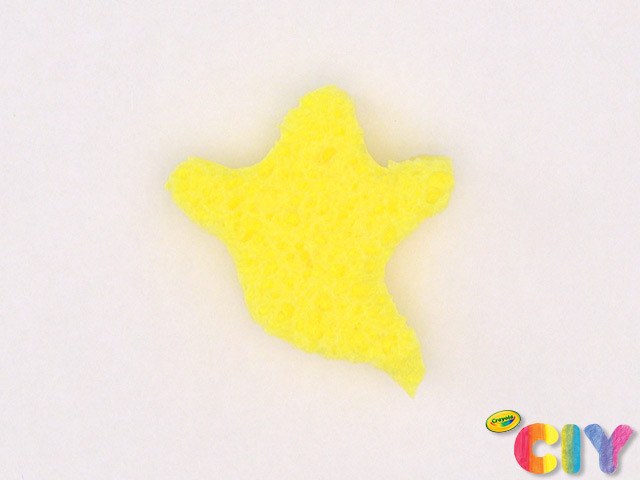
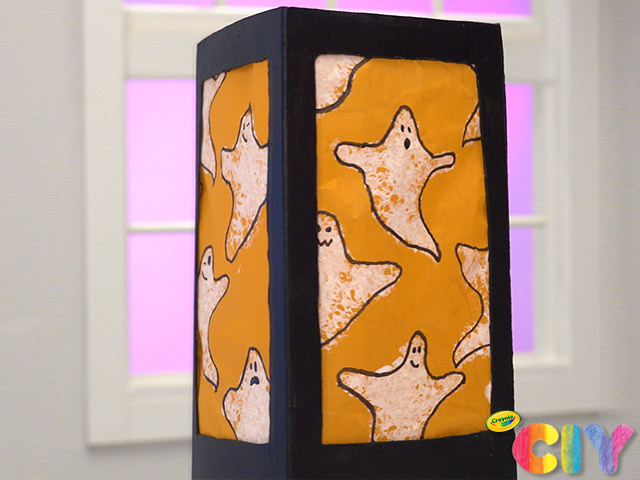
Sketch outline of ghost on sponge with pencil. Cut out.
7
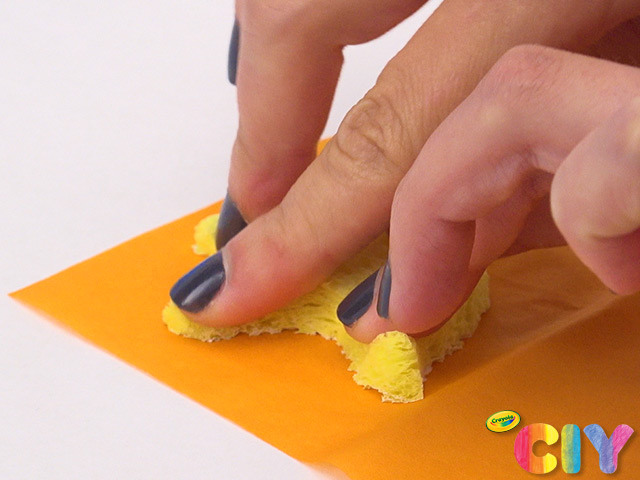
Lightly dab paint on sponge, then stamp on tissue paper. Repeat until tissue paper is full of ghosts.
8
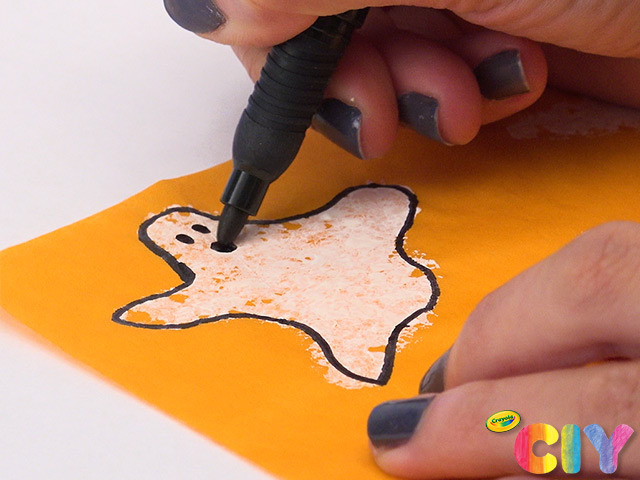
Draw outline and face on ghosts with marker.
9

Using carton as a guide, sketch and cut out patterned tissue paper large enough for 1 panel.
10
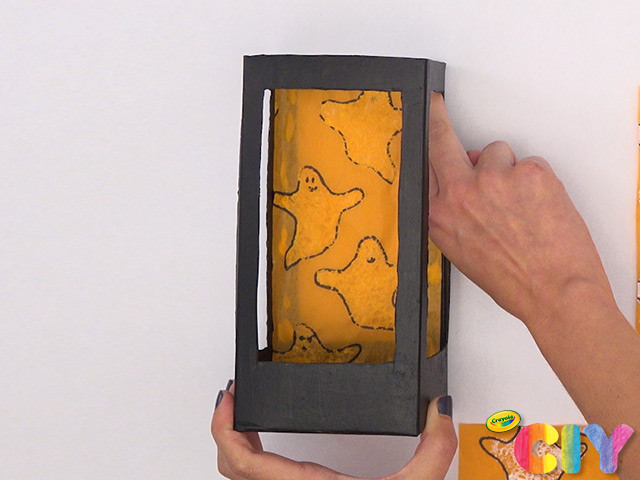
Glue tissue paper to inside of carton, paint facing out.
11
Repeat steps 9–10 until all carton openings are filled with tissue paper.
12
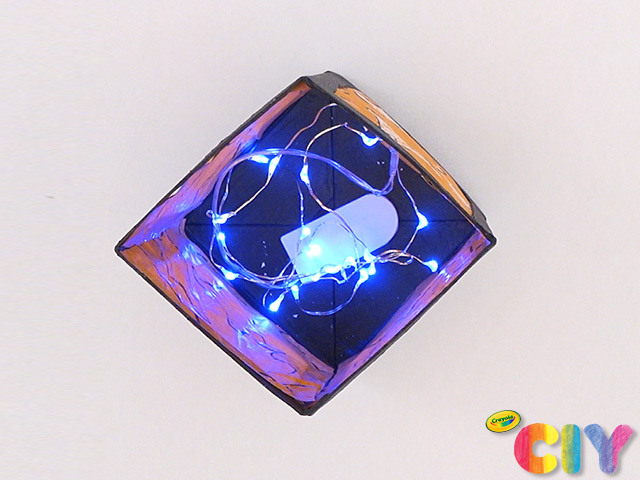
Place battery-operated string lights in carton.
13
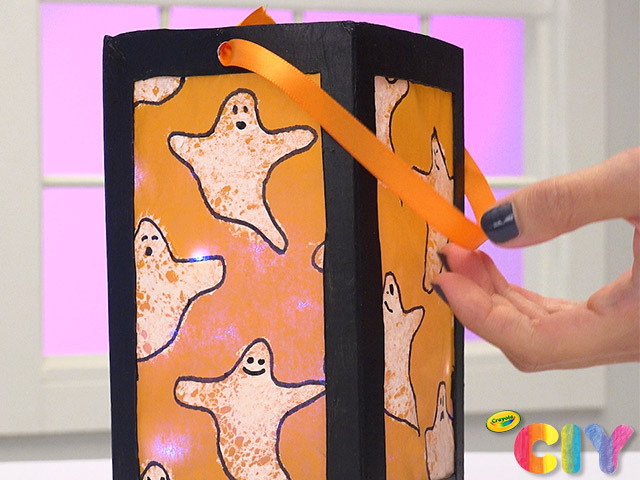
Hole punch 2 sides of lantern close to carton top. Feed ribbon through holes and tie into knots.
14
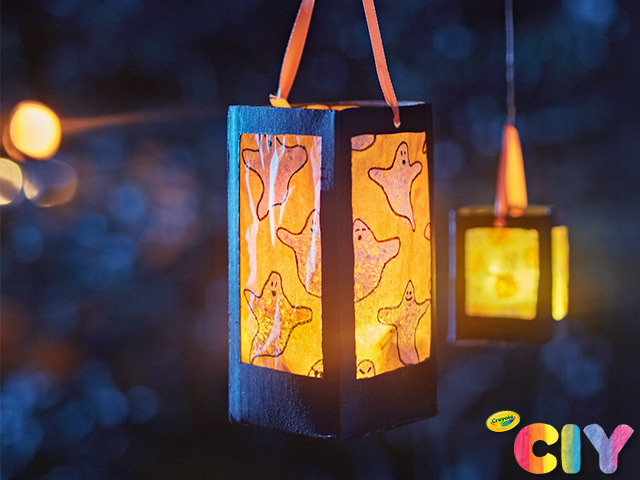
Hang to display as a Halloween decoration!
Occasion:
Special Occasions,
Fall,
Halloween
Age:
6+,
8+,
Tween+