Supplies:
- Crayola Acrylic Paint
- Crayola Paint Brush
- Crayola Scissors
- Crayola No-Run School Glue
- Crayola Bright Pop! Cardstock
- Pencil
- Wrapped Treats
- Permanent Markers
- Plastic Cup
CIY Staff Tips:
- For extra sparkle, decorate your cup with Crayola Glitter Glue.
- Make multiple Easter Bunny Treat Cups for a kids’ Easter party, classroom party, or spring gathering.
Steps:
1
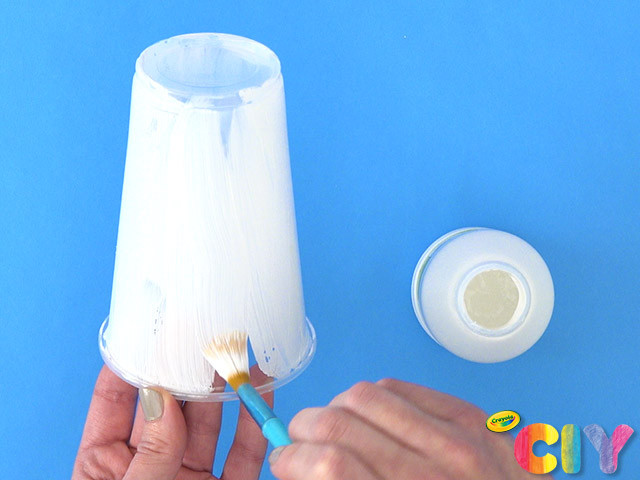
Cover cup with white paint. Dry 1–2 hours. Add a second coat. Dry 1–2 hours.
2
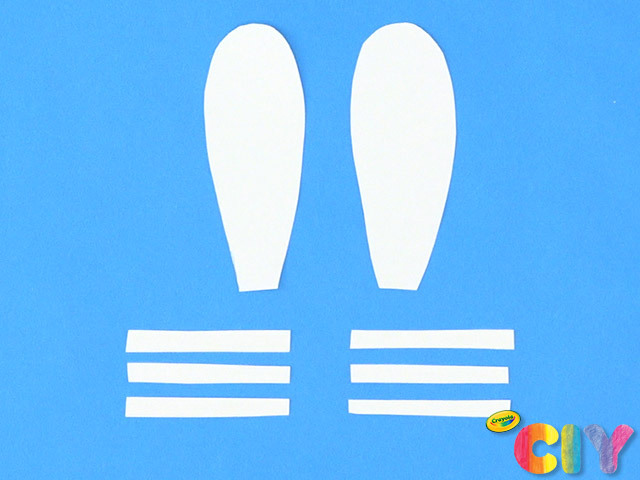
Sketch and cut out bunny ears and whiskers on white construction paper.
3

Cut out circular bunny nose and inner ears on cardstock.
4
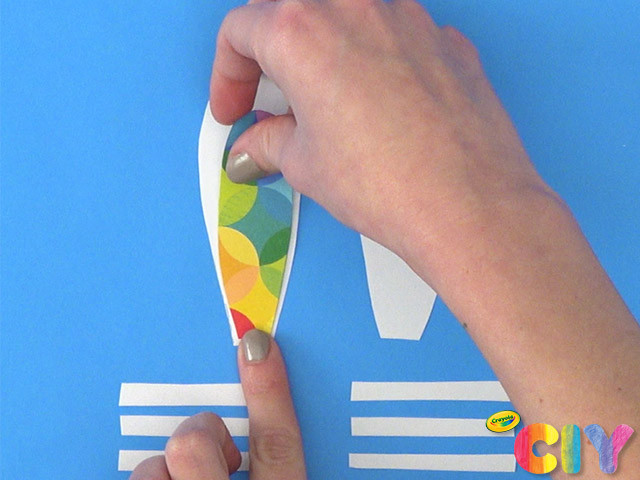
Glue inner ears to construction paper ears.
5
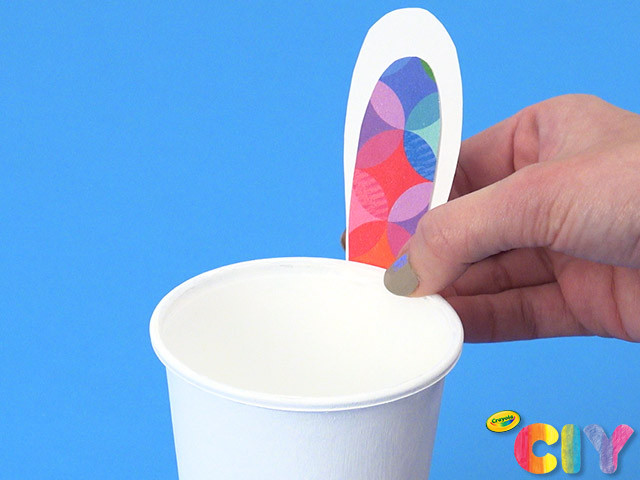
Glue completed ears to back of cup.
6
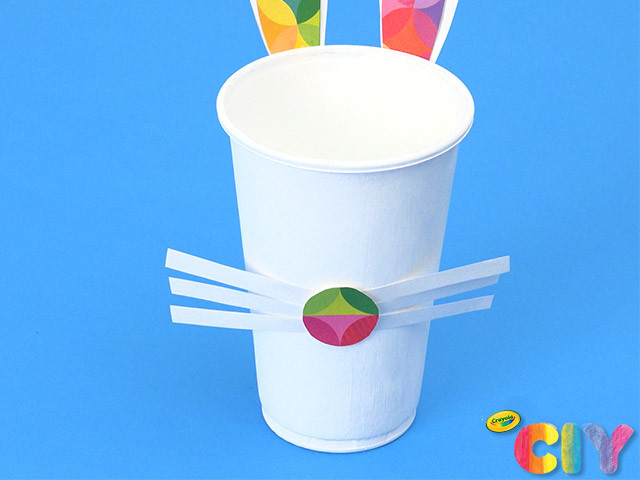
Glue whiskers to front of cup. Glue nose on top of whiskers. Let all glue steps dry 1–2 hours.
7
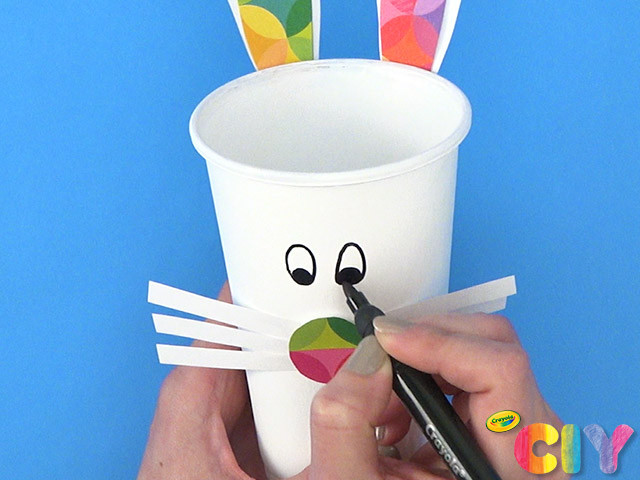
Draw eyes and mouth with markers.
8
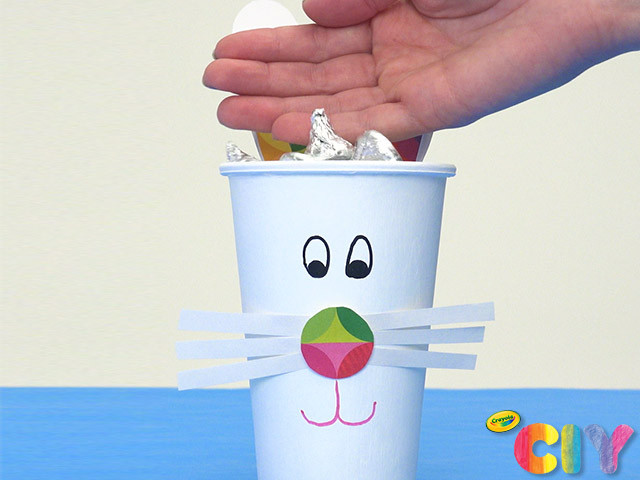
Add wrapped treats to cup and give to somebunny special!