Supplies:
- Crayola Scissors
- Crayola Paint Brush
- Crayola No-Run School Glue
- Crayon Sharpener
- Crayola Washable Paint
- Crayola Construction Paper
- Crayola Crayons
- Cardstock
- Cardboard
- Foaming Shaving Cream
- Mixing Bowls
- Measuring Cups
- Craft Sticks
CIY Staff Tips:
- For puffier ice cream, be sure to build up the glue mixture when applying to the cardstock.
Steps:
1
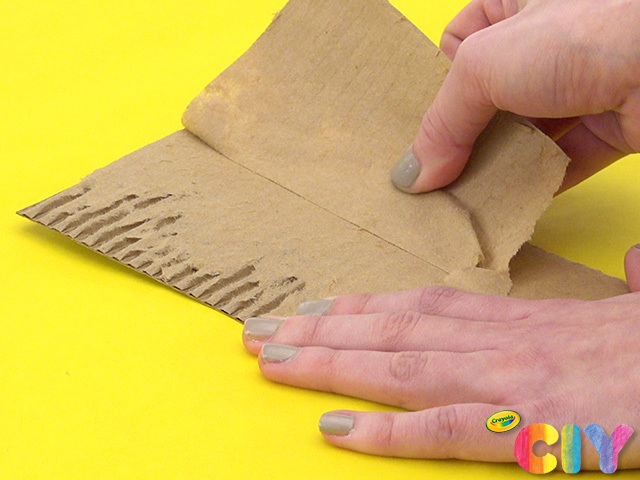
Rip top layer off a small piece of cardboard to create ice cream cone texture.
2
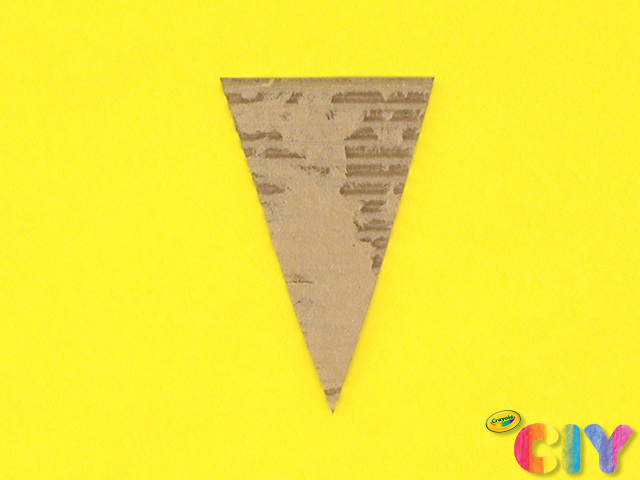
Cut cardboard into cone shape.
3
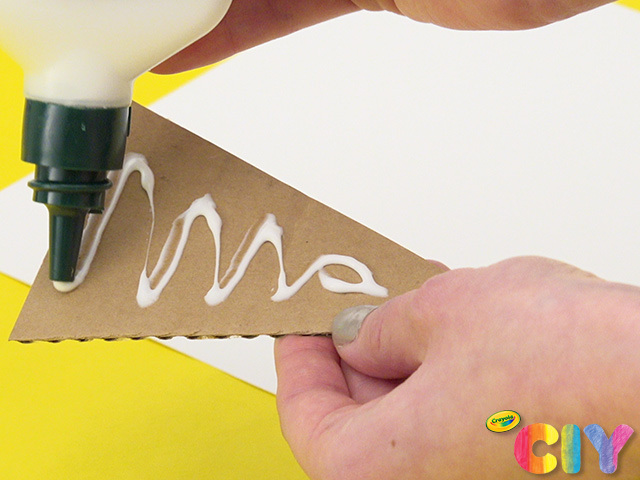
Put glue on smooth side of cardboard and attach to cardstock.
4
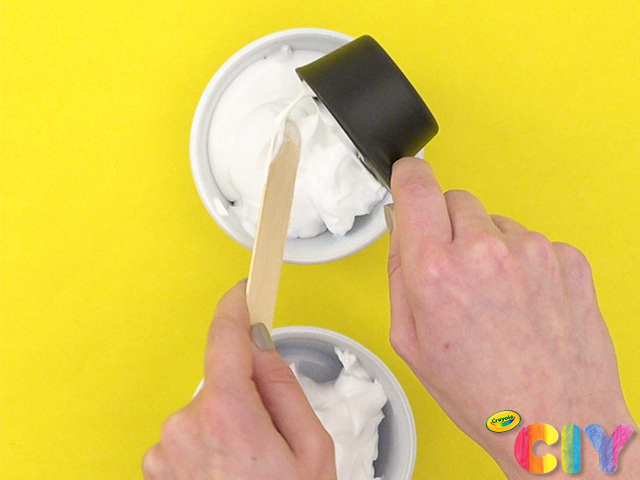
In 2 mixing bowls, combine 1/2 cup shaving cream and 1/4 cup glue with craft stick.
5
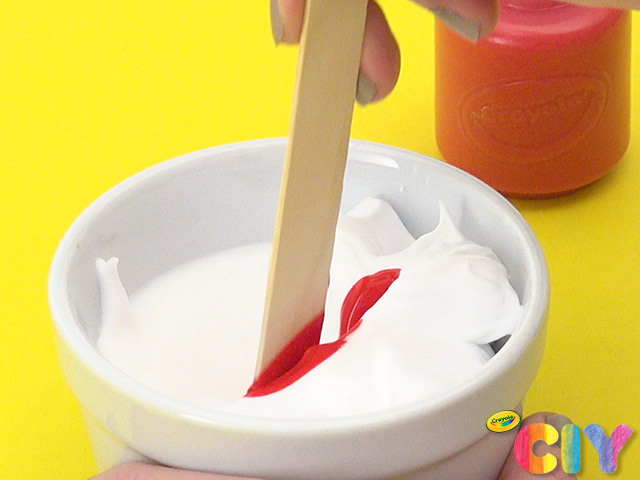
Lightly dip craft stick into paint and stir into each glue mixture.
6
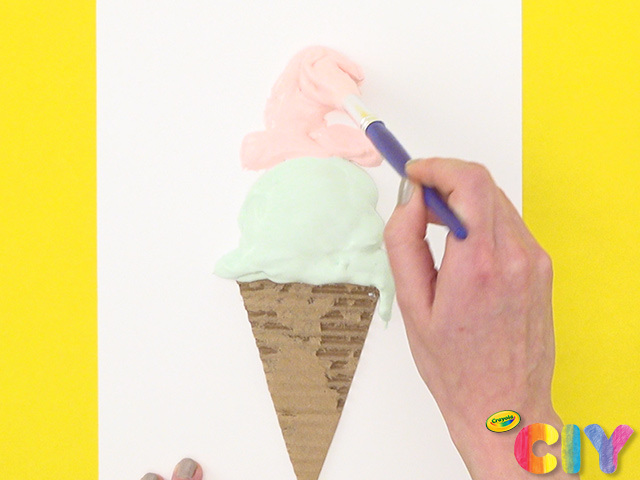
Paint glue mixture above ice cream cone, making 2 ice cream scoops.
7
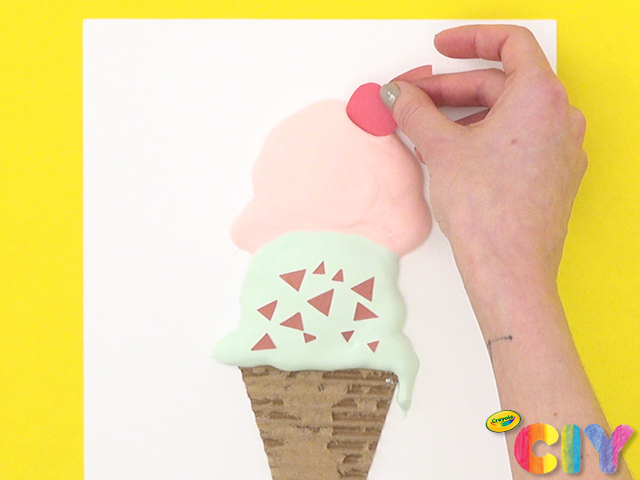
Cut out sprinkles or cherries from construction paper and place on glue mixture.
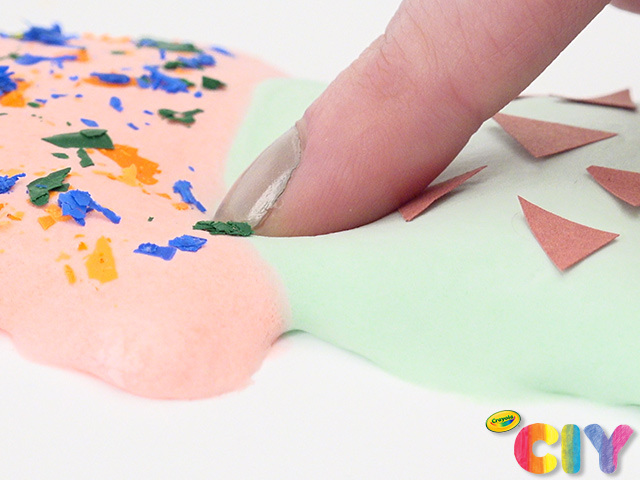
8
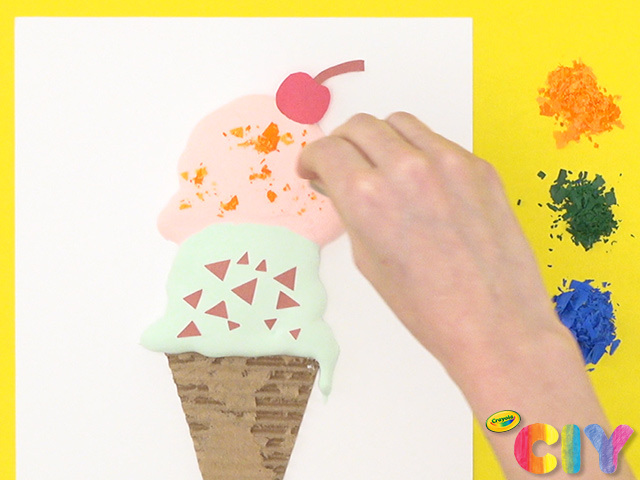
Use a pencil sharpener to create crayon shavings. Place on glue mixture to create sprinkles. Dry overnight.
9
When dry, enjoy the fun, fluffy feeling and hang to display!
Occasion:
Summer,
Décor & Accessories
Age:
4+,
6+,
8+,
Tween+