Supplies:
- Masking Tape
- Cardstock strips 3.8 cm x 7.6 cm (1.5 in x 3 in)
- Googly Eyes (optional)
- Garlic Press
- Toothpicks
- Super Sparkle Glitter Glue
- Scissors
- Crayola Model Magic
Steps:
1
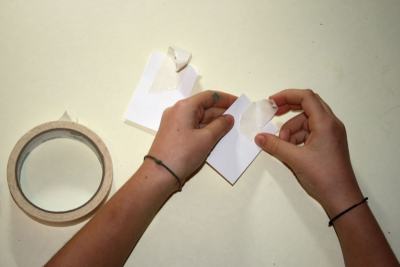
Place a small piece of masking tape on each piece of cardstock. Make sure the tape hangs at least 3 cm over the edge of the card.
2
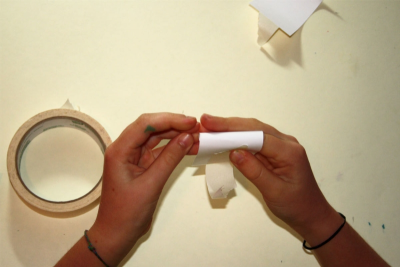
- Wrap the card around your finger and secure it with the masking tape.
3
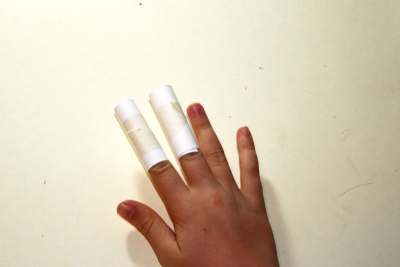
- Repeat with the other card. Make sure the tubes you have created are tight enough to stay put, and loose enough to move gently if you pull on them.
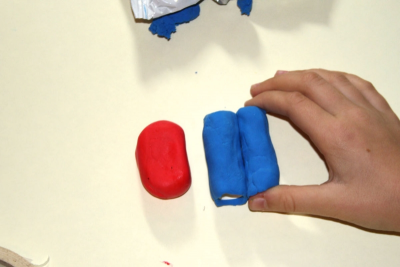
4
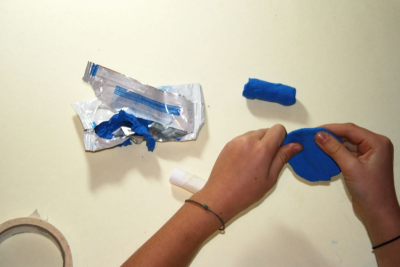
- Choose a colour of Model Magic for the legs. Flatten it between you fingers and thumb.
- Wrap the Model Magic around the tube. Be sure to cover the top as well as the sides.
- Do the same with both tubes.
5
- Roll a ball of Model Magic for the body. Shape it into a cylinder about 3/4 the length of the legs.
6
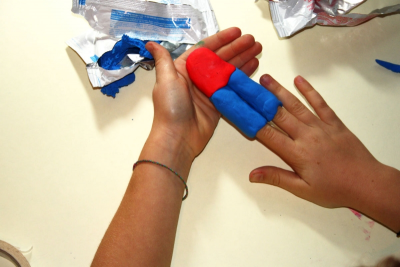
- Attach the cylinder to the legs.
7
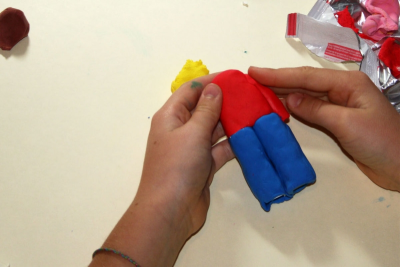
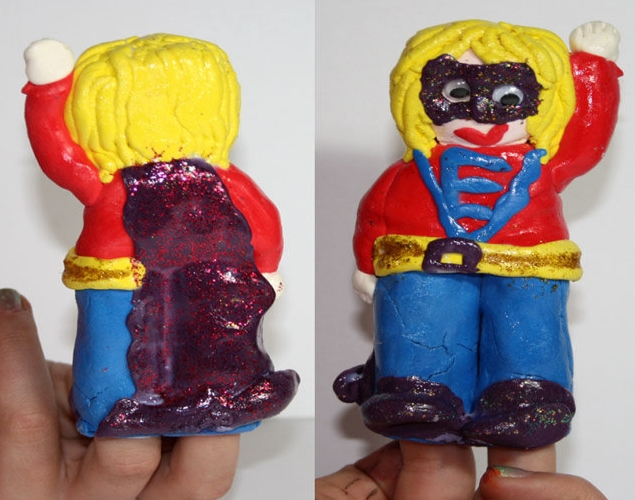
- Roll thin coils for the arms and attach them to the shoulders of the body. (In this example the student is waiting to attach the other arm until the head is attached to accomodate the Superheroe's stance.)
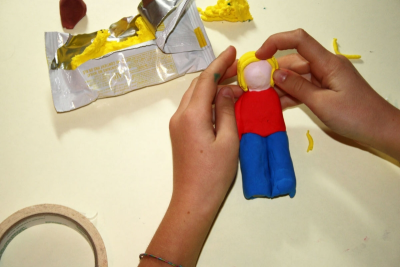
8
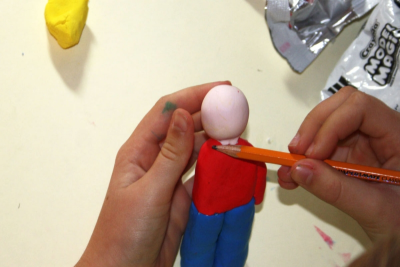
- Mix some Model Magic the colour you want for the head. Roll a small ball and attach it to the body. (Tip- for a pale colour start with white and slowly add small amounts of colour to it.)
9
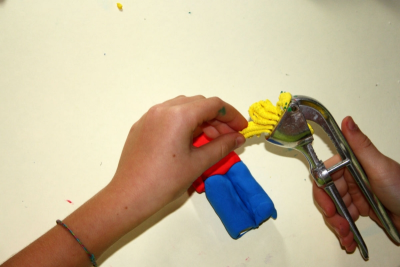
- Use a garlic press to create hair.
- Gently pull the strands of Model Magic away from the garlic press.
10
- Stick the strands to the head for hair.
11
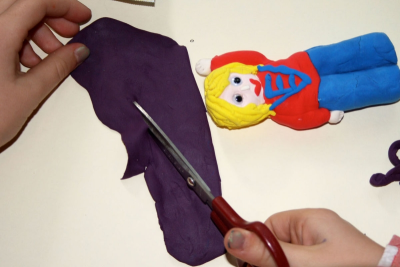
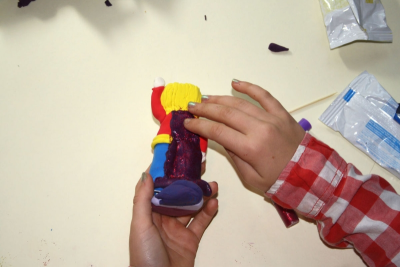
- Continue to add details making sure each piece sticks to the figure.
- Flatten Model Magic and cut it with scissors to make large flat pieces of clothing.
12
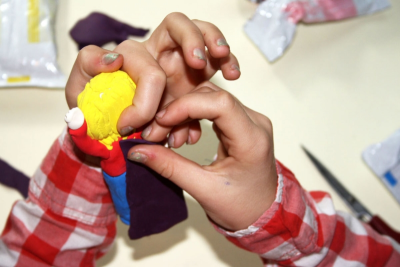
- Attach pieces carefully making sure you don't squish the rest of the figure.
13
- You may want to add glitter glue to some parts of your figure.
14
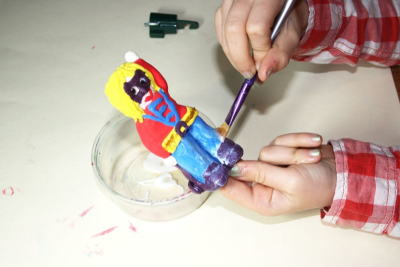
- You may want to seal the puppet with an acrylic varnish.
- Allow the varnish to dry for about an hour.
- Use your puppet to tell a story.
Subjects:
Grades:
Grade 1,
Grade 2,
Grade 3,
Grade 4,
Grade 5,
Grade 6,
Grade 7,
Grade 8