Supplies:
- Crayola Scissors
- Crayola Model Magic - Assorted Colours including Black
- Crayola Construction Paper
- Crayola Washable No-Run School Glue
- Crayola Fine Line Markers
- Light Weight Bristol Board - 25 cm x 25 cm (10" x 10") - 1 piece per student
Steps:
1
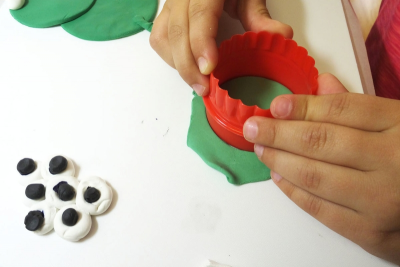
- Use white and black Model Magic to create the eggs and the eyes of all stages of the froglet.
- Mix blue and yellow Model Magic together to make green.
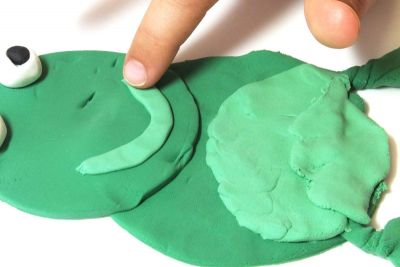
- Flatten the green Model Magic and cut shapes for the adult frog.
2
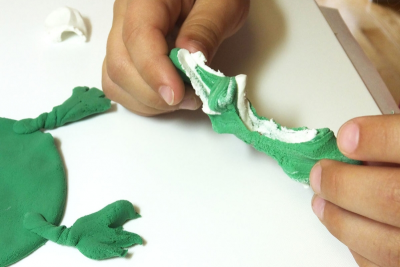
- Blend white and green Model Magic together to get light green.
- Use it to add contrasting details to your adult frog.
3
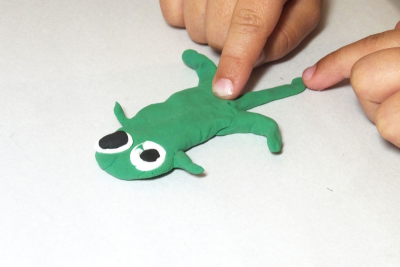
- Press the pieces of Model Magic together firmly. They should stick, but you can add Washable glue to attach the pieces if they have started to dry.
4
- Use some of the green Model Magic to create a froglet. Remember it is smaller than the adult frog.
- Press the Model Magic together firmly.
- Use black Model Magic to make the tadpole and the tadpole with legs.
5
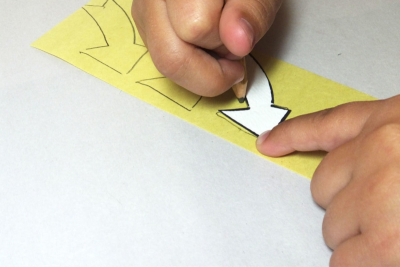
- Use a tracer to draw 5 arrows on a piece of bright coloured construction paper.
- Cut them out.
6
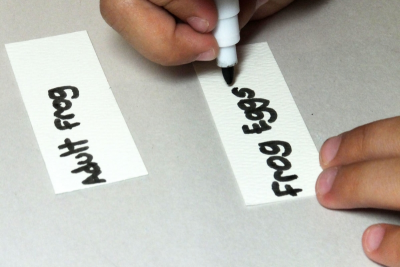
- Print each stage of the life cycle of the frog on small pieces of paper.
7
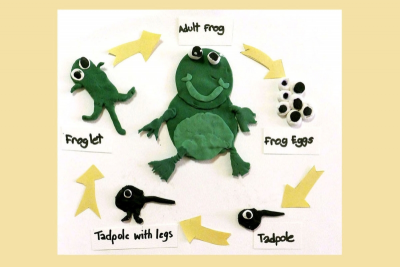
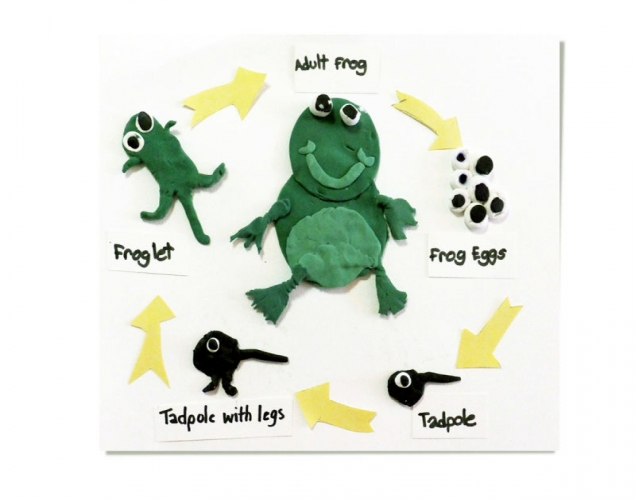
- Arrange all the pieces you have created on a piece of heavy weight paper.
- Place the Model Magic adult frog in the centre of the paper.
- Place the Model Magic pieces for each stage in a circle around the adult frog.
- Use the arrows to show the right direction from frog eggs to the adult frog.
- Glue all the pieces in place with Washable glue.
Subjects:
Language Arts,
Science
Grades:
Grade 1,
Grade 2,
Grade 3