Supplies:
- Crayola Broad Tip Markers - 24 Count
- Crayola Fine Line Markers - 12 Count
- Crayola Marker & Watercolour Paper - 22.9 cm x 30.5 cm (9" x 12")
- Crayola Scissors
- Write-On Overhead Transparencies - 14 cm x 21.6 cm (5 ½" x 8 ½") - 1 per student
- Water Containers
- Small Pieces of Sponge - about 3 cm x 3 cm (1 ½" x 1 ½") - 1 per student
- Paper Towels
- Masking Tape
- Pencils
Steps:
1
- Choose the Haiku you want to use.
- Trace the outline of the transparency onto a piece of paper.
- Draw a shape that will best reflect your Haiku in that rectangle.
- Make your shape as big as the rectangle.
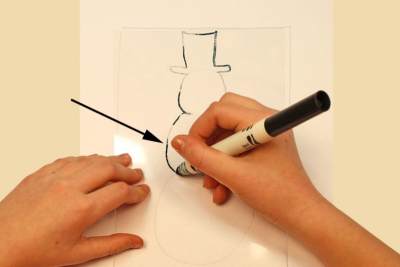
- Place the transparency on top of your drawing.
- Use a marker to trace your shape onto the transparency.
2
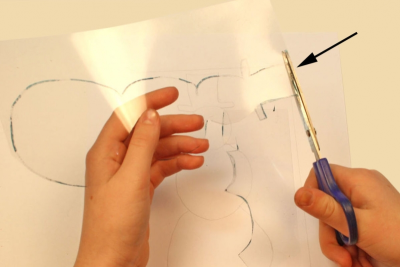
- Cut out the shape.
- Save the scraps of transparency.
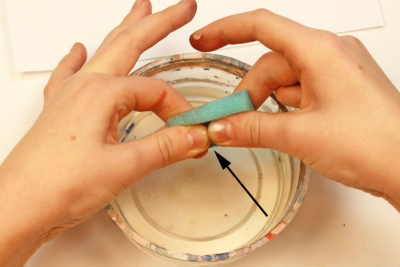
3
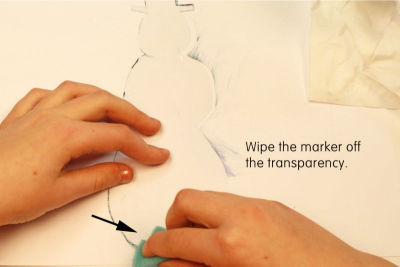
- Wipe the marker off the shape with a damp sponge.
- Dry it with paper towel or a tissue.
4
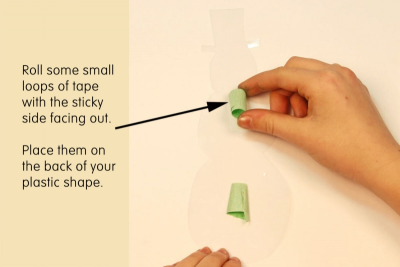
- Roll some small loops of tape with the sticky side facing out.
- Place them on the back of your plastic shape.
5
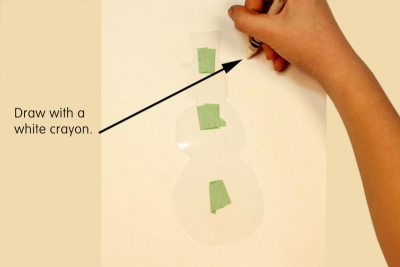
- Centre your shape on the paper and press it into place.
- Use a white or other colour crayon to draw some patterns on the paper around your shape.
- Set your paper aside.
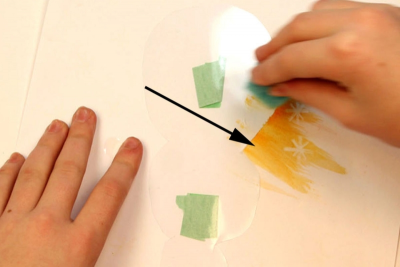
6
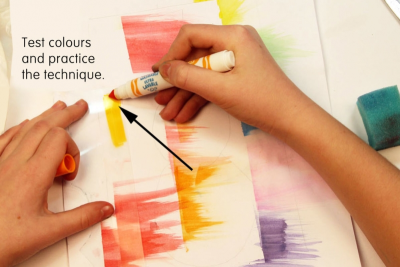
- Use some of the scrap plastic to test colours and practice the technique.
- Hold a piece of plastic in place on the paper.
- Draw some marker ink along the edge of the plastic.
- make sure the marker ink is only on the plastic not the paper.
7
- Place the small sponge into the water.
- Squeeze some of the water out of the sponge.
8
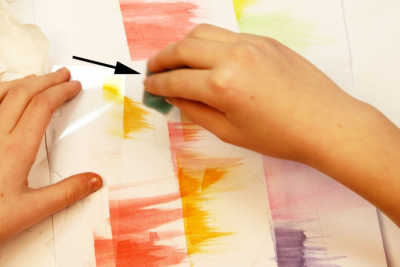
- Place the damp sponge on top of the ink .
- Drag the ink onto the paper.
- Try with different colours.
- Experiment with how wet you make the sponge.
- What happens to the marker colour when the sponge is almost dry?
- What happens to the marker colour when the sponge is very wet?
- What is the right amount of water in your sponge to get the effect you like?
9
- Now you are ready to complete your stencil print.
- Use the same technique and the effects you discovered.
10
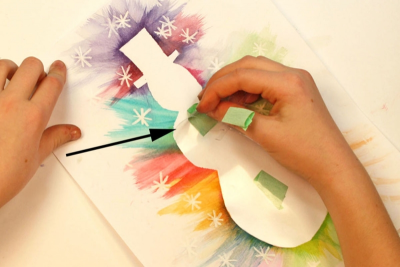
- Decide if there is anything else you want to do with the print before removing the transparency from the paper.
- When you are satisfied gently remove the transparency from the paper.
- Be careful because the tape may tear the paper.
11
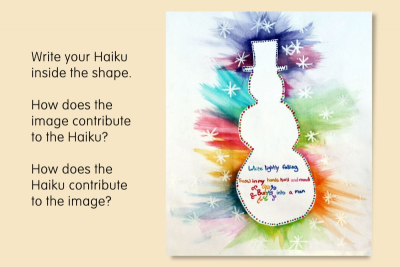
- Write your Haiku inside the shape.
- You may want to use markers to add a pattern inside the outer edge of the shape.
- View your finished work with fresh eyes.
- How does the image contribute to the Haiku?
- How does the Haiku contribute to the image?
- What do you like best about your artwork? Why?
Subjects:
Language Arts,
Visual Arts
Grades:
Grade 1,
Grade 2,
Grade 3,
Grade 4,
Grade 5,
Grade 6,
Grade 7,
Grade 8