CRAYBOT – Creating a Drawing Machine, Form, LineStudents use a small motor and simple materials to create a line-drawing robot and experiment with how to change the way the lines are drawn. Later they use a variety of materials to create a body with robot characteristics and paint it with contrasting colours.
Students use a small motor and simple materials to create a line-drawing robot and experiment with how to change the way the lines are drawn. Later they use a variety of materials to create a body with robot characteristics and paint it with contrasting colours.
Supplies:
- Crayola Acrylic Paint
- Crayola Paint Brushes
- Crayola White Glue
- Crayola Broad Line Markers
- Crayola Glitter Glue
- Hobby Motor - 9 Volts, 2 mm shaft
- Duct Tape
- Plastic Container, 500 g - 1 per student
- Corks - 1 per student
- 2AA Battery Holder with Wires and Switch - 1 per student
- Assorted Found Materials and Containers
- Googly Eyes
- Water Containers
- Paper Towels
- Hot Glue Guns
- Hot Glue Sticks
Steps:
1
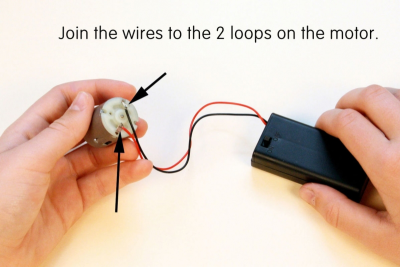
- Remove some of the plastic coating from the ends of the wires on the 2AA battery holder.
- Join the wires to the loops on the motor.
- Turn the battery switch on to test if it works.
2
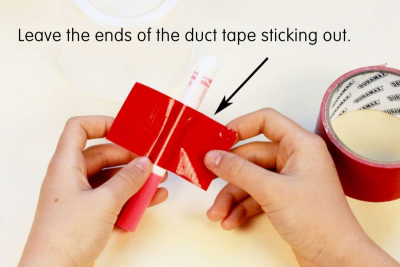
- Choose several colours of marker.
- Place a piece of duct tape at the mid-point on one of the markers with the ends of the tape sticking out.
3
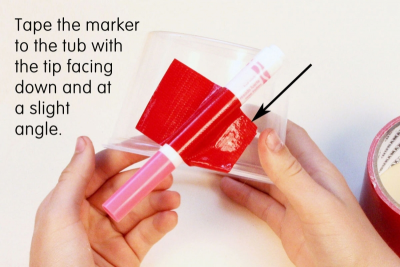
- Place the marker with the tip facing down and at a slight angle.
- Tape it to the plastic container.
- Tape 4 or 5 markers around the outer edge of the plastic container.
- Make sure the tips all touch the table surface when the container is placed upright.
4
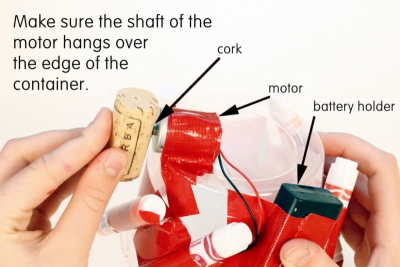
- Tape the 2AA battery holder to the side of the plastic container.
- Tape the motor to the top edge of the plastic container.
- Make sure the shaft of the motor hangs over the edge of the container.
- Push a cork, off centre, onto the shaft of the motor.
- Make sure it is good and secure.
5
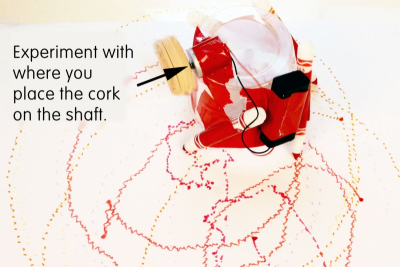
- Place the craybot on top of a large piece of paper.
- Turn it on and see what happens.
- Experiment with where you place the cork on the shaft to see how that changes the kinds of lines the craybot makes.
6
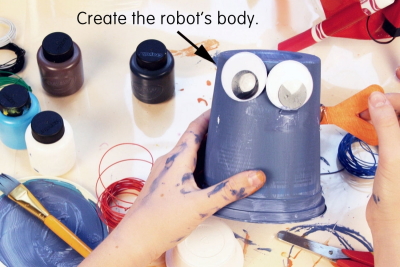
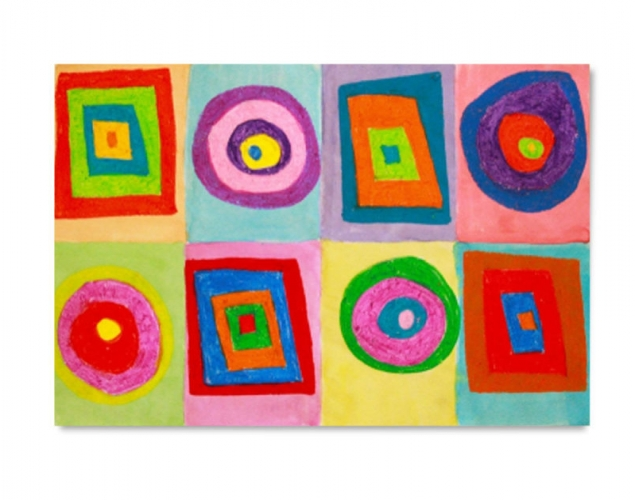
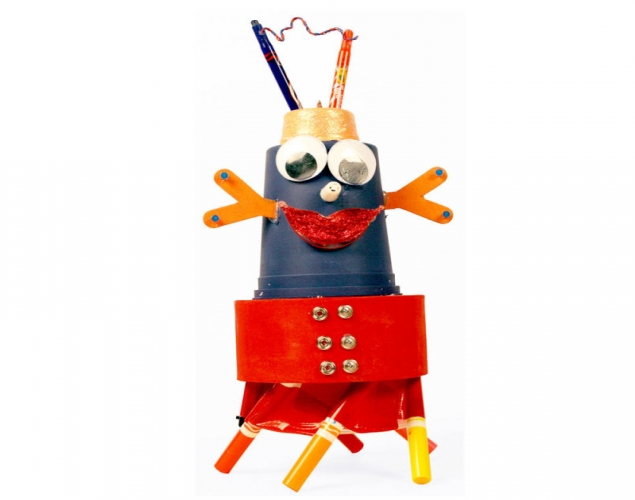
- Use other containers and acrylic paint to create a body for the craybot.
- Attach the body to the base.
Subjects:
Language Arts,
Science,
Visual Arts
Grades:
Grade 3,
Grade 7,
Grade 8