Supplies:
- Crayola Broad Tip Markers
- Found Objects
- Plastic Placemat - 1 per student
- White Paper - 30.5 cm x 45.7 cm (12" x 18") - 1 per student
- Spray Water Bottles - 1 per 6 students
Steps:
1
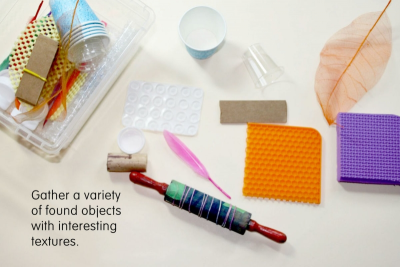
- Gather a variety of found objects such as small paper cups, cardboard and foam pieces, and other textured surfaces.
- Tape string to a rolling pin.
2
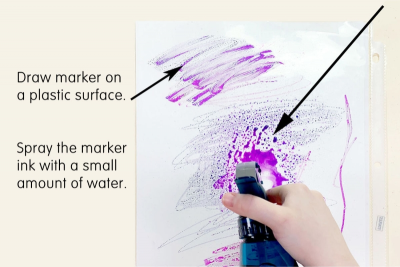
- Draw marker on the plastic surface using the flat side of the marker.
- Spray the marker ink lightly with a small amount of water.
3
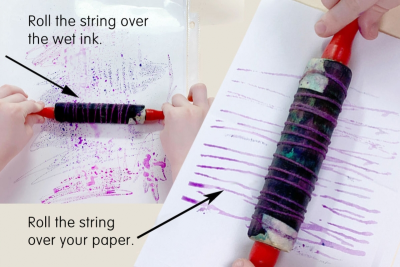
- Roll a rolling pin with string taped to it across the wet ink.
- Roll the string over your paper to make a print.
- Press an object into the wet ink to pick up as much ink as you can.
- Press the inked object onto your paper and press down to make a print.
- Print lots of different kinds of lines.
- Fill the paper with lots of different marks and colours.
4
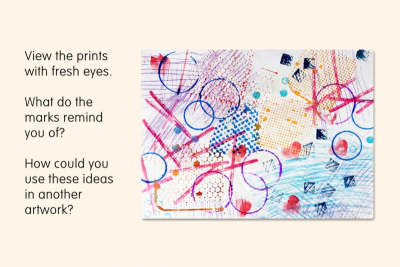
- View the prints with fresh eyes.
- What do they remind you of?
- How could you use these ideas in another artwork?
Subjects:
Grades:
Kindergarten,
Grade 1,
Grade 2,
Grade 3,
Grade 4,
Grade 5,
Grade 6