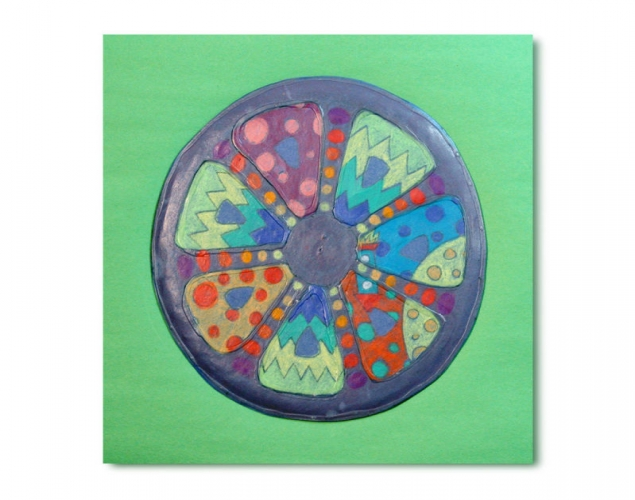
DESIGN YOUR OWN HUBCAP – Symmetry, Pattern, ContrastStudents use a compass to draw a circle and divide it into 7 equal parts and use it to design a personalized, patterned hubcap.
Students use a compass to draw a circle and divide it into 7 equal parts and use it to design a personalized, patterned hubcap.
Supplies:
- Construction Paper - 22.9 cm x 30.5 cm (9" x 12")
- Crayola White Glue
- Crayola Scissors
- Crayola Sketchbooks - 1 per student
- Crayola Construction Paper Crayons
- Rulers - 1 per student
- Corrugated Cardboard - 22.9 cm x 22.9 cm (9" x 9")
Steps:
1
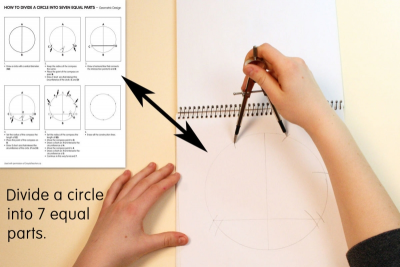
- Use a compass to draw a circle with a diameter of 17 cm (6.5") in your sketchbook.
- Follow the instructions to divide the circle into 7 equal parts. (Downloads - DividingCircleSevenParts.pdf)
2
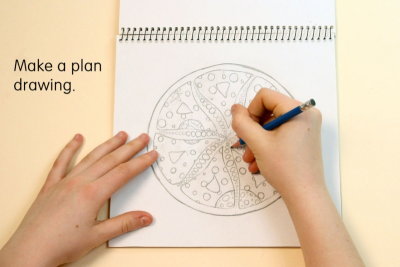
- Make a plan drawing of your hubcap design.
- Use repeated shapes and lines to create patterns.
- Make a design that tells something about you.
3
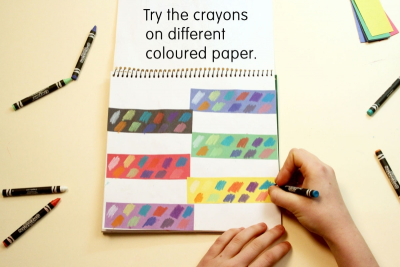
- Glue small pieces of coloured paper on a page of your sketchbook.
- Try all the construction paper crayon colours on each colour of paper.
- Choose the coloured paper you like the best for your hubcap design.
4
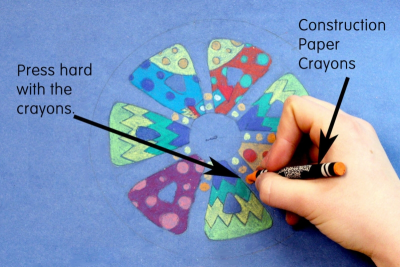
- Use a pencil to draw your hubcap design on the construction paper.
- Make sure it has a diameter of at least 17 cm (6.5").
- Colour it with construction paper crayons.
- Press hard with the crayons to get rich colours.
5
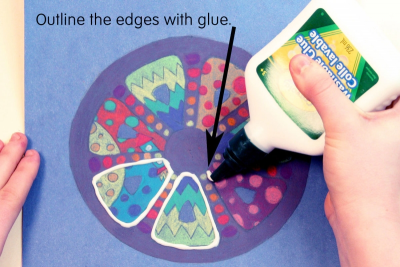
- Draw glue lines around the edges of your design.
- This will add depth and texture to your design.
- Set the paper aside to dry for a few hours.
6
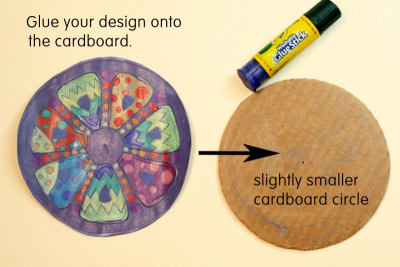
- Cut out a cardboard circle with a diameter .5 cm (1/4") smaller than the hubcap design circle.
- Cut out the construction paper design.
- Centre it on the cardboard circle.
- Glue it in place.
7
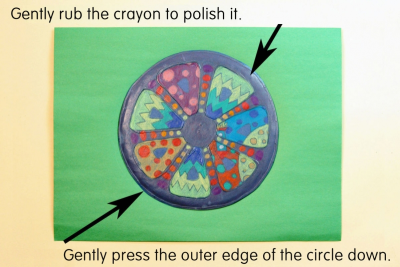
- Glue the finished design onto a piece of contrasting construction paper.
- Gently rub the surface of the hubcap design with your fingers or a soft tissue to polish the crayon.
- Gently press the outer edges of the construction paper down to curve them over the cardboard.
- Trim the paper.
Subjects:
Language Arts,
Mathematics,
Visual Arts
Grades:
Grade 6,
Grade 7,
Grade 8,
Grade 9