Supplies:
- Crayola Construction Paper - 30 cm x 48 cm (12" x 18") - 1 piece per student
- Crayola Washable Glue Sticks
- Crayola Crayons - Regular NOT Washable
- Crayola Original Markers
- Cardstock Paper - 9 cm x 14 cm (3 ½" x 5 ½") - 4 pieces per student
- Small Piece of Sponge - about 1.5 cm x 3 cm (½" x 1") - 1 per student
- Plastic Container Lid - 11 cm (4 ½") diameter - 1 per student
Steps:
1
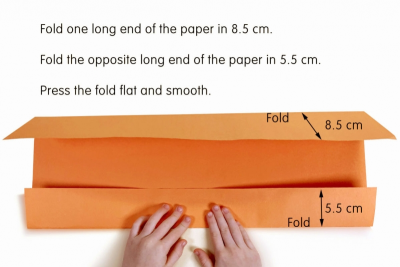
- Fold one long end of the paper in 8.5 cm.
- Fold the opposite long end of the paper in 5.5 cm.
- Press the folds flat and smooth.
2
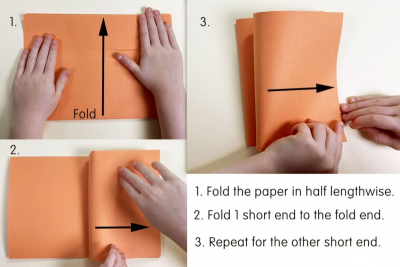
- Fold the paper in half lengthwise - short end to short end.
- Fold one short end to the fold end.
- Flip the paper over.
- Fold the short end to the fold end.
- Make all your folds smooth and flat.
3
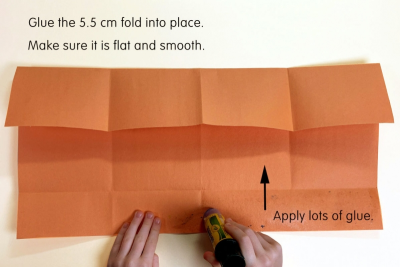
- Apply lots of glue to the 5.5 cm fold.
- Glue the 5.5 cm fold into place.
- Make sure it is flat and smooth.
4
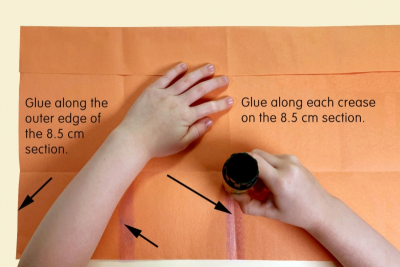
- Glue along each crease on the 8.5 cm section.
- Glue along the outer edges of the 8.5 cm section.
- Make sure you only put glue on the creases.
5
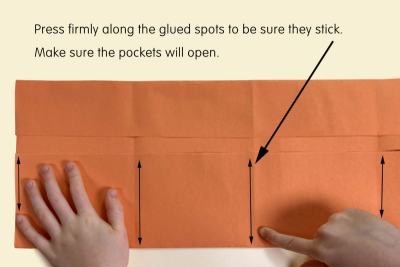
- Press firmly along the glued spots to make sure they stick.
- Remember to do each end at the sides of the book.
- Make sure the pockets will open.
6
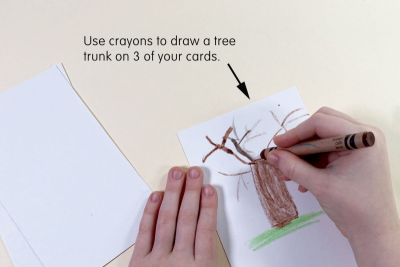
- Use crayons to draw the same tree trunk on 3 of your cards.
7
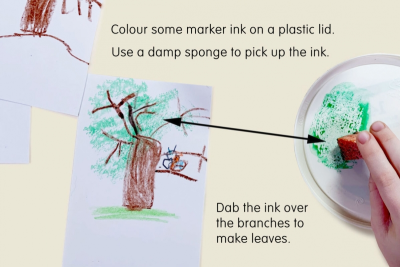
- Colour marker ink on aplastic lid.
- Use a DAMP sponge to pick up the ink.
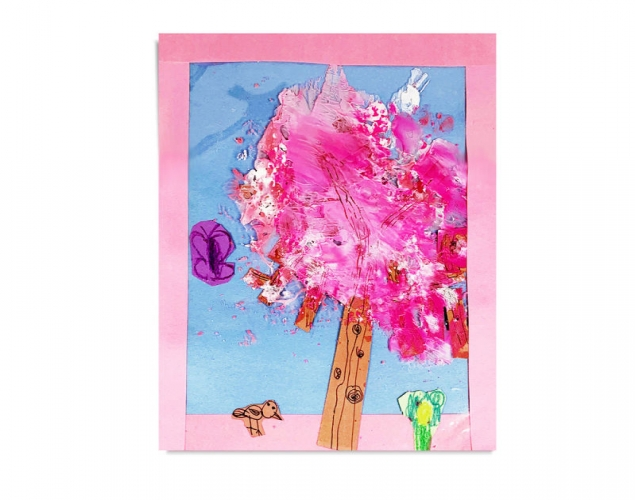
- Dab the ink over the branches of your tree to make leaves.
- Use colours to show how the leaves have changed.
8
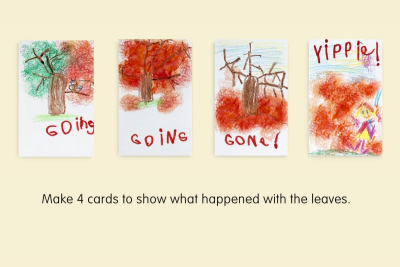
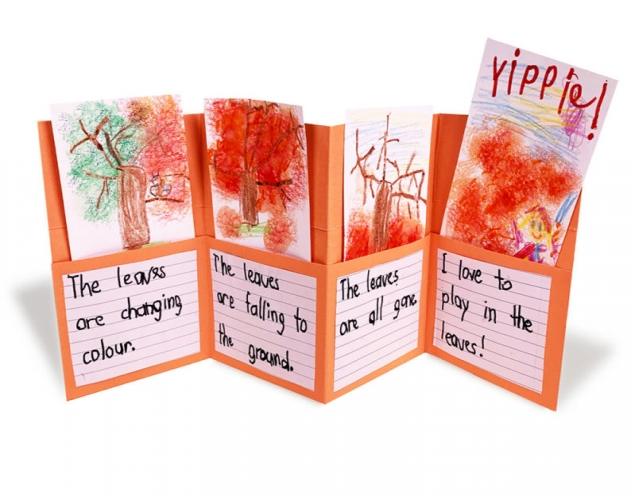
- Make 4 cards to show what happened with the leaves.
9
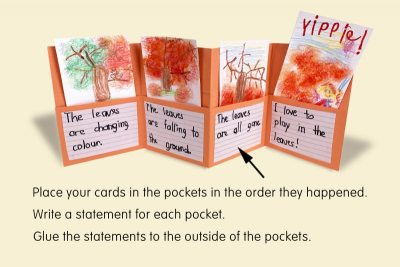
- Place your cards in the pockets in the order the happened.
- Write a statement for each pocket.
- Glue the statements to the outside of the pockets.
- Design a cover for your book.
Subjects:
Grades:
Grade 1,
Grade 2,
Grade 3

