Supplies:
- Crayola Construction Paper
- Crayola No. 2 Pencil
- Crayola Take Note Gel Pens
- Crayola No-Run Washable School Glue
- Crayola Take Note Permanent Markers
- Crayola Glitter Glue
- Crayola Scissors
- Upcycled Paper Bag
- Newspaper
- Clear Tape
CIY Staff Tips:
- Want more Turkey Day crafts? Find other Thanksgiving craft ideas, including Thanksgiving table decoration inspiration.
- Keep the good times gobbling with free Thanksgiving colouring pages!
Steps:
1
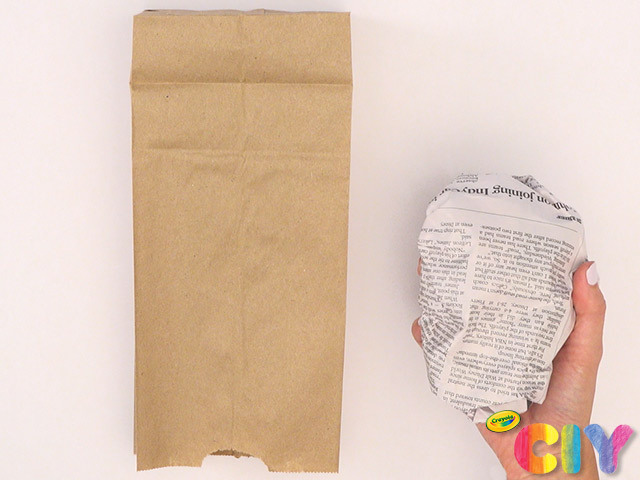
Fill paper bag approximately 3/4 full of crumpled newspaper.
2
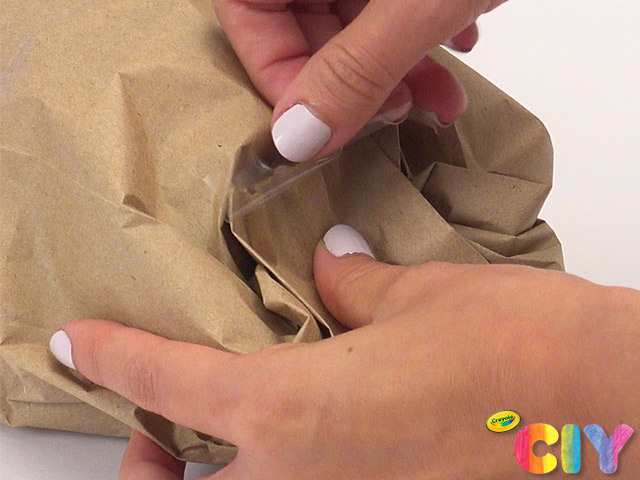
Fold down opening of paper bag and secure with tape to create body.
3
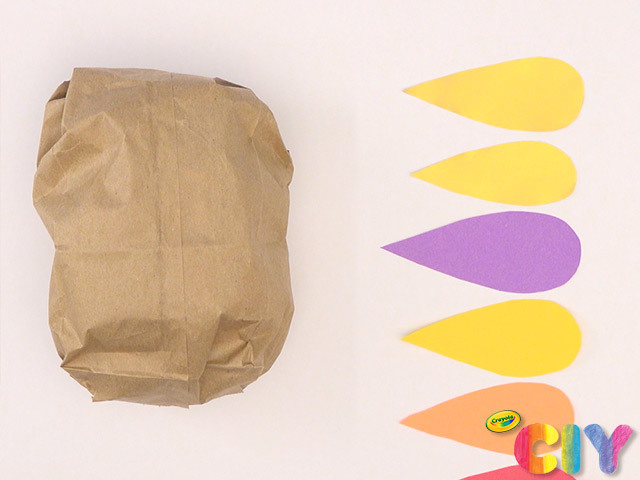
Sketch and cut out construction paper feathers.
4
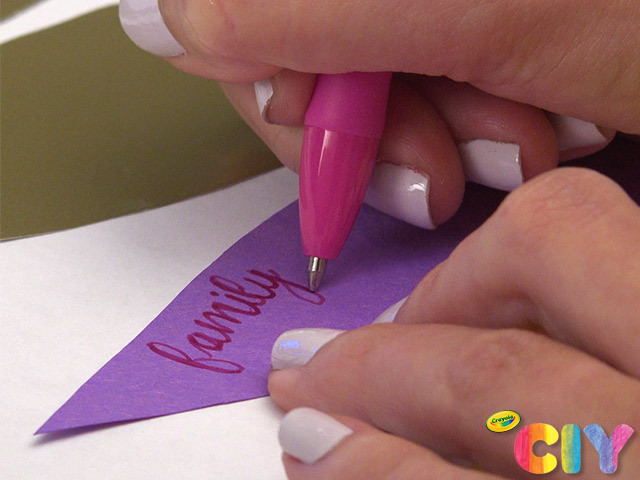
Write what you are thankful for on feathers with gel pens.
5
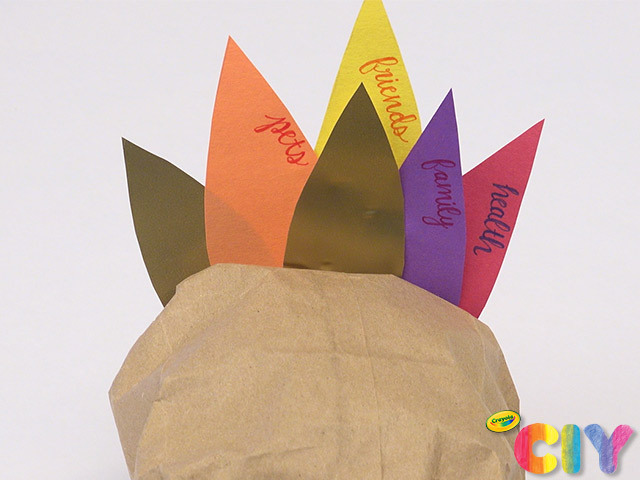
Glue feathers to back of body.
6
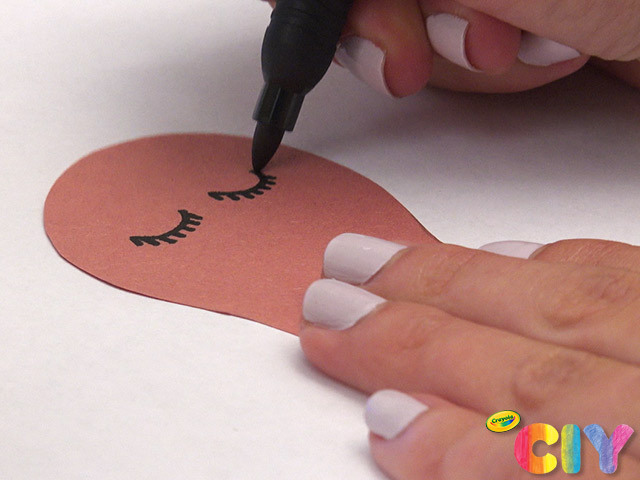
Sketch and cut out turkey head. Add eyes with marker.
7
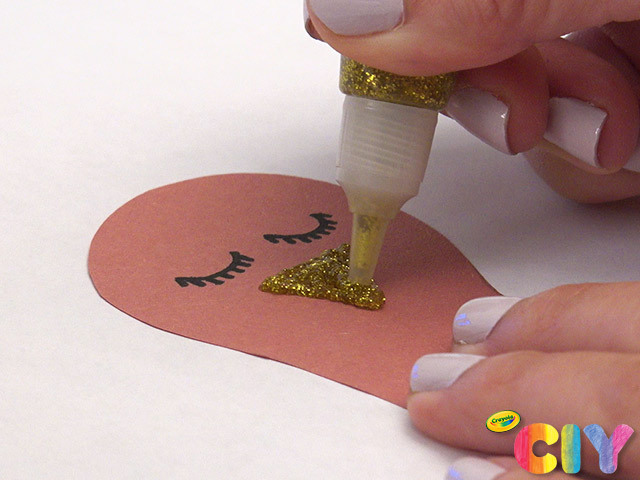
Add beak and wattle with glitter glue.
8
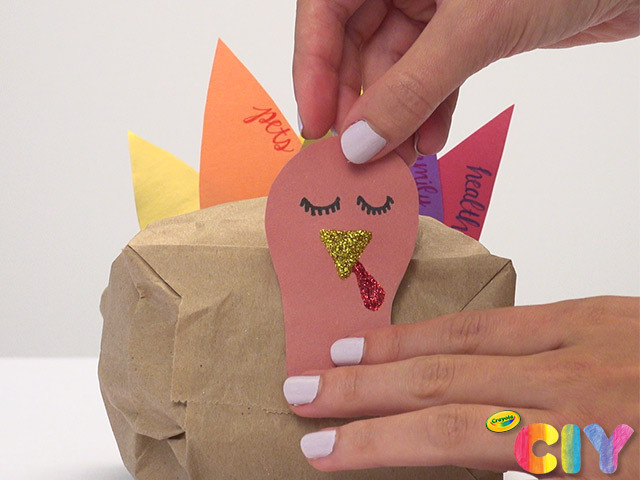
Glue head to front of body. Let all glue steps dry 3–4 hours.
9
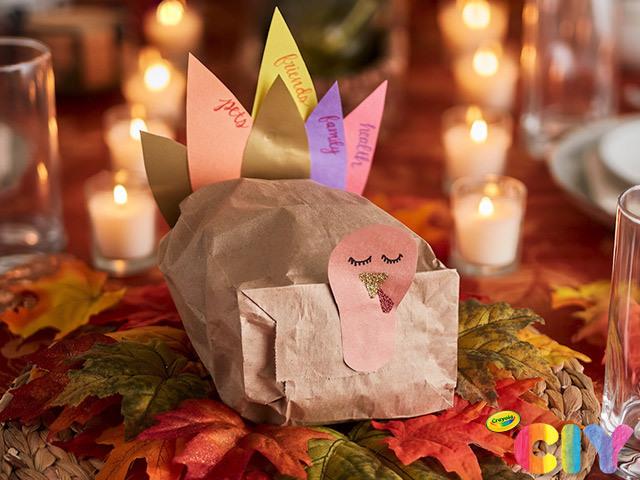
Showcase your bird as a Thanksgiving table centrepiece!