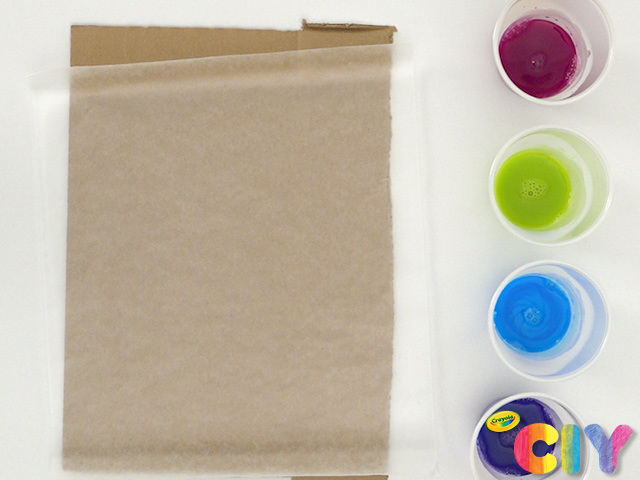
Supplies:
- Crayola Watercolours
- Disposable Cups
- Craft Sticks
- Cookie Cutter
- Hole Punch
- Warm Water
- Crayola No-Run School Glue
- Measuring Cups
- Wax Paper
- Straws
- Ribbon
- Cardboard
CIY Staff Tips:
- Step 8 may be difficult for little hands. Ask an adult if you need help!
Steps:
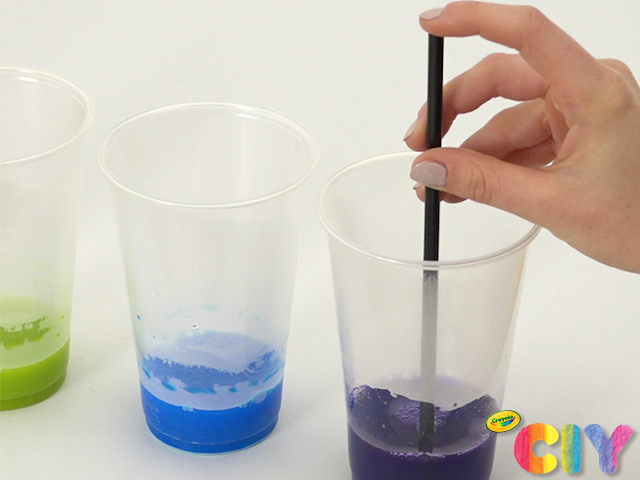
1
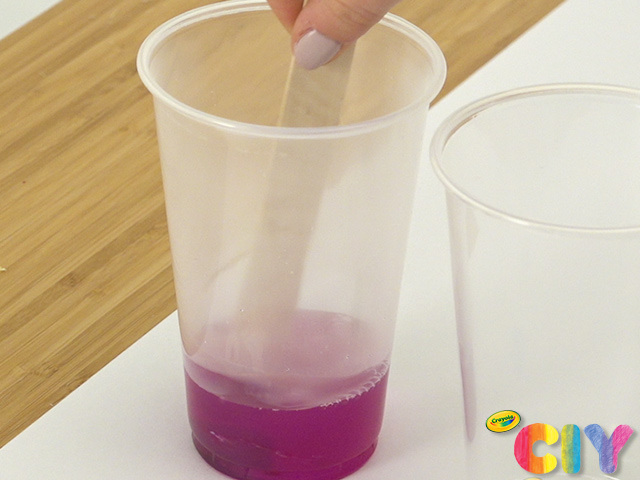
Dissolve watercolour tablets in disposable cups with a small amount of warm water, 1 tablet per cup. Stir with craft stick.
2
Put a piece of cardboard down with wax paper on top.
3
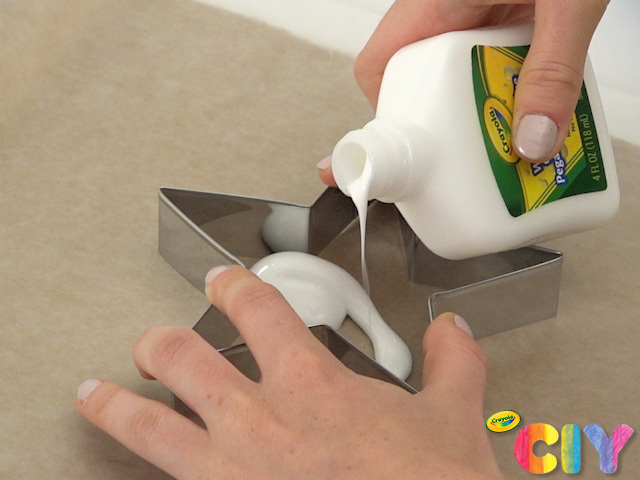
Place cookie cutter on wax paper and pour glue into cookie cutter.
4
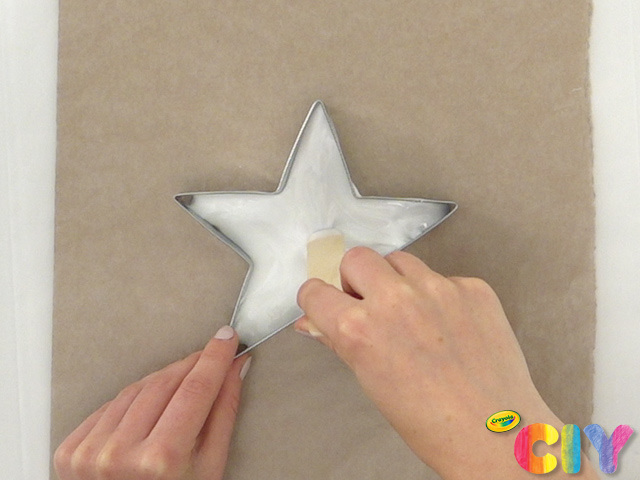
Spread glue with craft stick until glue is about 1/4" thick.
5
Use straw to pull up and drip a few drops of the dissolved watercolours into the glue.
6
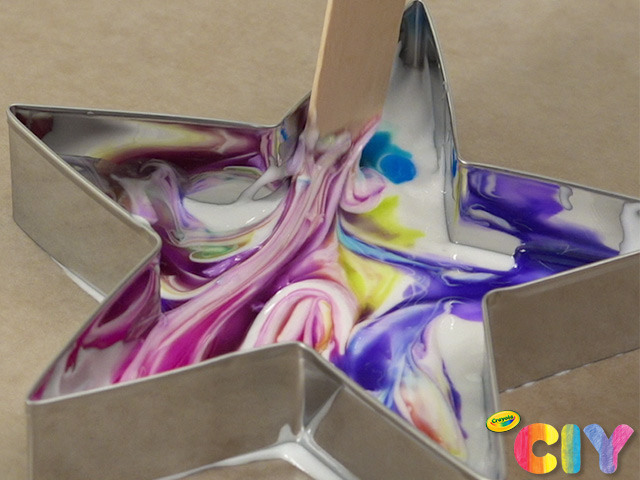
Mix with craft stick for marbled effect. Dry 1–2 days.
7
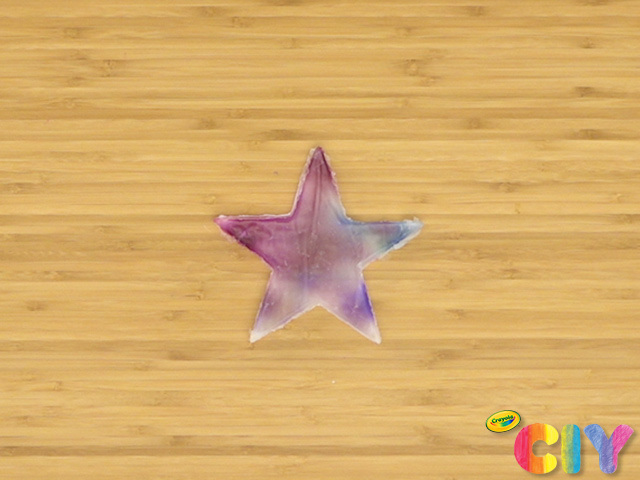
Remove excess wax paper. Carefully remove dried glue ornament from cookie cutter.
8
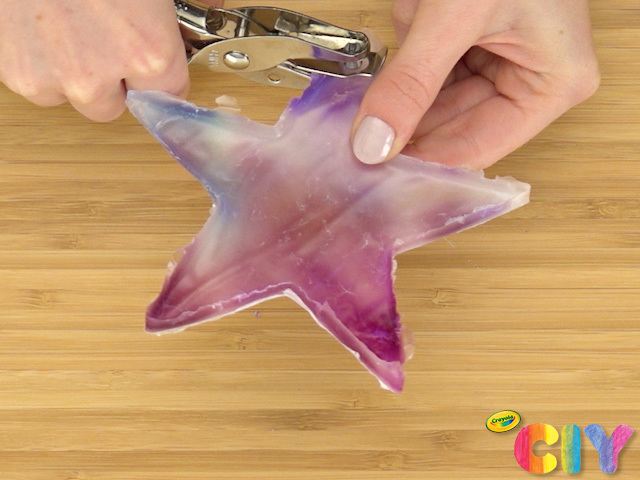
Use hole punch to create a hole close to the top of the ornament.
9
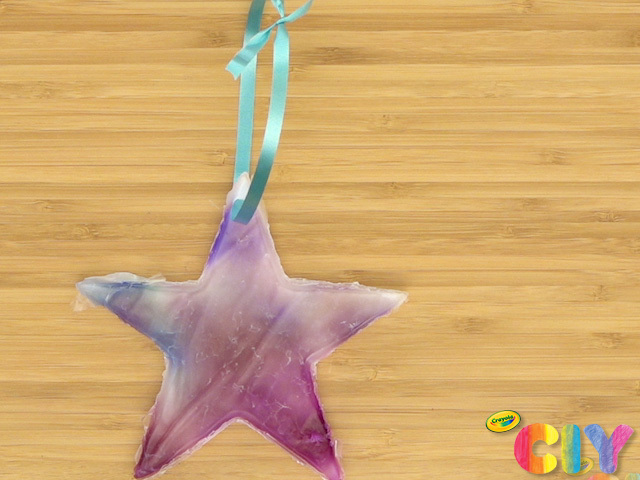
Loop a ribbon through the hole and tie.
10

Hang ornament around the house or on your tree!
Occasion:
Christmas,
Holiday,
Winter,
Special Occasions
Age:
6+,
8+,
Tween+,
Adult