Supplies:
- Crayola Washable School Glue
- Crayola Scissors
- Crayola Coloured Pencils
- Crayola Paint Brush
- Colouring Pages
- Mason Jar
- Water
- Decorative Plates
- Measuring Cups
CIY Staff Tips:
- Don’t forget to save any leftover glue mixture for future decoupage art projects.
Steps:
1

Choose your favourite colouring page and fill in line art with coloured pencils. Set aside.
2
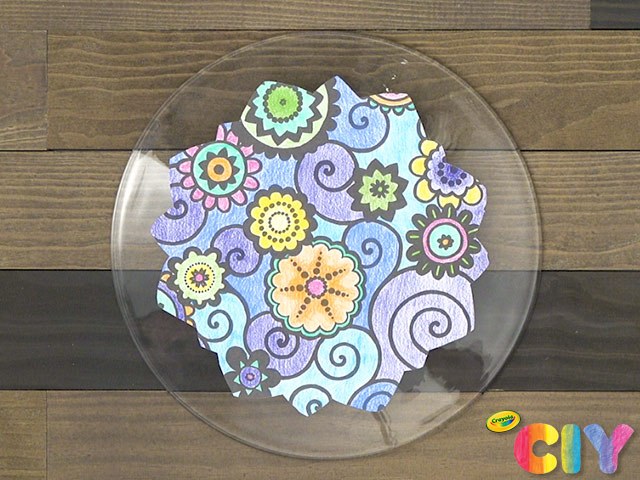
Turn a clear plate upside down. Using the plate for size reference, cut your colouring page into a unique design.
3
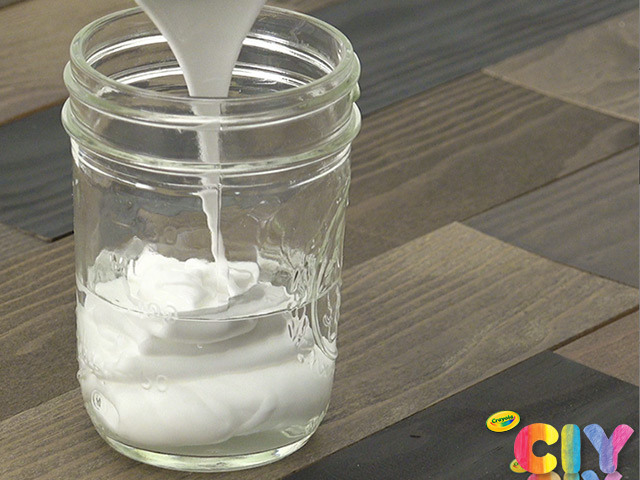
To make glue mixture, combine equal parts glue and water in jar. Shake well until mixture is fully combined.
4
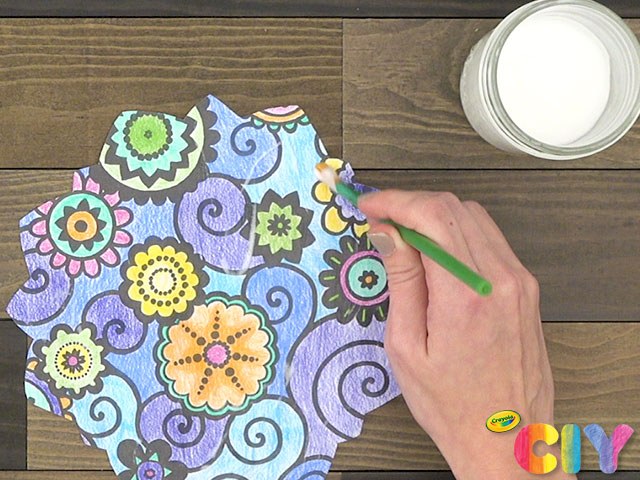
Using a paint brush, add layer of glue mixture onto the coloured-in side of the colouring page.
5
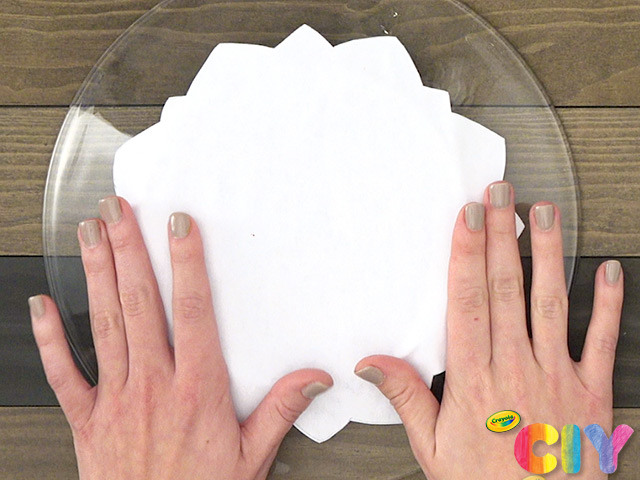
Place the page face down onto the bottom of the plate, smoothing with your hands.
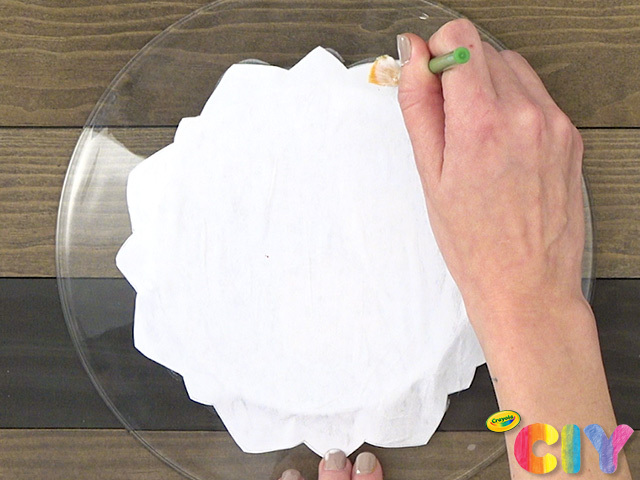
6

Add a coat of glue mixture to the back of the colouring page. Dry 1–2 hours.
7
Add a second coat of glue mixture to the back of the colouring page. Dry 1–2 hours.
8
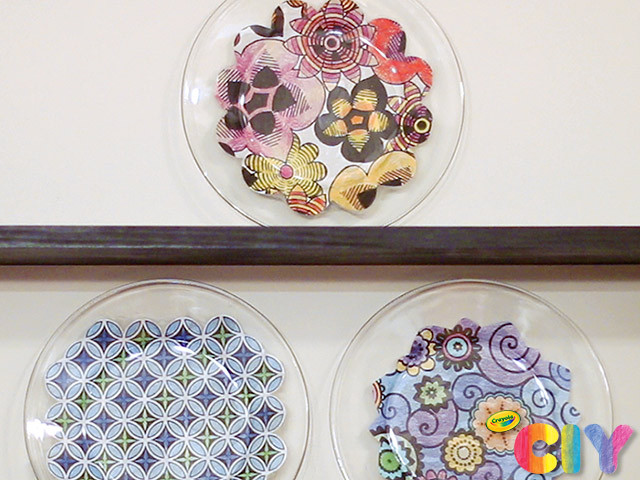
Make as many plates as you’d like, then hang as part of a plate wall or use as a centerpiece!
Occasion:
Rainy Day Crafts,
Décor & Accessories
Age:
Tween+,
Adult