Supplies:
- Crayola Scissors
- Crayola Paint Brush
- Crayola Model Magic
- Crayola Markers
- Crayola Washable Paint
- Crayola No-Run School Glue
- Pencil
- Bright Cardstock
CIY Staff Tips:
- When completing steps 6–9, we recommend working clockwise around the edge of your cardboard circle in order of life cycle stage.
Steps:
1
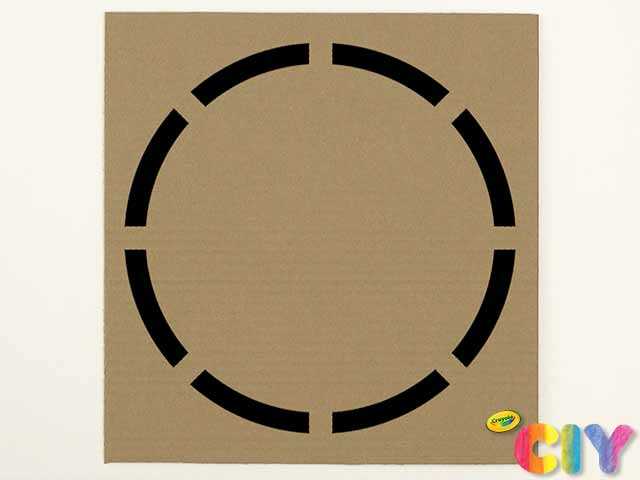
Sketch circle on cardboard. Cut out.
2
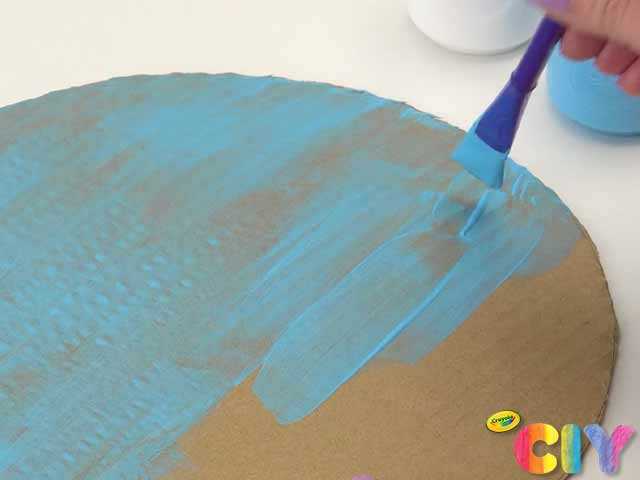
Cover cardboard in light blue paint. Dry 1–2 hours. Add second coat. Dry 1–2 hours.
3
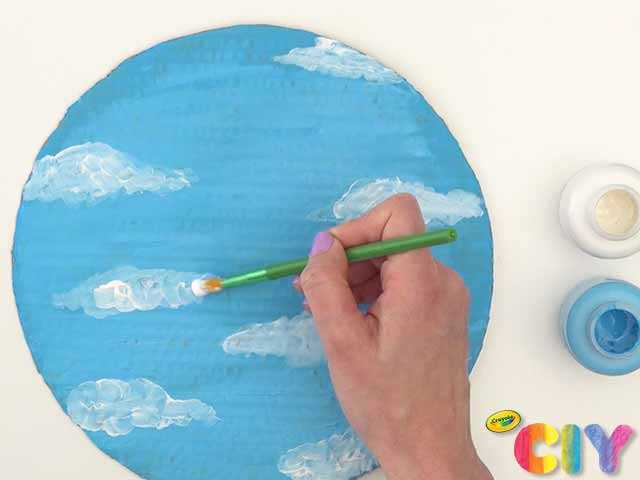
Paint clouds on cardboard. Dry 1–2 hours.
4
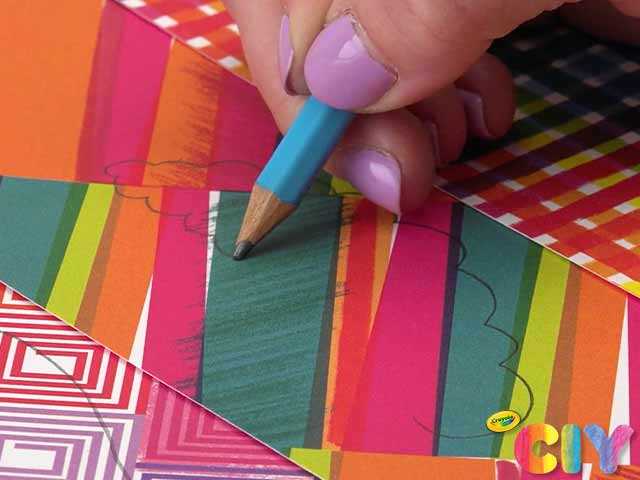
Sketch and cut out cardstock leaf, caterpillar body, chrysalis, and butterfly body.
5
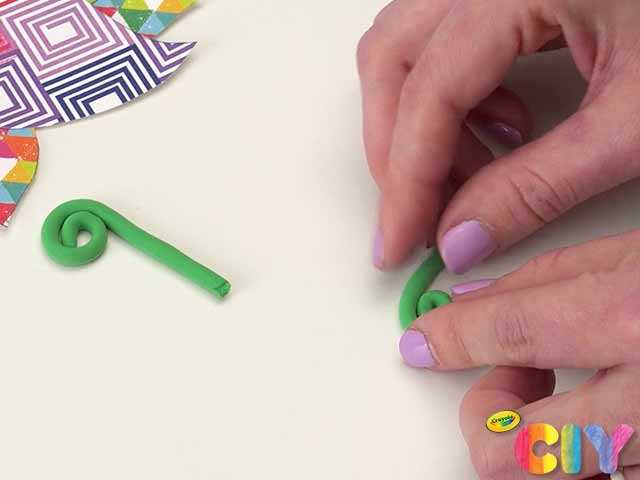
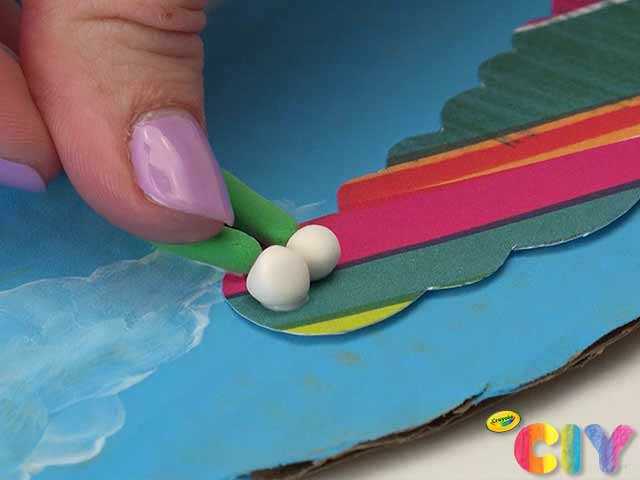
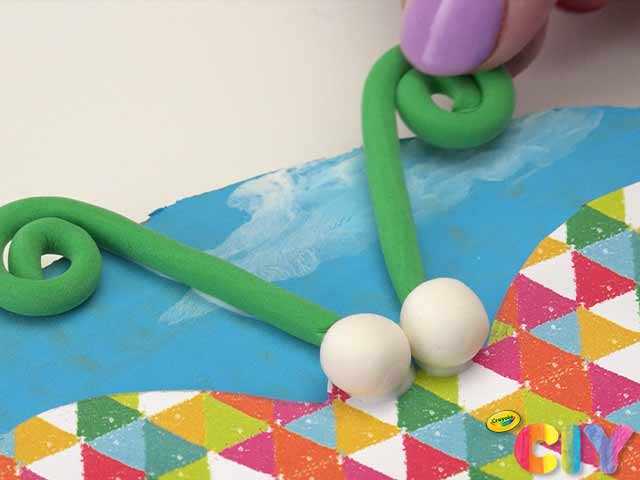
Sculpt Model Magic eggs, caterpillar eyes, caterpillar antennae, branch, butterfly eyes, and butterfly antennae. Dry overnight.
6
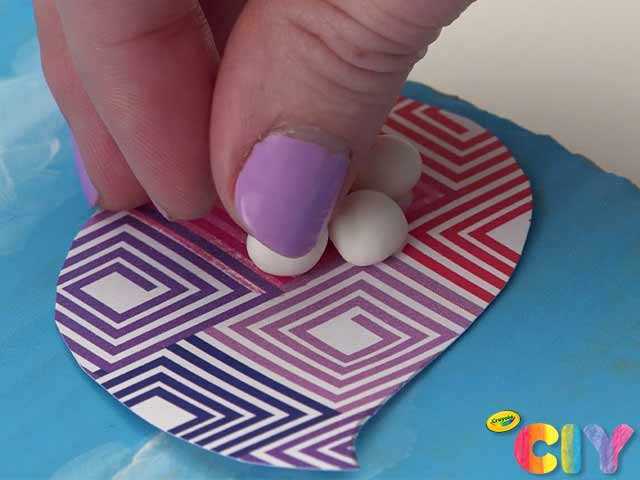
Glue leaf to cardboard. Glue Model Magic eggs to leaf.
7
Glue caterpillar body to cardboard. Glue Model Magic eyes and antennae to caterpillar.
8
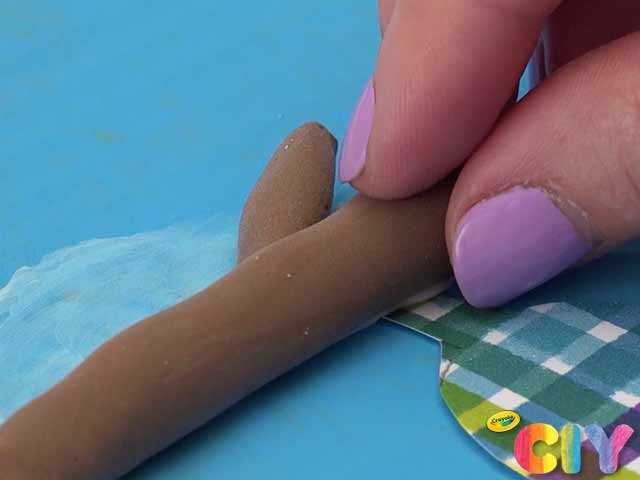
Glue chrysalis to cardboard. Glue Model Magic branch to chrysalis.
9
Glue butterfly body to cardboard. Glue Model Magic eyes and antennae to butterfly. Let all glue steps dry 1–2 hours.
10
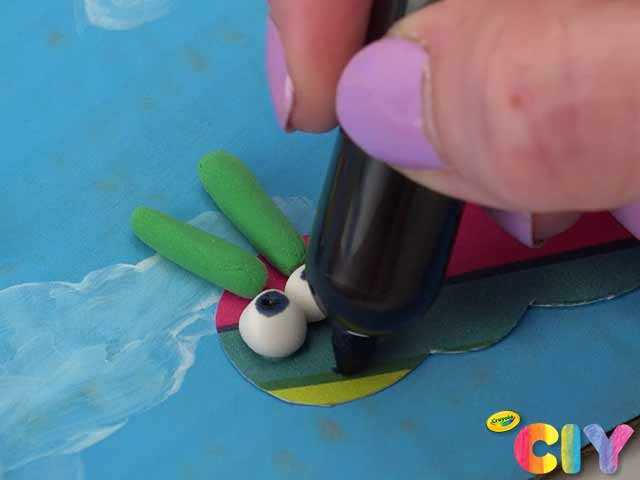
Add details to cardstock and Model Magic with markers.
11
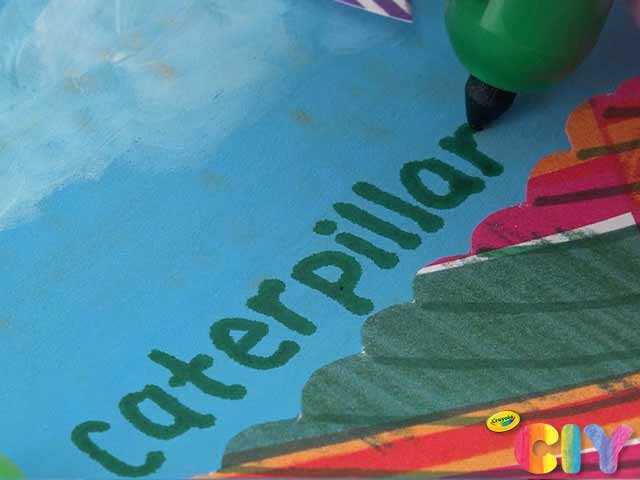
Write 4 stages of life cycle on cardboard: egg, caterpillar, chrysalis, and butterfly.
12
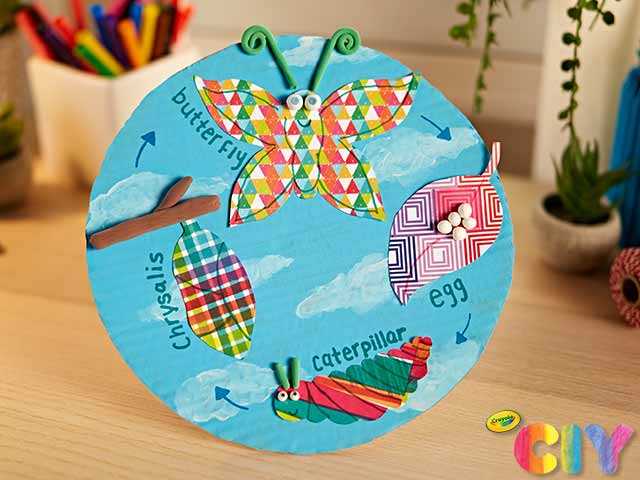
Let learning take flight with your colourful creation!
Occasion:
Back to School,
Earth Day,
Spring,
Summer
Age:
6+,
8+,
Tween+