Supplies:
- Crayola Air Dry Clay
- Crayola Glitter Glue
- Crayola Watercolours
- Rolling Pin
- Cookie Cutters
- Water
- Disposable Cups
- Wax Paper
- Winter Hat
- Straws
- Ribbon
CIY Staff Tips:
- Make more than a single ornament! Experiment with other shapes and colours to complement your holiday décor.
Steps:
1

On a piece of wax paper, roll out a 1/2” thick, medium-size ball of air dry clay.
2
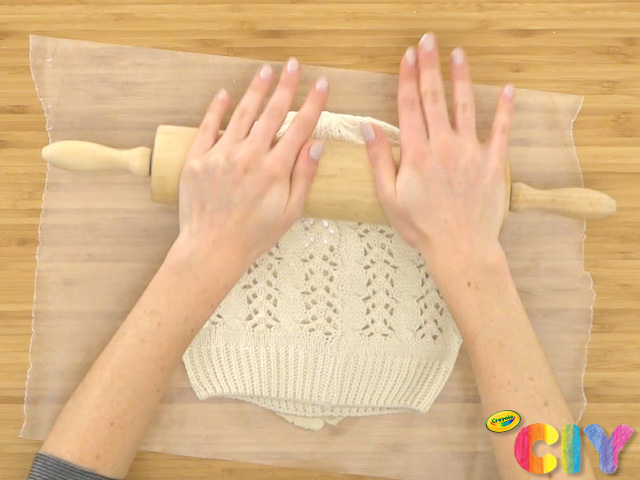
Place an old winter hat on top of the clay. Use rolling pin to create an imprint.
3
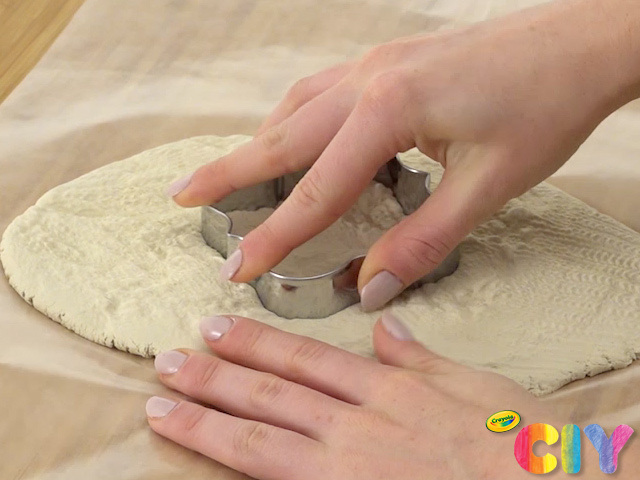
Use cookie cutter on the clay to create the ornament shape.
4
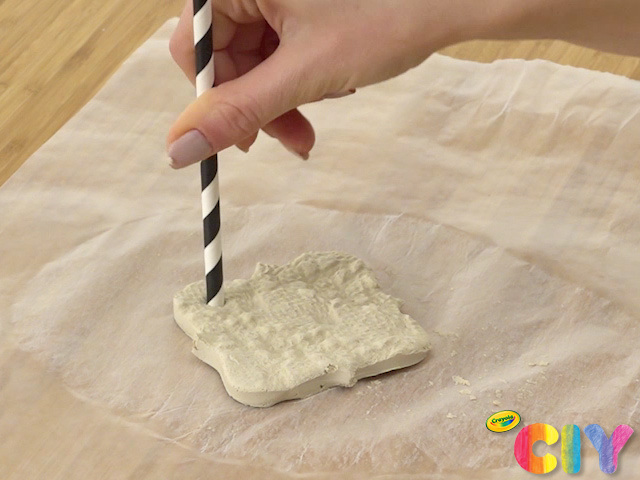
Use straw to create a hole close to the top of the ornament. Dry overnight.
5
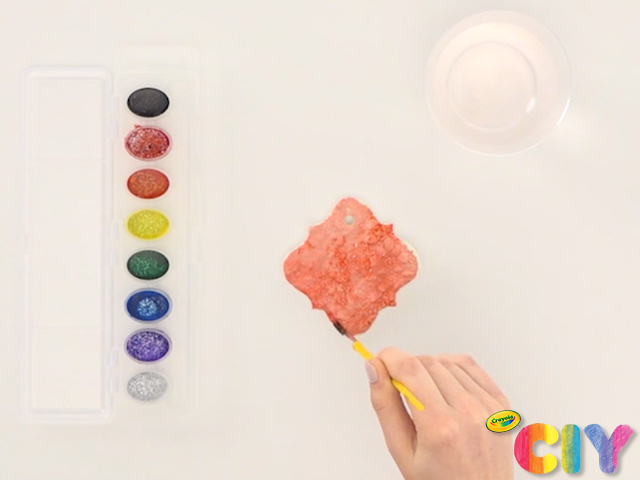
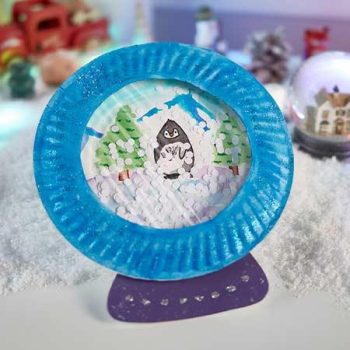
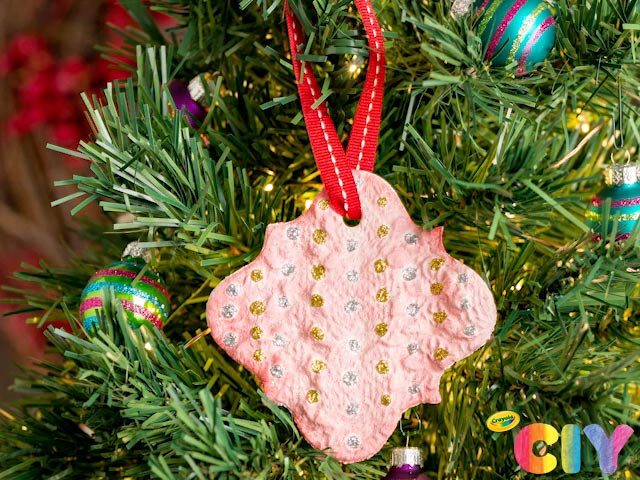
When dry, paint ornament with watercolours.
6
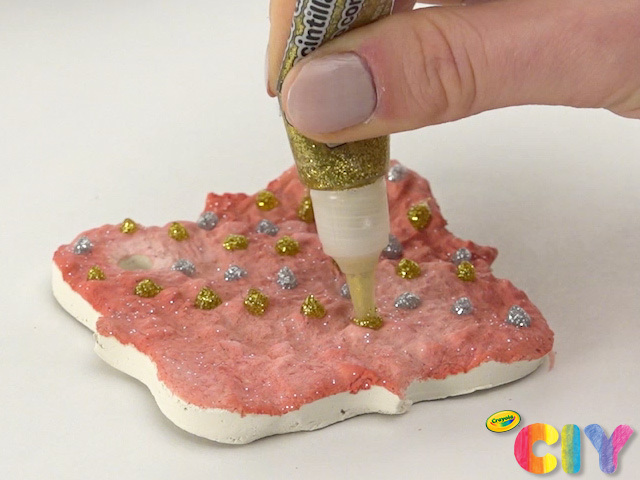
Add accents with glitter glue. Dry 3–4 hours.
7
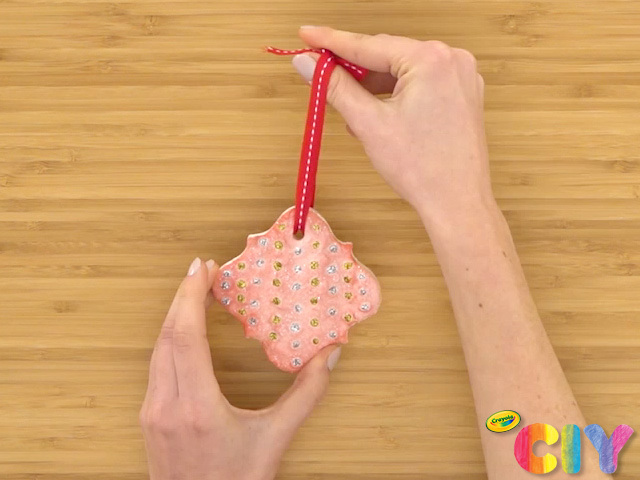
Tie ribbon or string through the hole and tie to complete the ornament.
8
Hang on your tree or around the house!