Supplies:
- Crayola Air-Dry Clay - White - about ½ kg (1 lb) per student
- Crayola Acrylic Paint - 6 Count
- Crayola Paint Brushes - 5 Count
- Crayola Scissors
- Copy Paper
- Paper Towels
- Rolling Pins or Dowels about 30 cm (12") long
- Wax Paper
- Pencils
- Paper Clips
- Masking Tape
- Water Containers
- Ribbon or String
- Dried or Artificial Flowers
Steps:
1
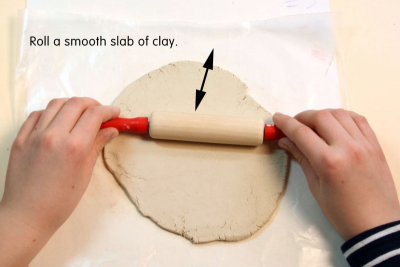
- Take a small ball of clay about the size of a tennis ball.
- Flatten it onto a piece of wax paper with your fingers and the palm of your hand.
- Next use a rolling pin or dowel to roll it into a smooth slab about .75 cm (1/4 in) thick.
- The wax paper will keep the clay from sticking to the table.
2
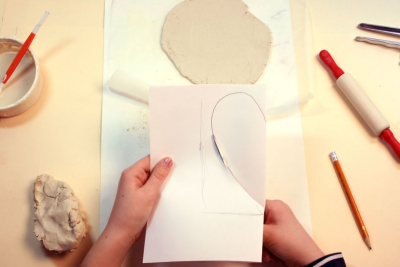
- Fold a piece of copy paper in half.
- Cut out a heart shape that will fit your slab.
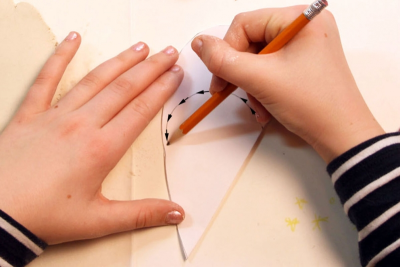
3
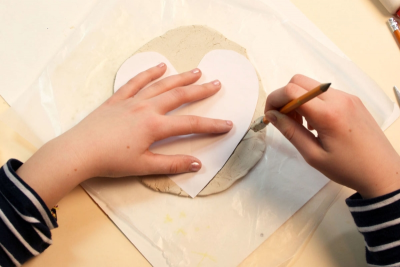
- Place the paper pattern on the clay slab.
- Use the pin tool to cut out the heart.
4
- Roll out a smaller slab the same way you made the first one.
- Cut out a smaller heart from the original pattern.
5
- Cut out the smaller heart.
- Make a small oval slab of clay for the face.
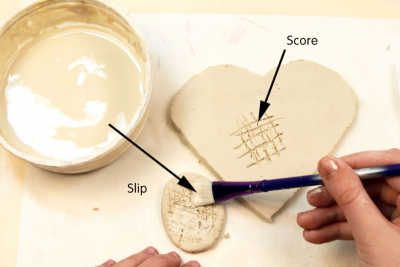
- Use the pin tool to score the back of the shape.
- Score the spot on the small heart where you will be joining the small oval shape.
- Brush slip onto the surface of the oval.
6
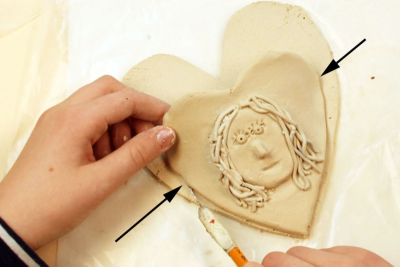
- Add details using various textures and tools.
- Remember to score and slip every time you add pieces of clay.
- Place the small heart onto the larger heart.
- Use the pin tool to mark where the small heart will join the larger heart.
- Remove the small heart.
7

- Score the places where the two pieces of clay will be joined.
- Apply slip to the scored areas.
- Remember that only the sides of the small heart will be attached to the large heart.
8

- Crumple up a small ball of wax paper.
9
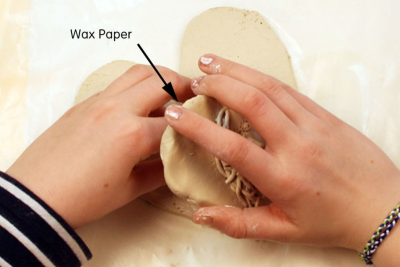
- Place the crumpled up wax paper on the large heart and place the small heart on top of it.
- The wax paper will support the small heart while it dries.
10
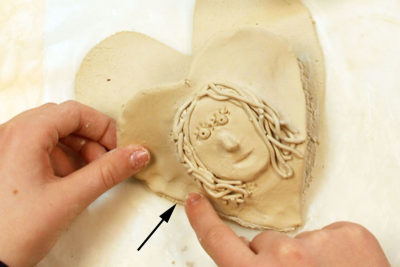
- Join the two pieces of clay together, gently pushing the edges into each other.
11
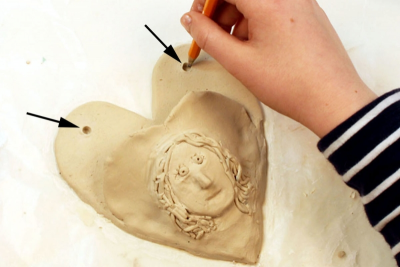
- Use the tip of a pencil to make two holes at the top of the heart shape for the ribbon or string.
- Mkae sure the holes are level.
- Allow the clay to dry for about one week.
12
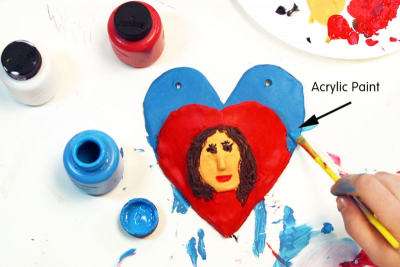
- When the clay is dry paint it with acrylic paint.
13
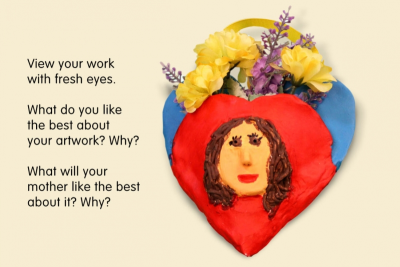
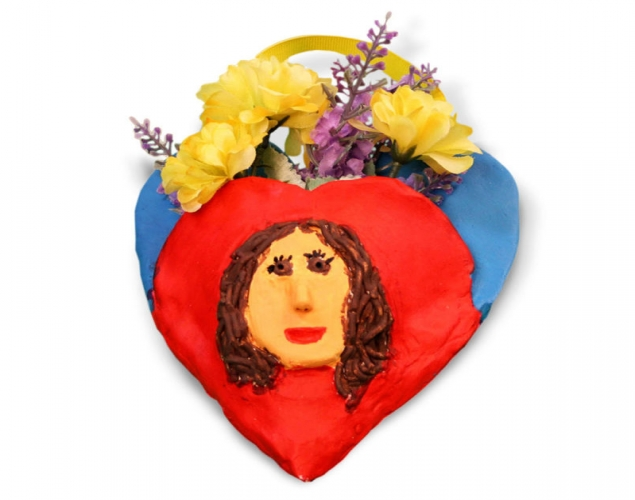
- Add a ribbon or string and some dried or silk flowers to complete the gift.
- View your finished work with fresh eyes.
- What do you like the best about it? Why?
- What will your mother like the best about it? Why?
Subjects:
Language Arts,
Social Studies,
Visual Arts
Grades:
Grade 3,
Grade 4,
Grade 5,
Grade 6