Supplies:
- Crayola Scissors
- Crayola Glue Sticks
- Crayola Glitter Glue
- Crayola Construction Paper
- Paper Strip - 1.3 cm x 30.5 cm (½" x 12") - 1 per student
- Previously Printed Paper - 30.5 cm x 45.7 cm (12" x 18")
Steps:
1
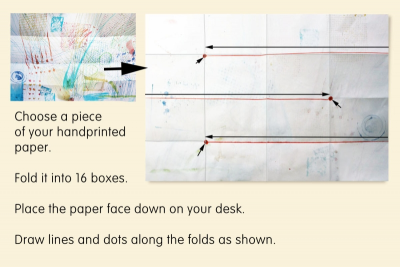
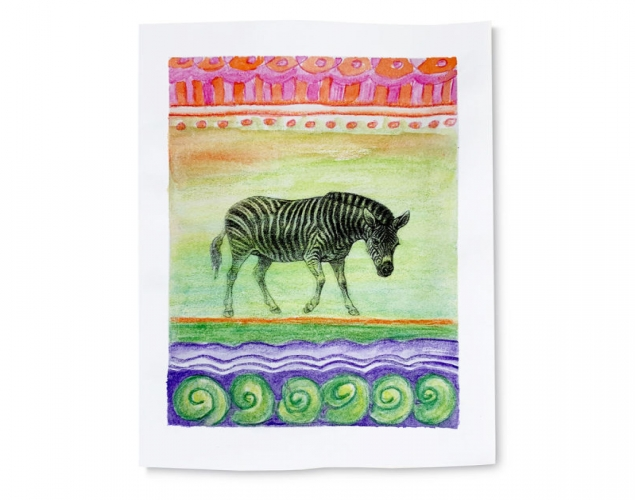
- Choose a sheet of your handprinted paper created in the Exploring Lines lesson.
- Fold the paper in half twice in both directions to make 16 boxes.
- Place the paper with the printed side facing down.
- Draw lines and dots along the folds as shown.
2
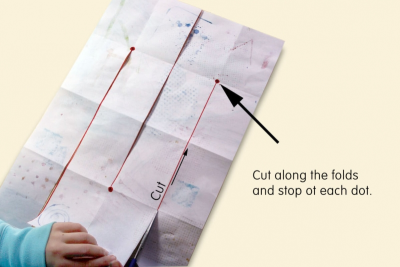
- Cut along the folds and stop at each dot.
3
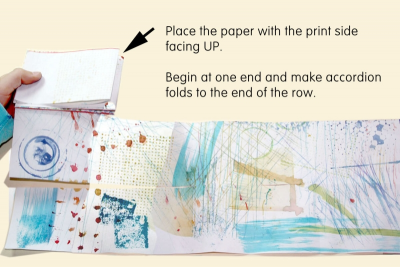
- Place the paper with the print side facing up.
- Begin at one end and make accordion folds to the end of the row.
- When you get to the end of each row, fold the paper away from you and continue with the accordion folds until the whole paper has been folded.
4
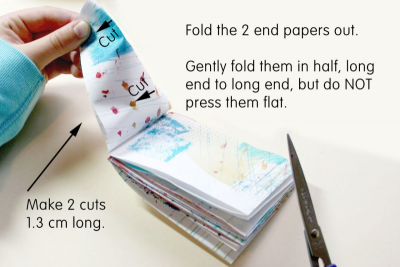
- Fold the two end papers out.
- These will make the cover of the book.
- Gently fold them in half, long end to long end, but do not press them flat.
- Make two small cuts at each end as shown.
5
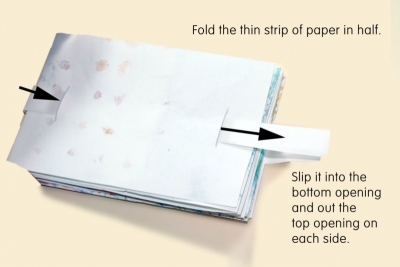
- Fold the thin strip of paper in half.
- Slip it into the bottom opening and out the top opening on each side of the covers.
- Pull the strip snug.
6
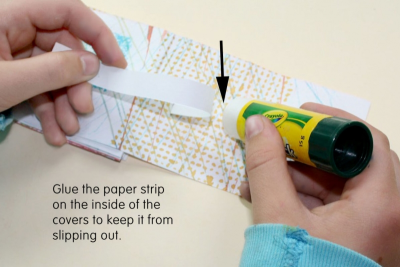
- Glue the paper strip on the inside of the covers to keep it from slipping out.
7
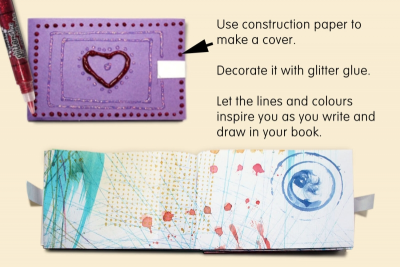
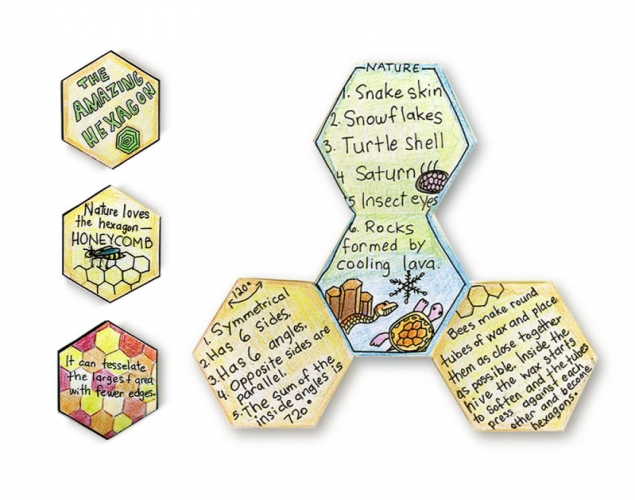
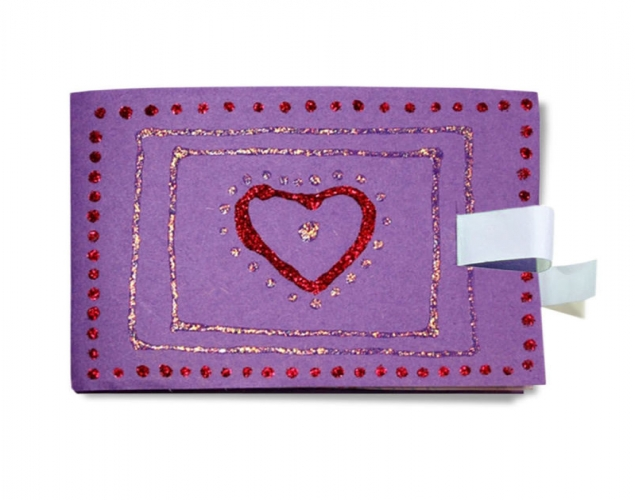
- Your book is filled with many colourful pages.
- Use construction paper to make a cover.
- Decorate it with glitter glue.
- Think of how you can use the elements of design to decorate your cover, e.g., line, colour, texture, shape, space. - Tuck the ends of the paper strips into each side of the book to lock it closed.
- Let the lines and colours on each page inspire you as you write and draw in your book.
Subjects:
Language Arts,
Mathematics,
Visual Arts
Grades:
Grade 4,
Grade 5,
Grade 6