Supplies:
- Crayola Construction Paper
- Crayola No-Run School Glue
- Crayola Scissors
- Crayola Paint Brush
- Crayola Glitter Glue
- Crayola Markers
- Pencil
- Ribbon
CIY Staff Tips:
- This card also works for Mother’s Day! Change up the message for mom and give her a homemade greeting.
Steps:
1
Fold a piece of construction paper in half to make card shape.
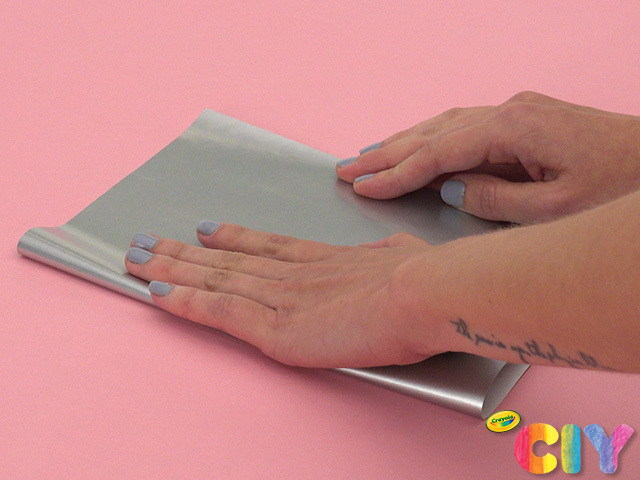
2
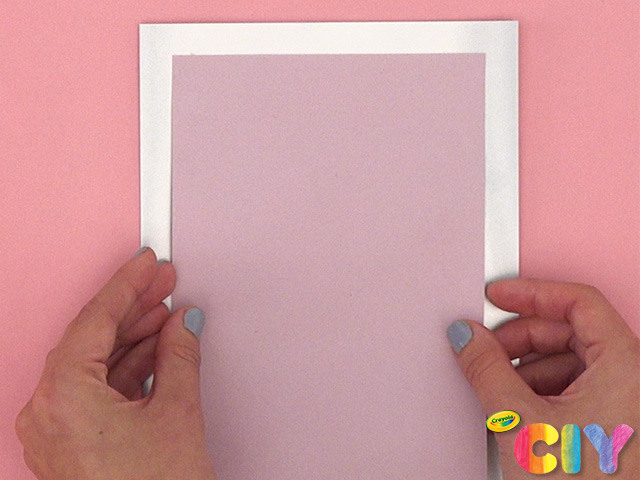
Cut construction paper to fit front of card, leaving room for border. Paint on glue and attach to front of card.
3
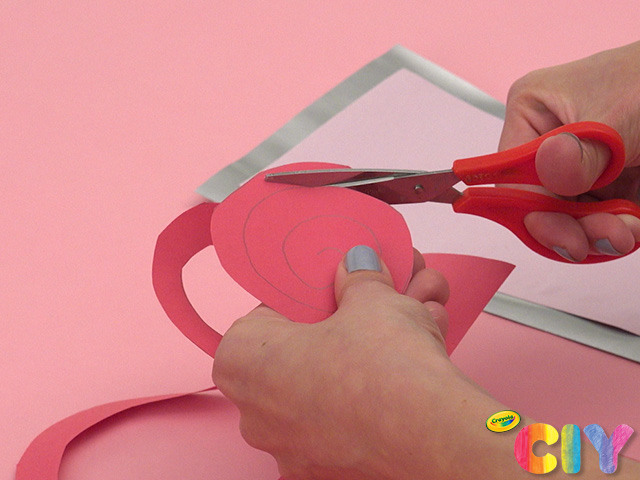
Sketch a spiral on construction paper. Cut out.
4
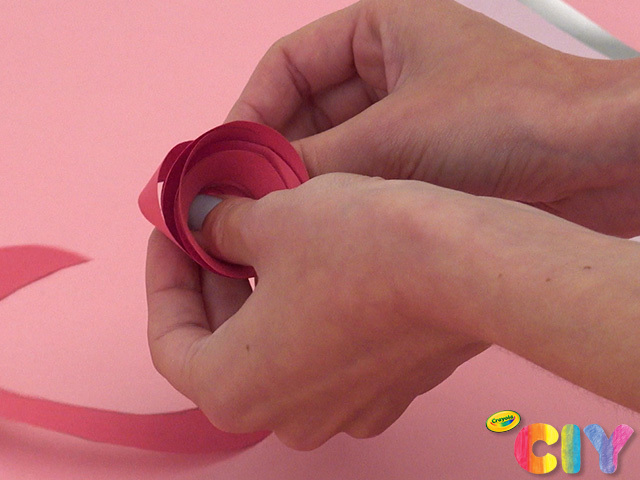
To create rose shape, slowly and gently coil the paper from inside to outside edge.
5
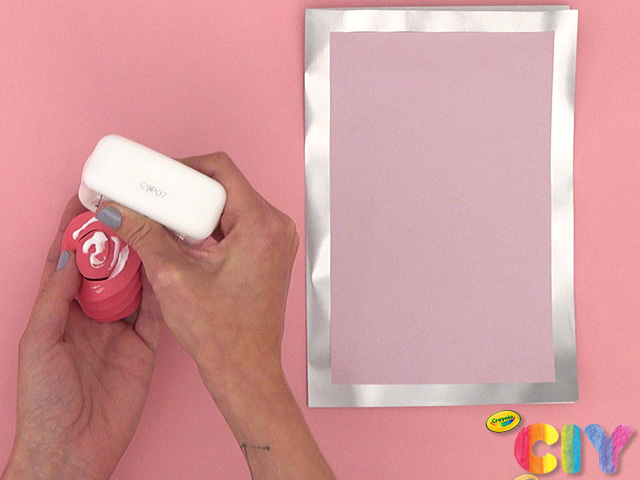
Add glue to end of coil and secure to card. Repeat steps 3–5 for additional flowers.
6
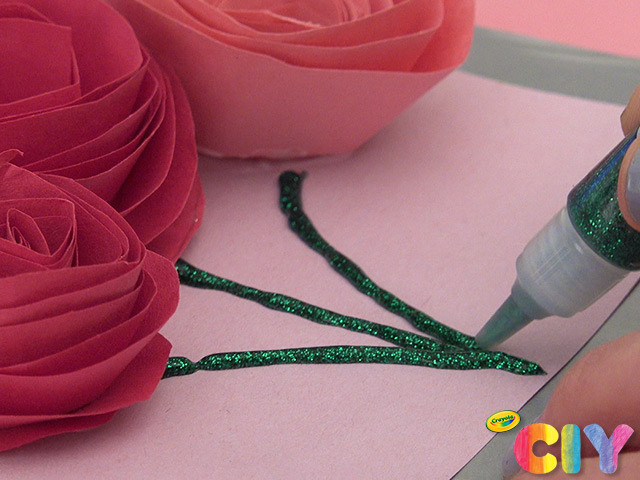
Add glitter glue flower stems.
7
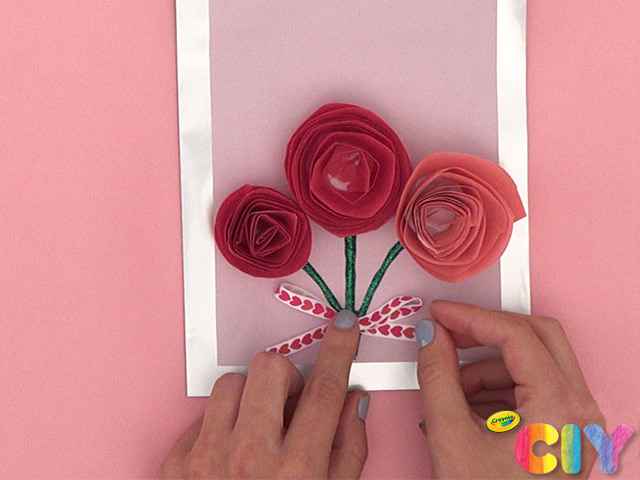
Tie festive ribbon into bow and glue to stems. Let all glue steps dry 3–4 hours.
8
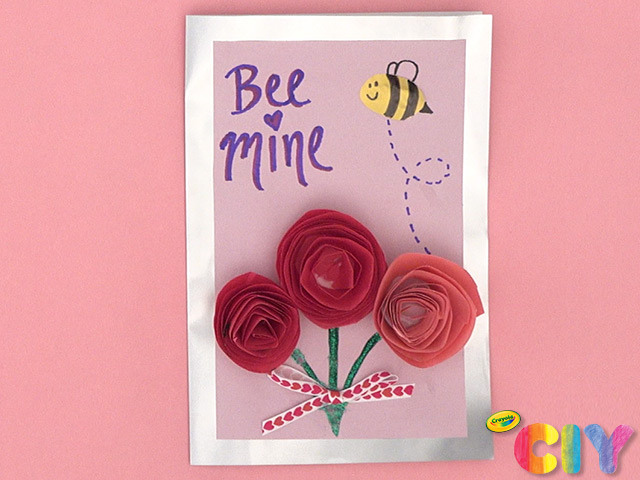
Add embellishments with construction paper and messages with markers.
9
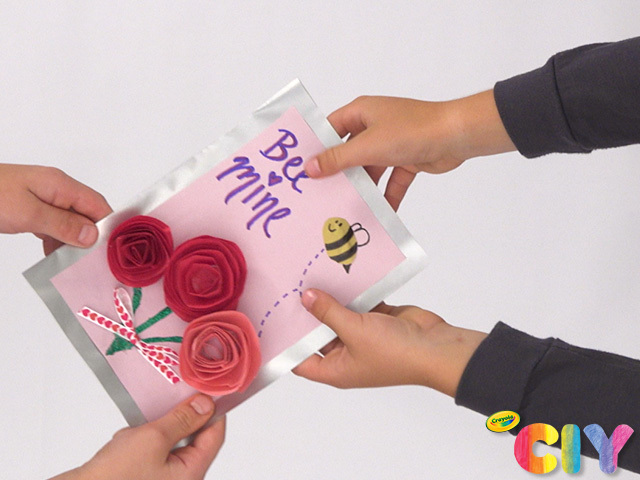
Give the bee-utiful card to your valentine!
Occasion:
Valentine's Day,
Winter
Age:
8+,
Tween+,
Adult