Supplies:
- Acrylic Paint
- Fabric Markers
- Paint Brushes
- Canvas Bag
- Pencil
- Disposable Cups
- Ruler
- Craft Sticks
CIY Staff Tips:
- When adding designs to your bag, be sure to sketch in pencil first.
- Get creative with how you want to decorate your bag; we chose to add fun bubble letters!
- Experiment with mixing different paint colours. To create a shadow effect, separate the same base colour into 2 disposable cups. Mix a small amount of white paint into one of the cups to create the letter colour. Mix a small amount of black paint into the other cup to create the shadow colour.
Steps:
1
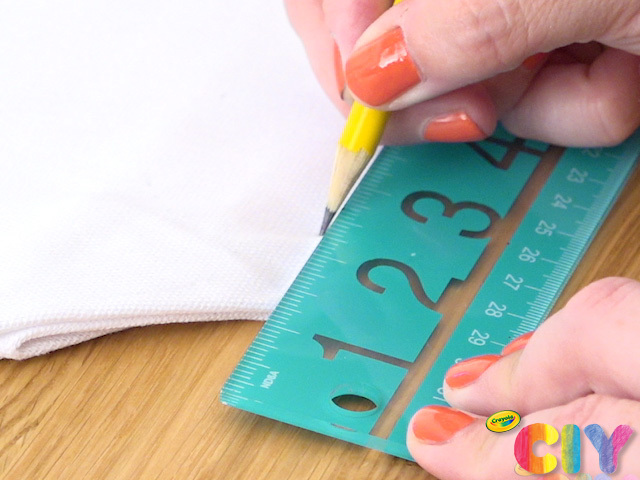
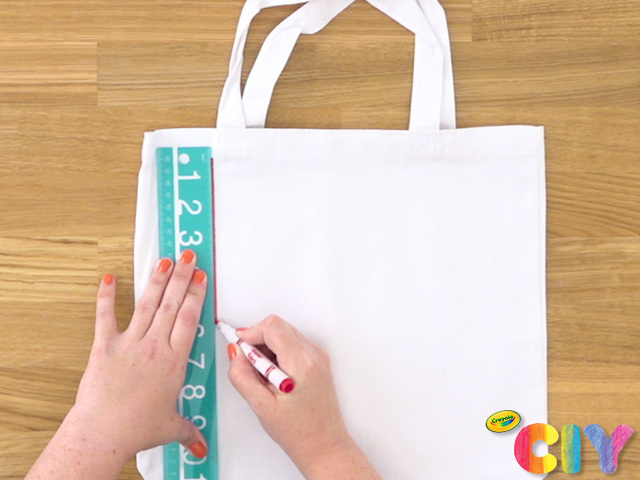
Using a pencil and ruler, make a tick mark at the top and bottom of the bag, both at an equal distance from the left edge.
2
Use red fabric marker and ruler to connect the tick marks, making a vertical line to create the margin of a piece of notebook paper.
3
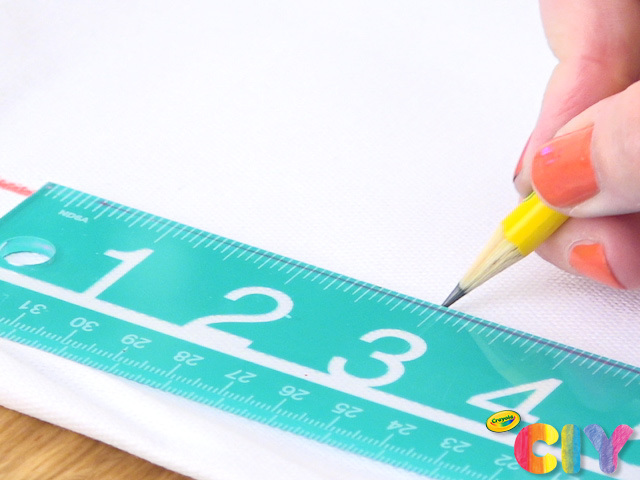
Leave space at the top of bag for the first line of notebook paper, then make evenly-spaced tick marks along the red line with pencil.
4
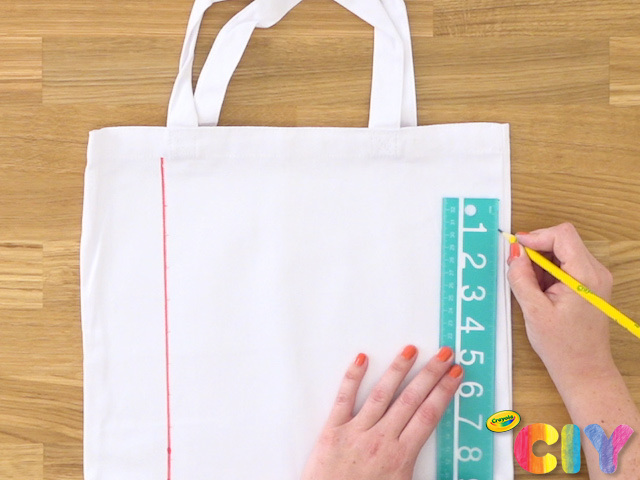
Make another set of evenly-spaced tick marks on the right side.
5
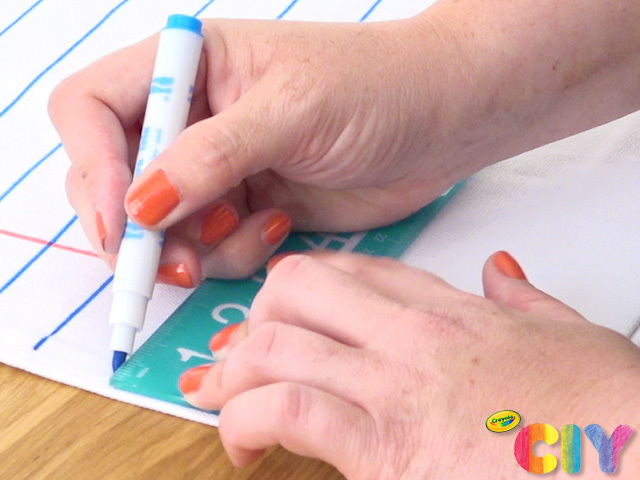
Use blue fabric marker and ruler to connect the tick marks, making horizontal lines across the bag like notebook paper.
6

Add the 3-hole punch to the left margin with black fabric marker.
7
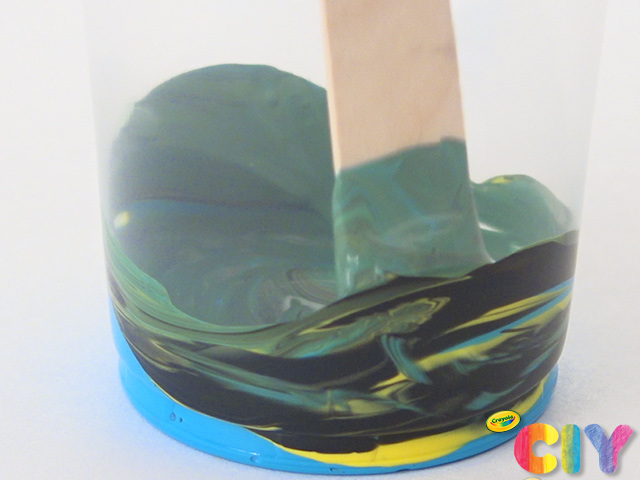
Pour and stir paint with craft sticks in disposable cups.
8
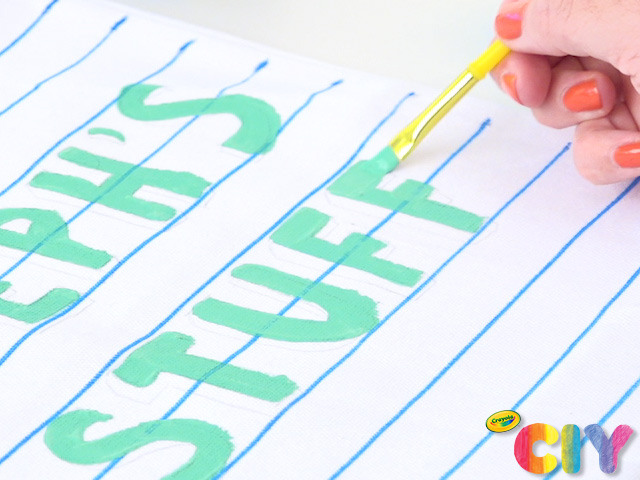
Paint accents, doodles, or your name on the bag. Dry 1–2 hours.
9
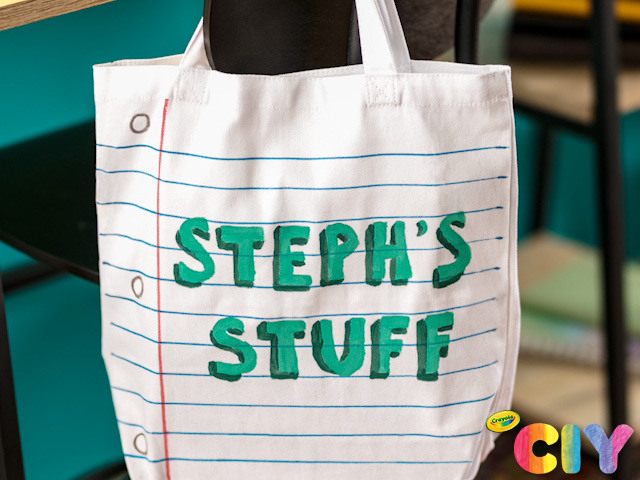
Load your gear and take your custom tote on the go!
Occasion:
Rainy Day Crafts,
Handmade Gifts,
Back to School
Age:
8+,
Tween+