Supplies:
- Crayola Crayons
- Wax Paper
- Hair Dryer
- String
- Crayola Scissors
- Duct Tape
- Mason Jar Lids
- Crayon Sharpener
CIY Staff Tips:
- This craft includes the use of a hair dryer. Adult assistance required.
- A pencil sharpener will work if you don’t have a crayon sharpener on hand.
Steps:
1

Unwrap 2–6 crayons, then use crayon sharpener to create shavings
2

Lay a piece of wax paper on a protected surface. Evenly sprinkle the shavings onto the wax paper.
3

Place a slightly larger piece of wax paper over the shavings and seal the edges with duct tape.
4
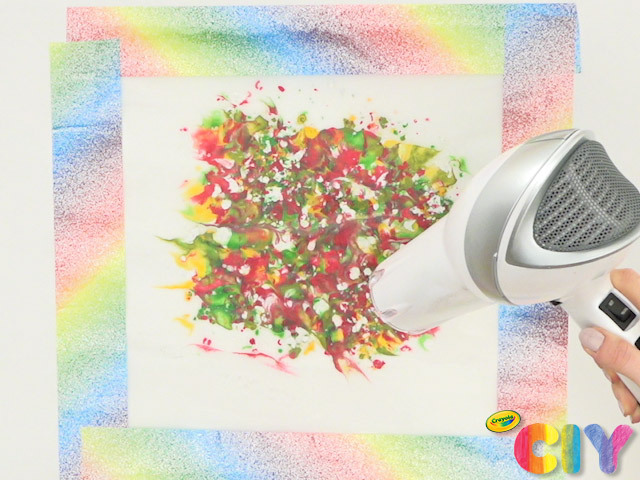
With the help of an adult, use a hairdryer to melt the shavings. Let cool 15 minutes.
5
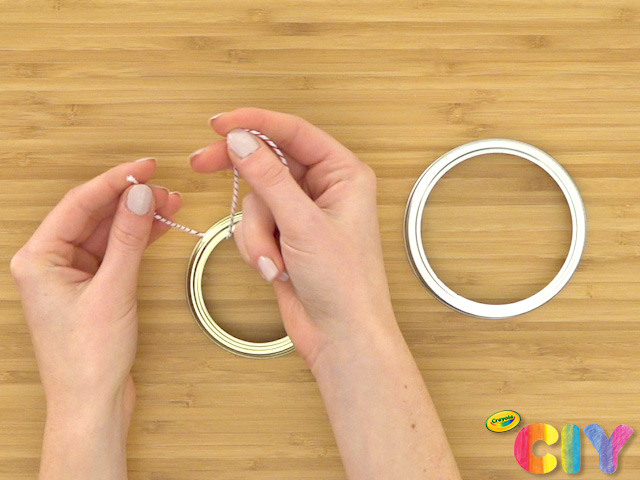
Loop string through mason jar lids, then tie to create the ornament hangers.
6
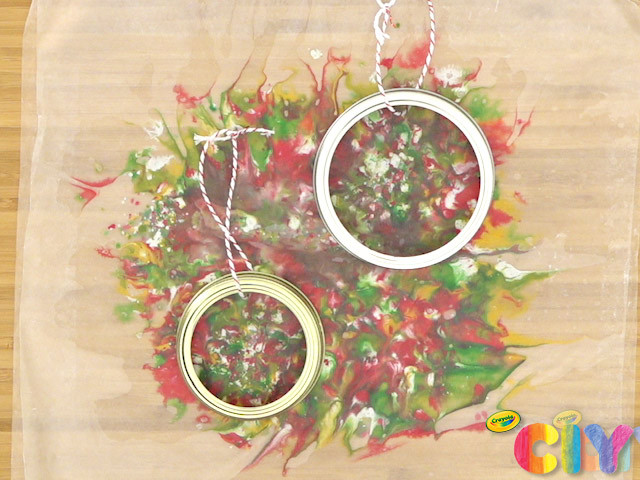
Use mason jar lid to measure and trace a circle on the wax paper.
7
Cut out the circles with scissors and trim to fit, if needed.
8
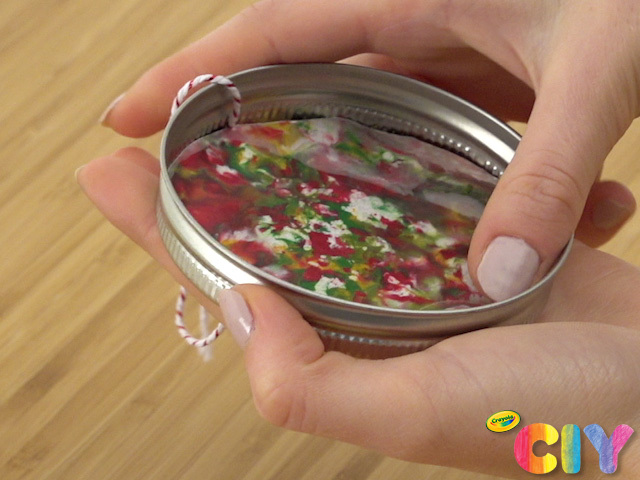
Carefully press the circles into the open top of mason jar lid.
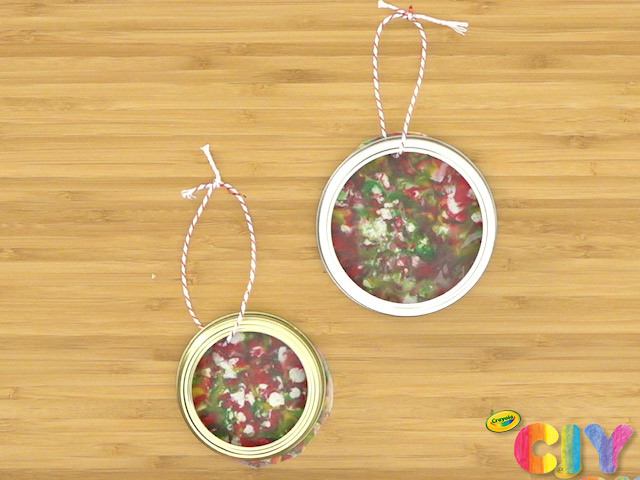
9
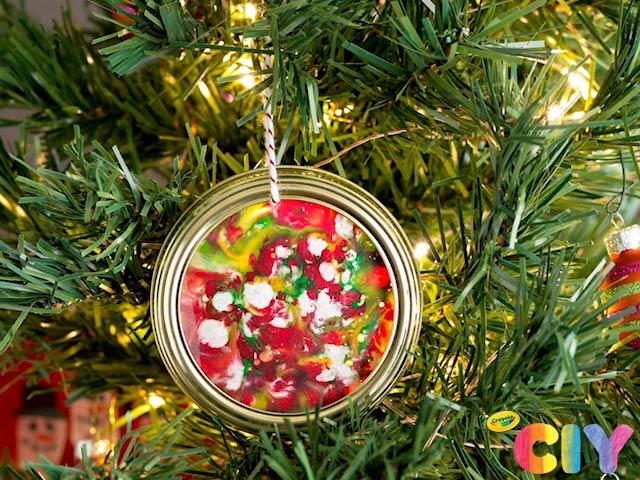
Hang on your tree or around the house!