Supplies:
- Crayola Construction Paper
- Crayola Washable Paint
- Crayola No-Run Washable School Glue
- Crayola Paint Brush
- Pencil
- Parchment Paper
- Tape
- Squeeze Bottles
- Measuring Spoons
- Funnel
- Stirrer
- Hole Punch
- Yarn
- Wooden Dowel
CIY Staff Tips:
- Get creative by adding ice cream details and toppings like sprinkles!
- Dry time may vary based on amount of mixture used. Creations are complete when they’re not sticky to the touch.
Steps:
1
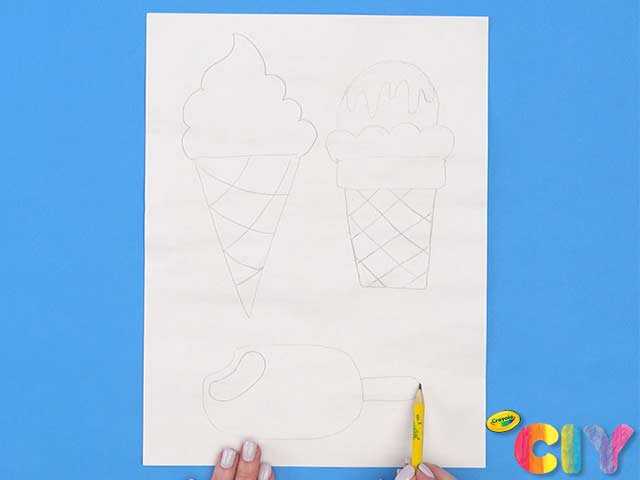
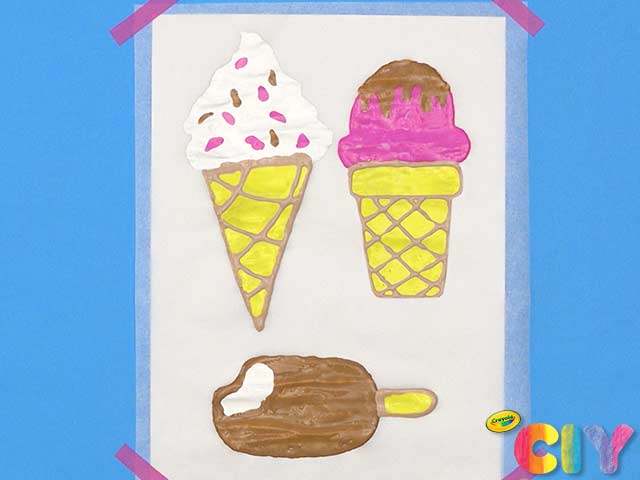
Sketch ice cream cones and frozen treats on construction paper.
2
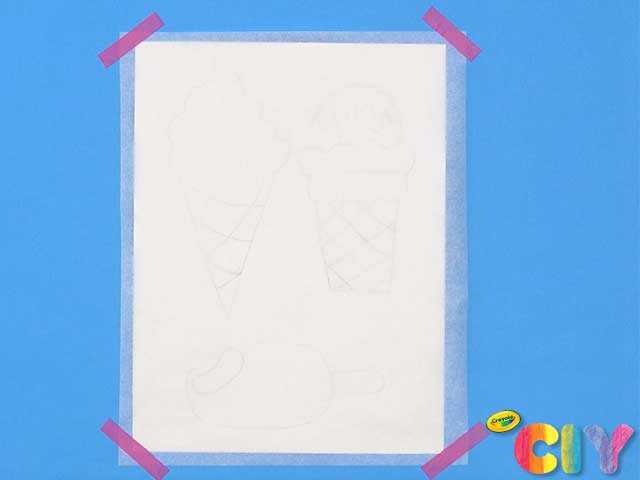
Place slightly larger piece of parchment paper over construction paper and seal edges with tape.
3
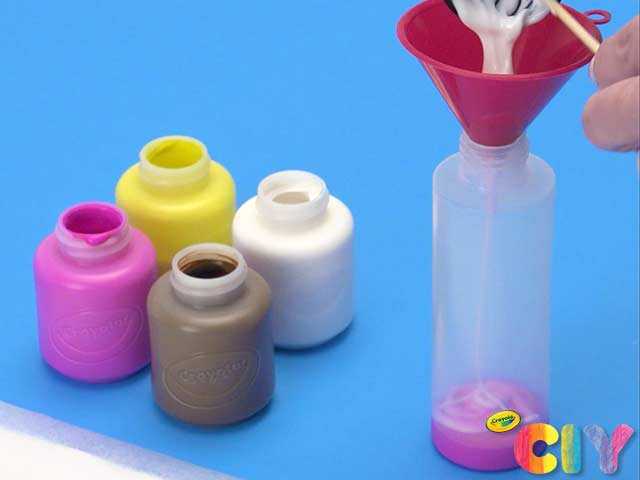
Mix equal parts paint and glue in squeeze bottle.
4
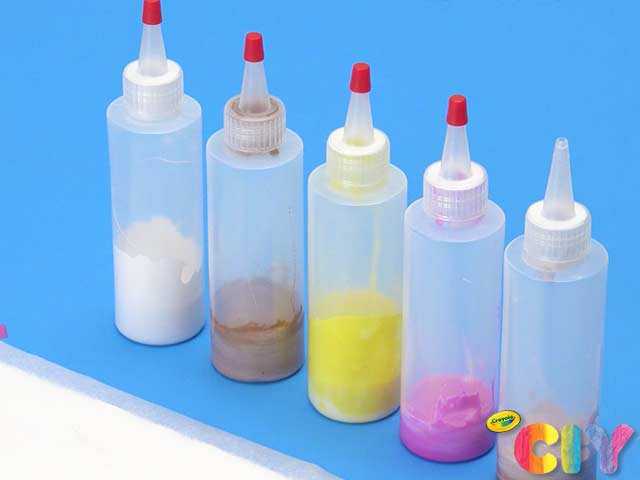
Repeat step 4 with various paint colour combinations.
5
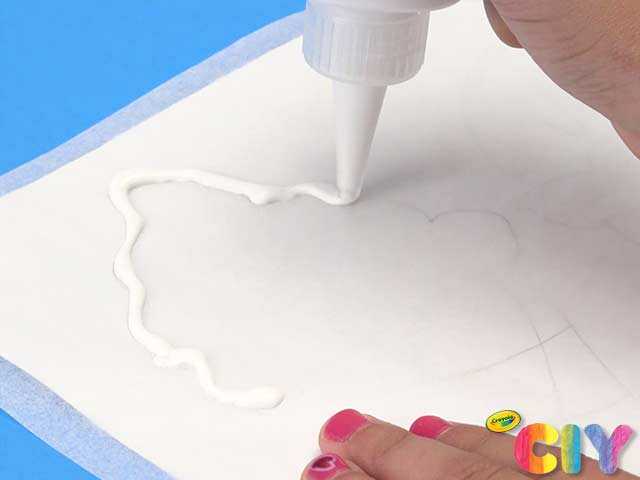
Trace pencil outlines with paint and glue mixture.
6

Squeeze paint and glue mixture in large, open areas of sketches. Spread with paint brush.
7
Let paint and glue dry overnight. Gently peel off parchment paper ice cream treats.
8
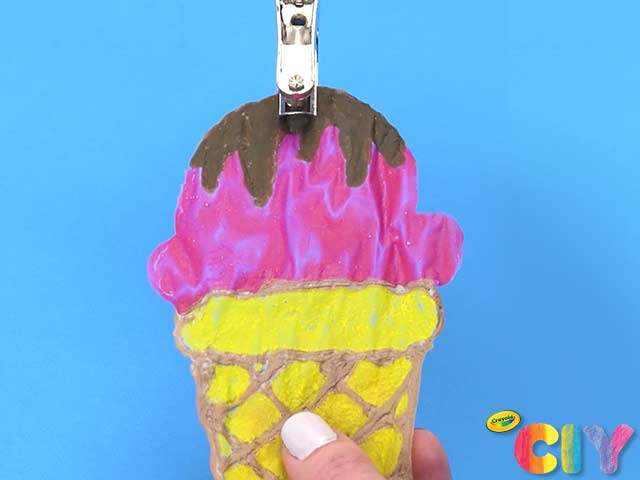
Hole punch ice cream treat.
9
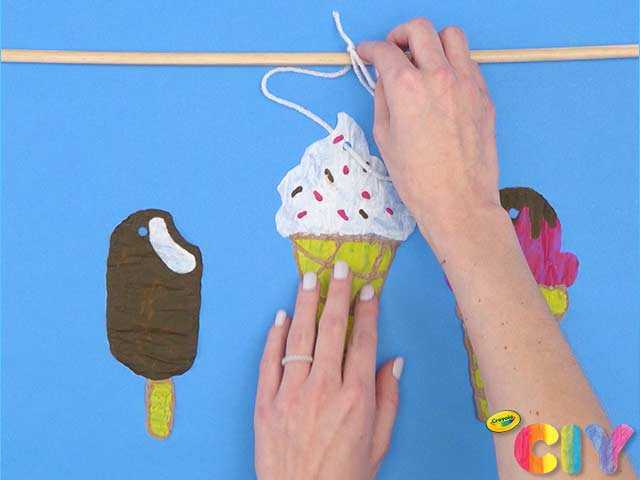
Loop piece of yarn through hole punch and around wooden dowel. Tie ends of yarn in knot.
10
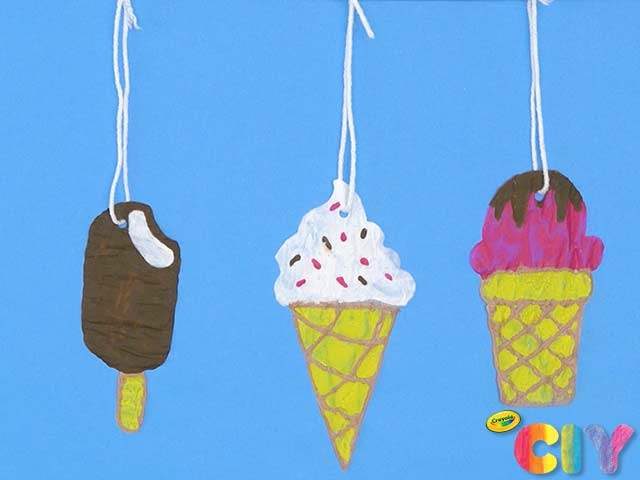
Repeat steps 8–9 for each ice cream treat until your cool banner is complete!
Occasion:
Summer,
Rainy Day Crafts,
Birthday
Age:
4+,
6+,
8+,
Tween+