Supplies:
- Crayola Washable Paint
- Crayola Washable School Glue
- Crayola Neon Light Effects Markers
- Crayola Construction Paper
- Crayola Paint Brush
- Crayola Fine Line Markers
- Crayola Model Magic
- Bright Coloured Cardstock
- Regular Cardstock
- Craft Knife
- Clay and Dough Tools
- Tri-Fold Display Board
CIY Staff Tips:
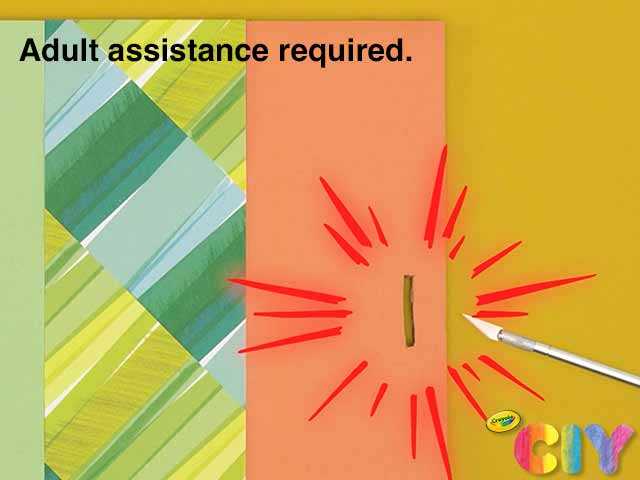
- This project uses a craft knife. Adult assistance is required.
- Model Magic pieces that haven’t dried will easily adhere to one another. For added strength, or to attach dried pieces of Model Magic, use our No-Run Washable School Glue.
- Place a sturdy object behind the taco truck for added support.
- For easy storage, remove roof support strips, fold up the display board, and put it away until you’re ready to play again!
Steps:
1

Lay tri-fold display board flat on table. Open panels and rotate board so flaps are positioned horizontally.
2
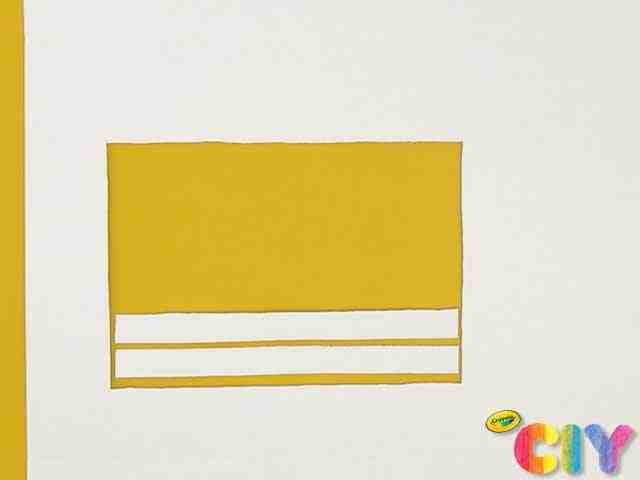
Have an adult cut large, rectangular window in center panel. Cut 2 (2”H) strips from leftover rectangular board piece.
3
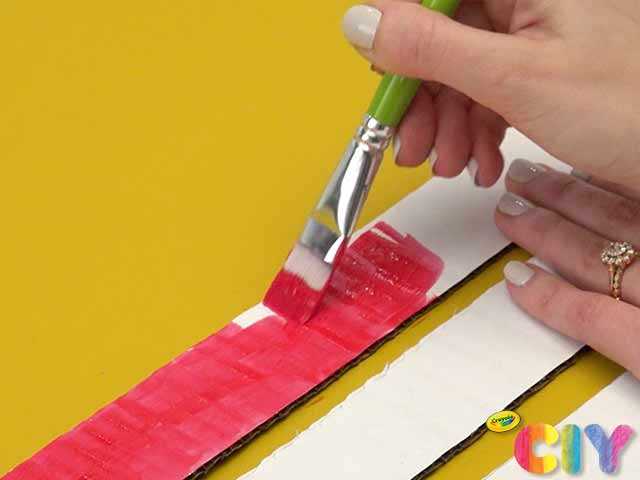
Cover 2 strips with paint. Set aside for truck molding in step 5 and roof support in step 11.
4
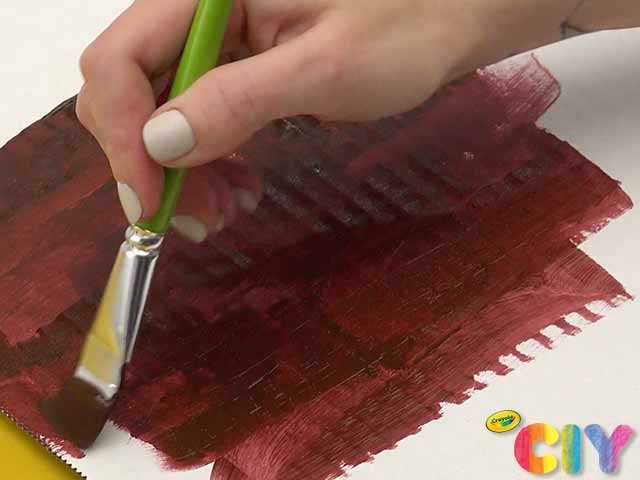
Cover bottom panel with paint to create counter surface. Let all paint steps dry 1–2 hours.
5
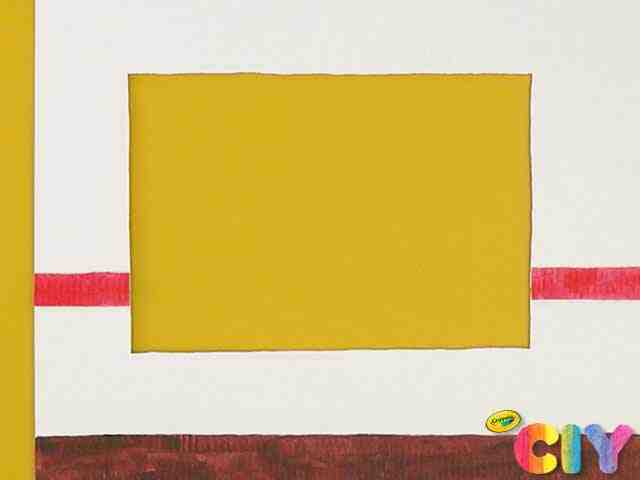
Use window as guide and trim 1 strip from step 3 to create truck molding. Glue molding to both sides of window.
6
Add truck decoration with fine line markers.
7
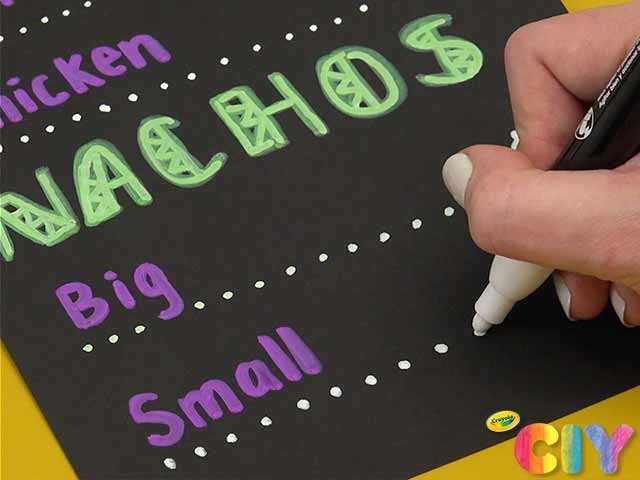
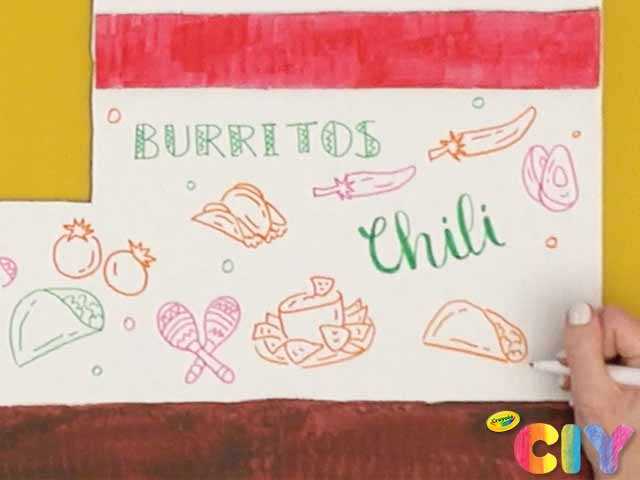
Write taco truck menu on regular cardstock with neon markers. Glue menu next to truck window.
8
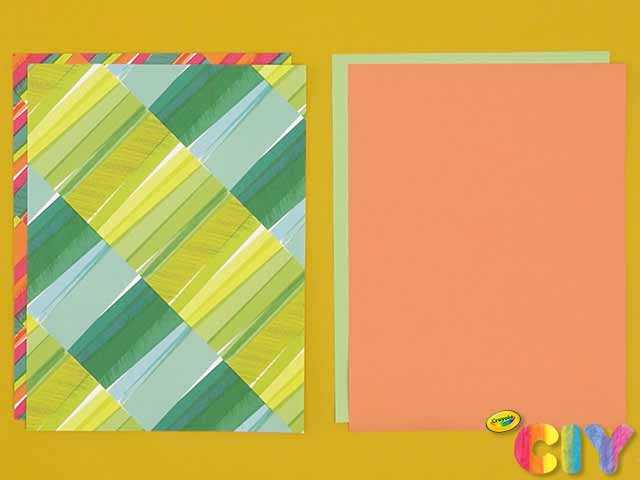
Trim pieces of bright pop cardstock and construction paper in half vertically.
9
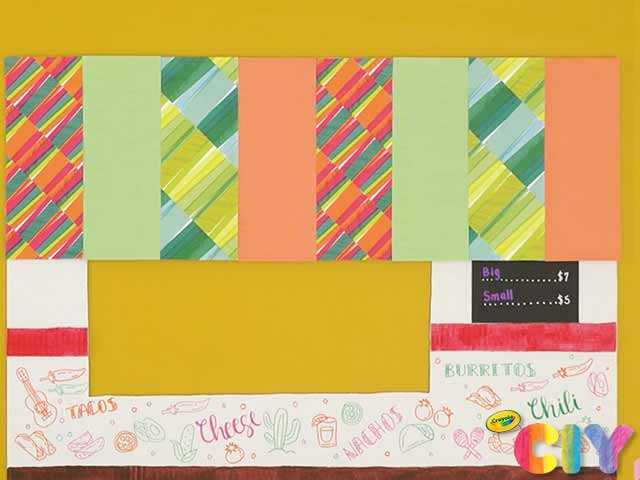
Fold top panel down. Glue alternating pieces of bright pop cardstock and construction paper to panel. Let all glue steps dry 1–2 hours.
10
While top panel is folded down, have an adult cut slit (2”H x 1/4”W) through top and center panels, approximately 5” from top edge of board on right and left side.
11
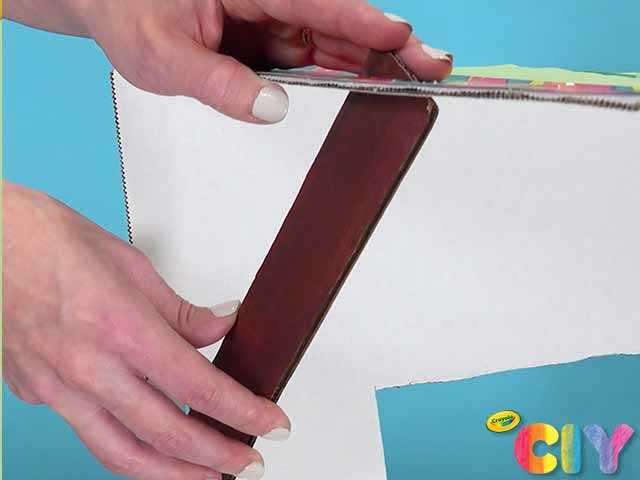
Cut remaining strip from step 3 in half. Open top panel slightly and insert board strips into slits on top and center panels to create roof support.
12
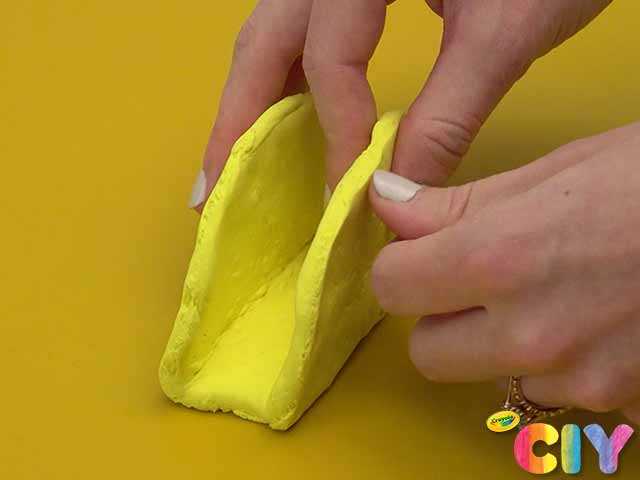
Use clay & dough tools to shape taco shells and filling. Dry overnight.
13
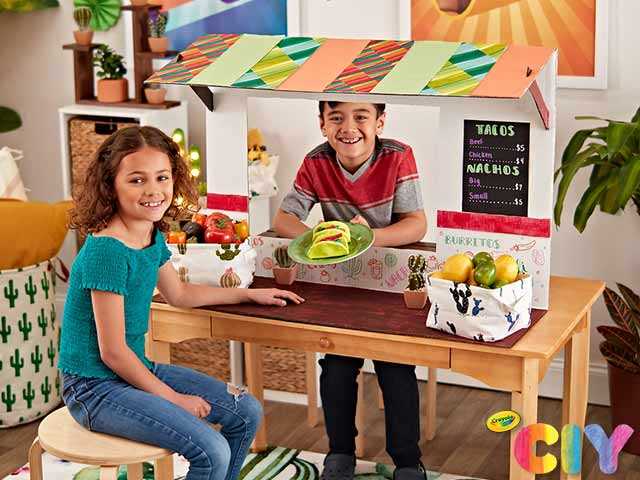
Stand taco truck up on smooth, flat surface and serve up the fun!
Occasion:
Rainy Day Crafts,
Summer,
Winter
Age:
4+,
6+,
8+,
Tween+