Supplies:
- Crayola Scissors
- Crayola Markers
- Pencil
- Paper Towel Roll
- Rubber Band
- Cardstock
- Crayola Washable Paint
- Crayola Paint Brushes
- Crayola Glue Stick
- Bubble Wrap
- Disposable Plates
- Scrap Cardboard
CIY Staff Tips:
- Experiment with the 3 techniques above for all kinds of shapes, colourways, and patterns!
- When stamping with paper towel roll or scrap cardboard, lower gently into paint to preserve bubbly details.
Steps:
1
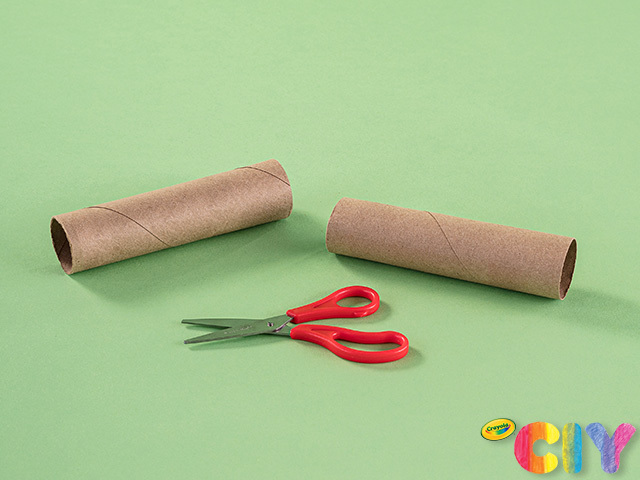
To create caterpillar: Cut paper towel roll in half.
2
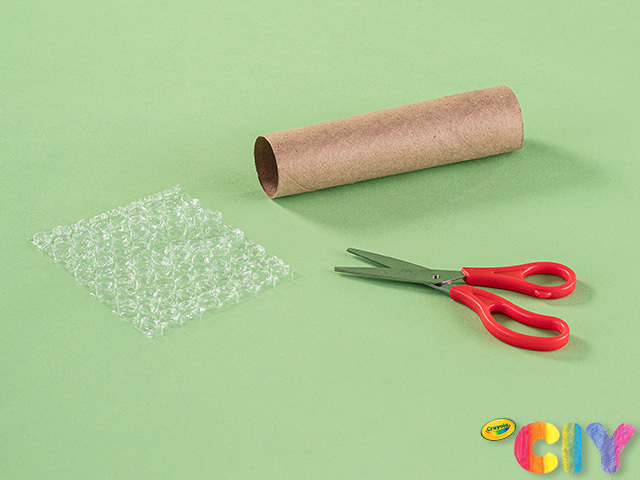
Cut out bubble wrap piece large enough to cover 1 end of paper towel roll.
3
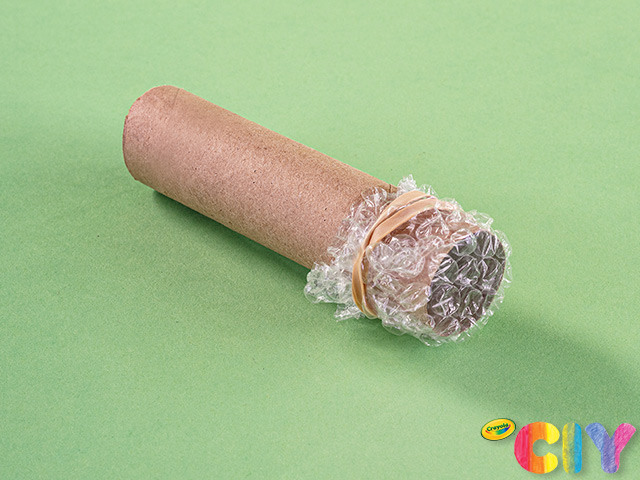
Secure bubble wrap to end with rubber band.
4
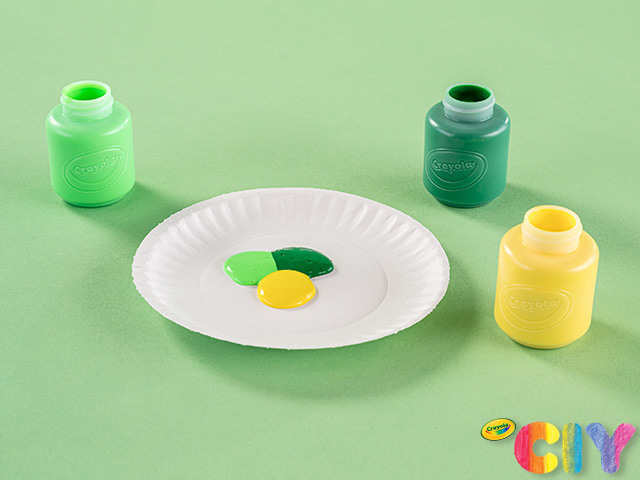
Pour 2–3 paint colours onto disposable plate so paints touch.
5
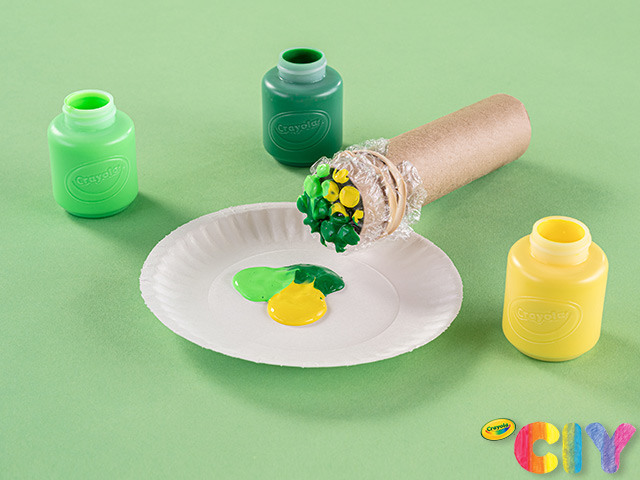
Dip bubble wrap into paint.
6
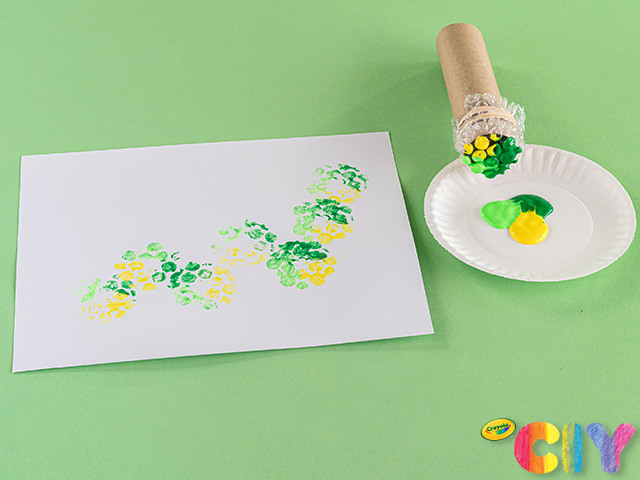
Gently stamp onto cardstock to create caterpillar body. Dry 1–2 hours.
7
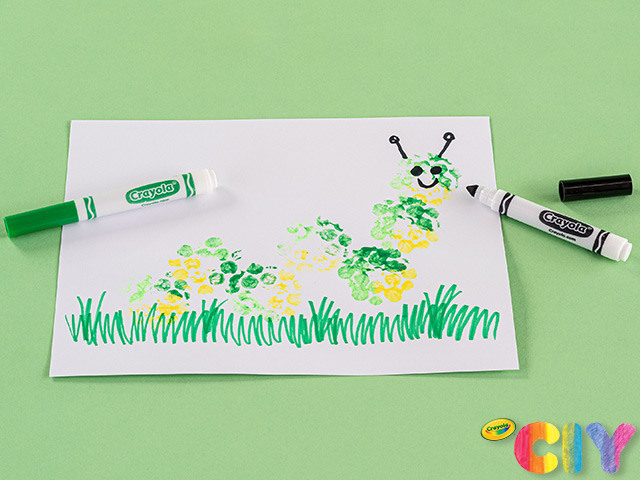
Use markers to add details.
8
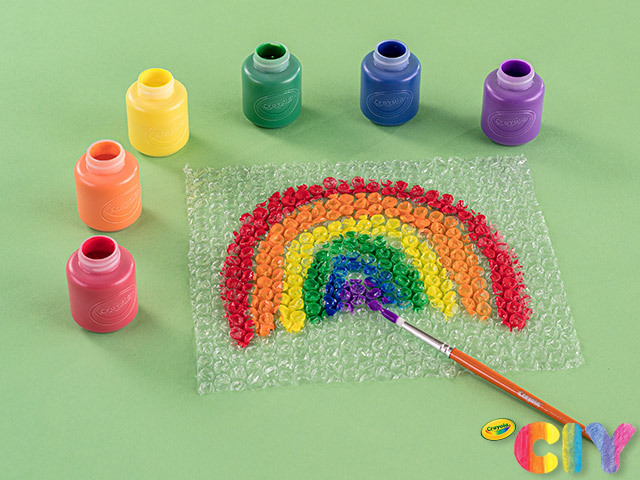
To create rainbow: Paint rainbow onto bubble wrap.
9
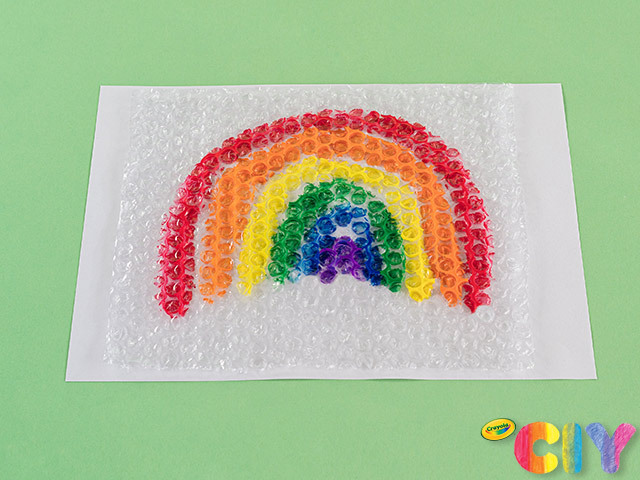
Carefully flip bubble wrap and gently press onto cardstock. Dry 1–2 hours.
10
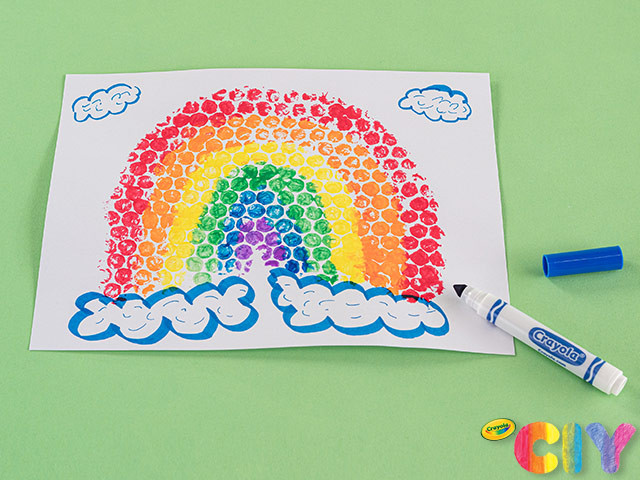
Use markers to add details.
11
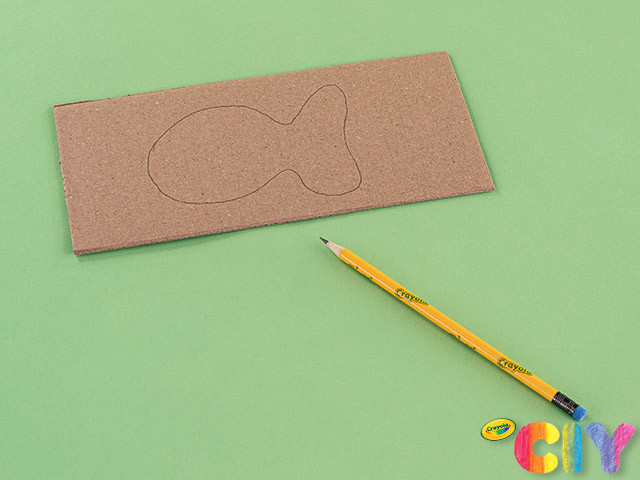
To create fish: Sketch fish outline onto scrap cardboard. Cut out.
12
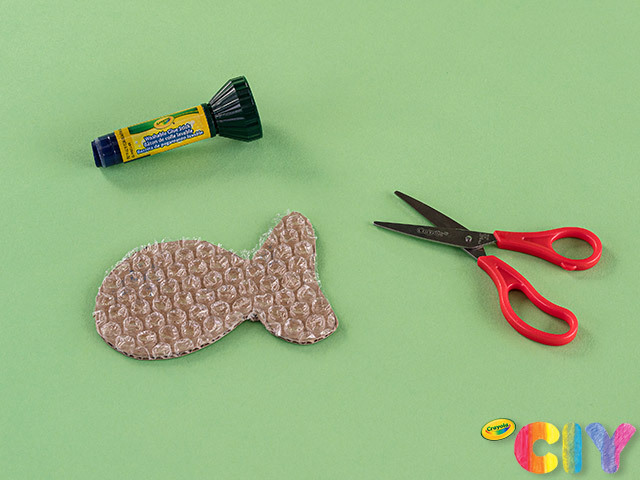
Glue bubble wrap to cardboard and trim excess.
13
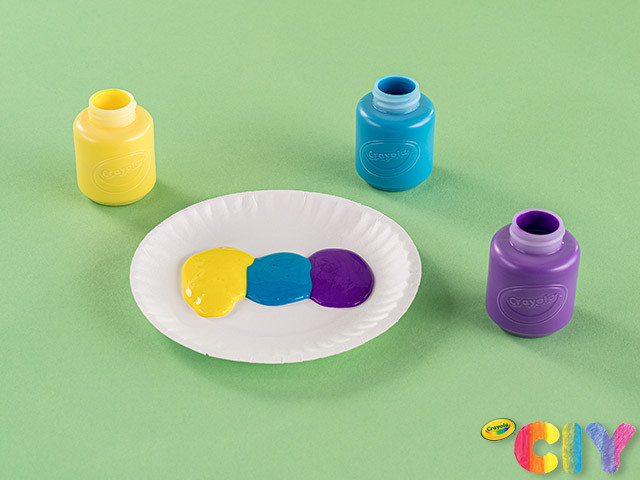
Pour 2–3 paint colours onto a disposable plate so paints touch.
14
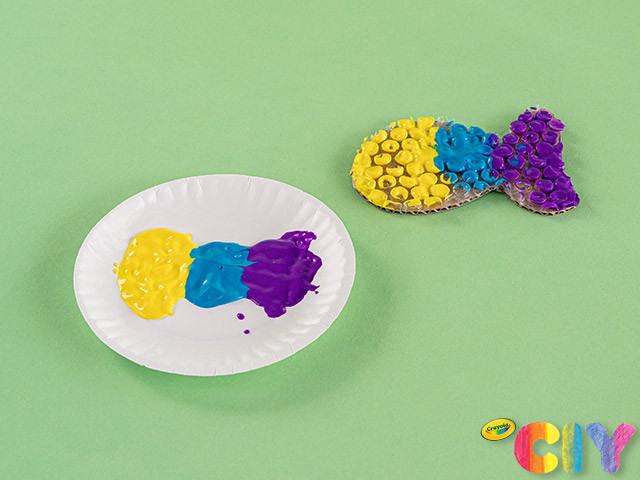
Dip bubble wrap into paint.
15
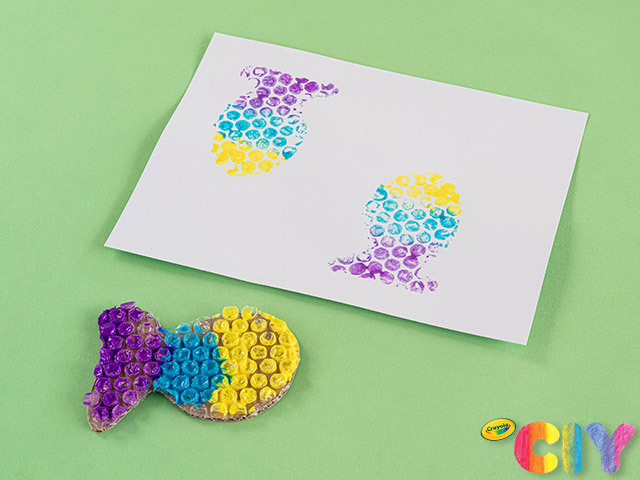
Gently stamp onto cardstock to create fish body. Dry 1–2 hours.
16

Use markers to add details.
Occasion:
Rainy Day Crafts
Age:
4+,
6+,
8+